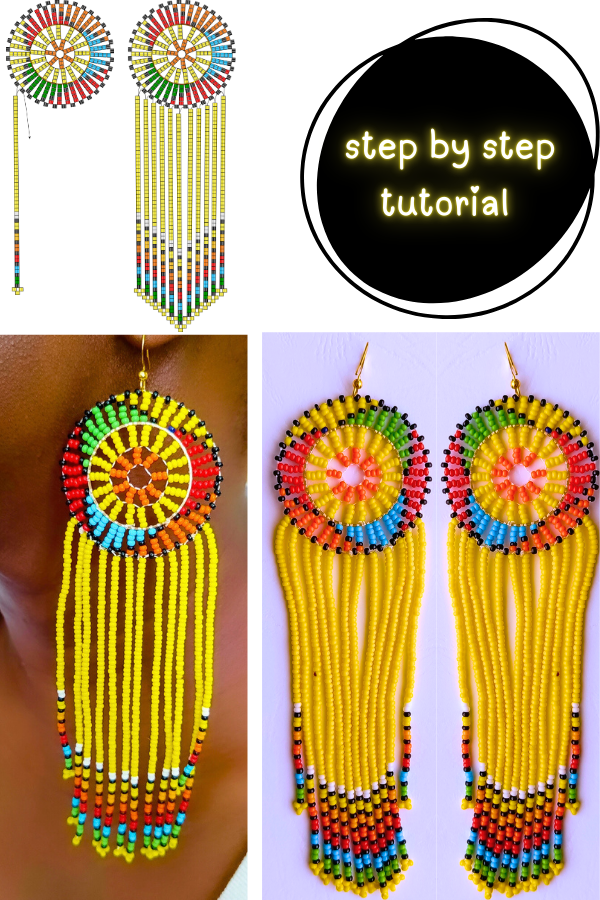
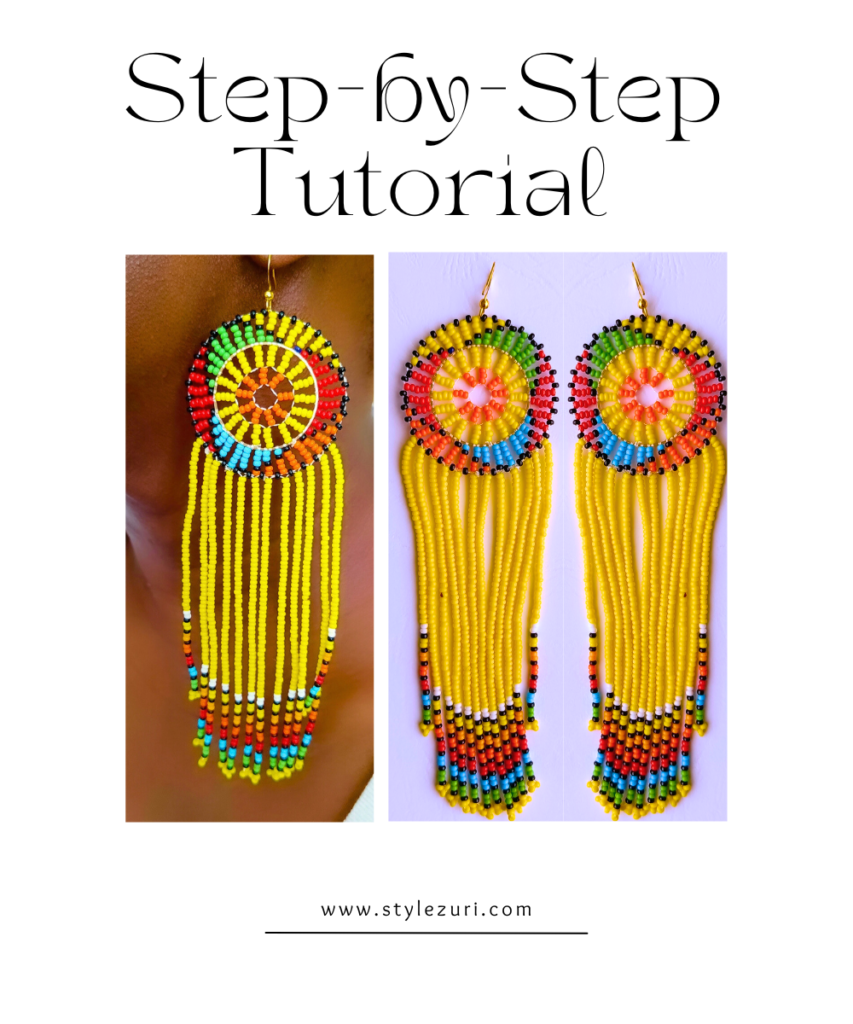
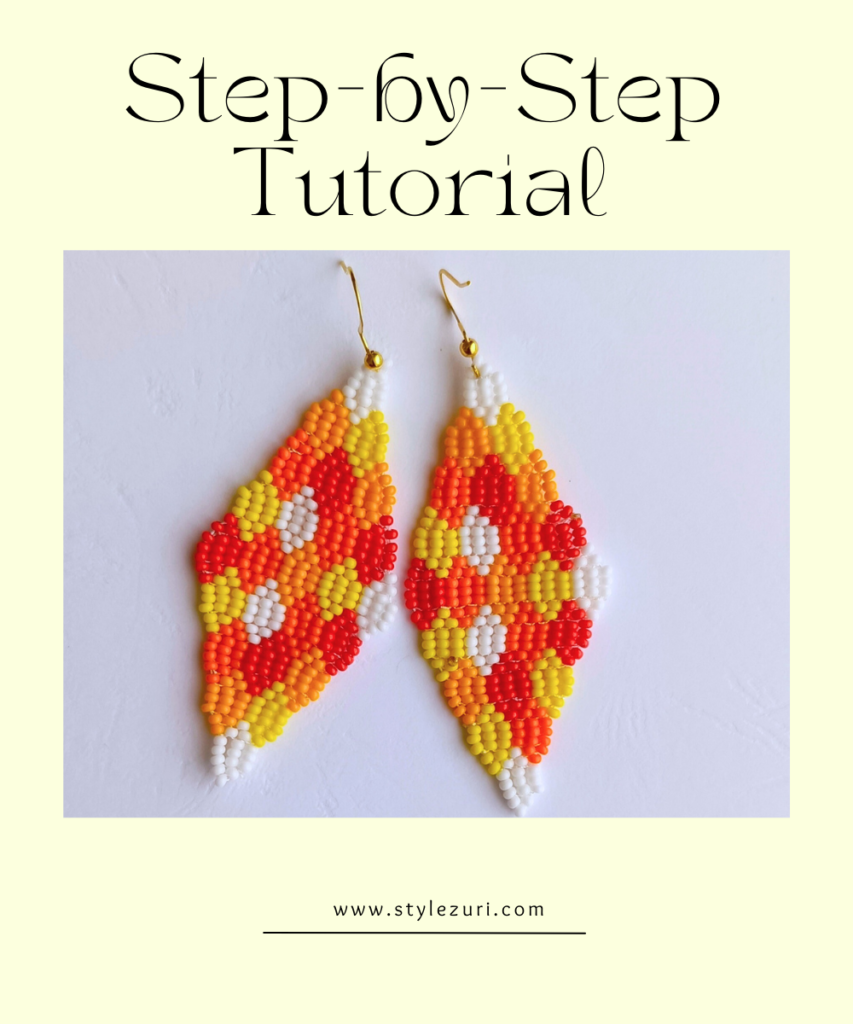
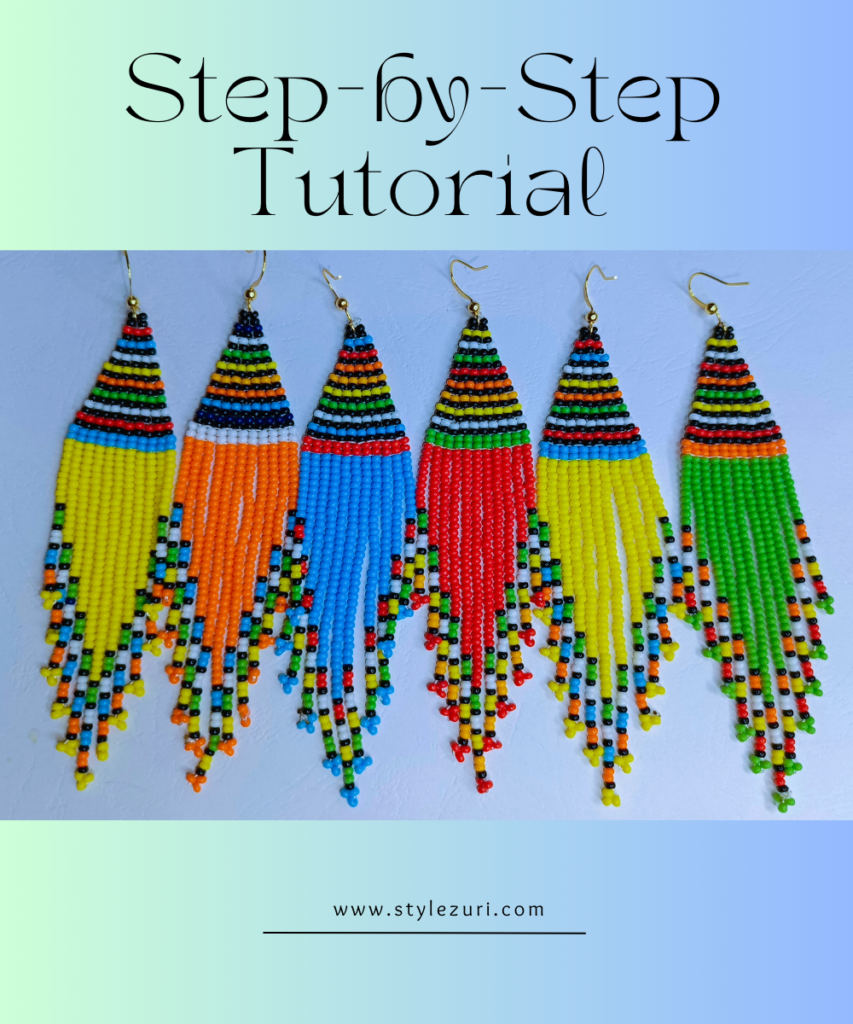
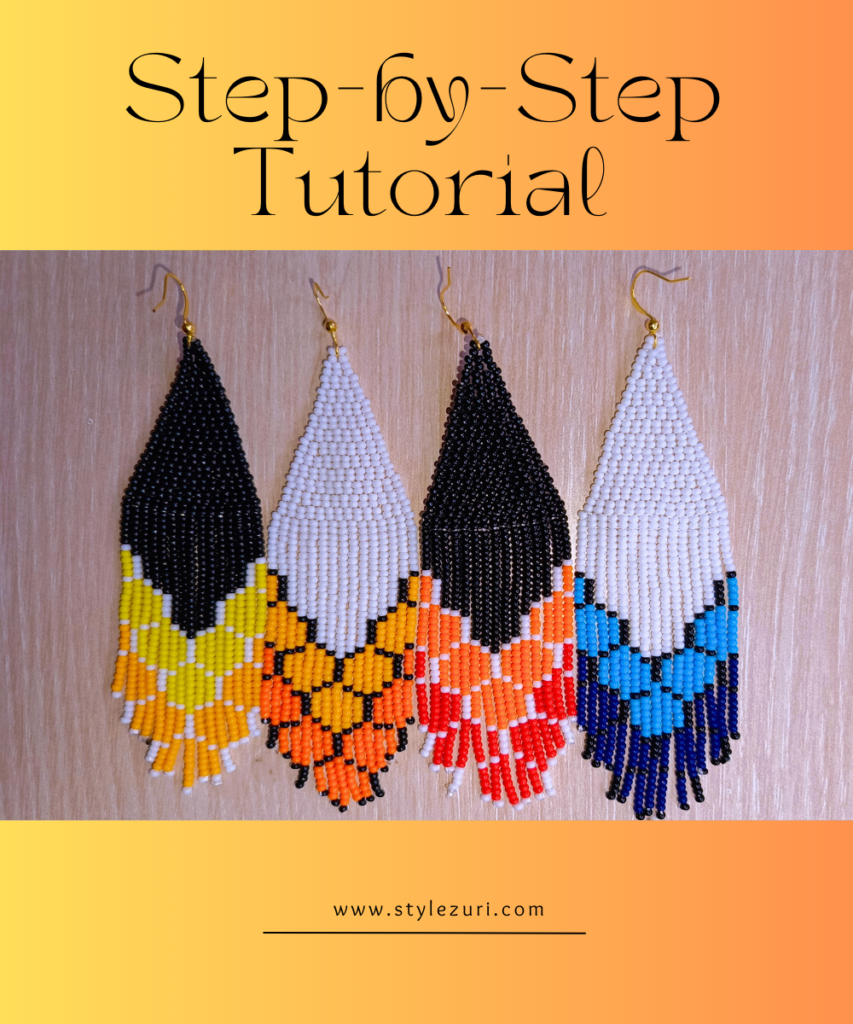
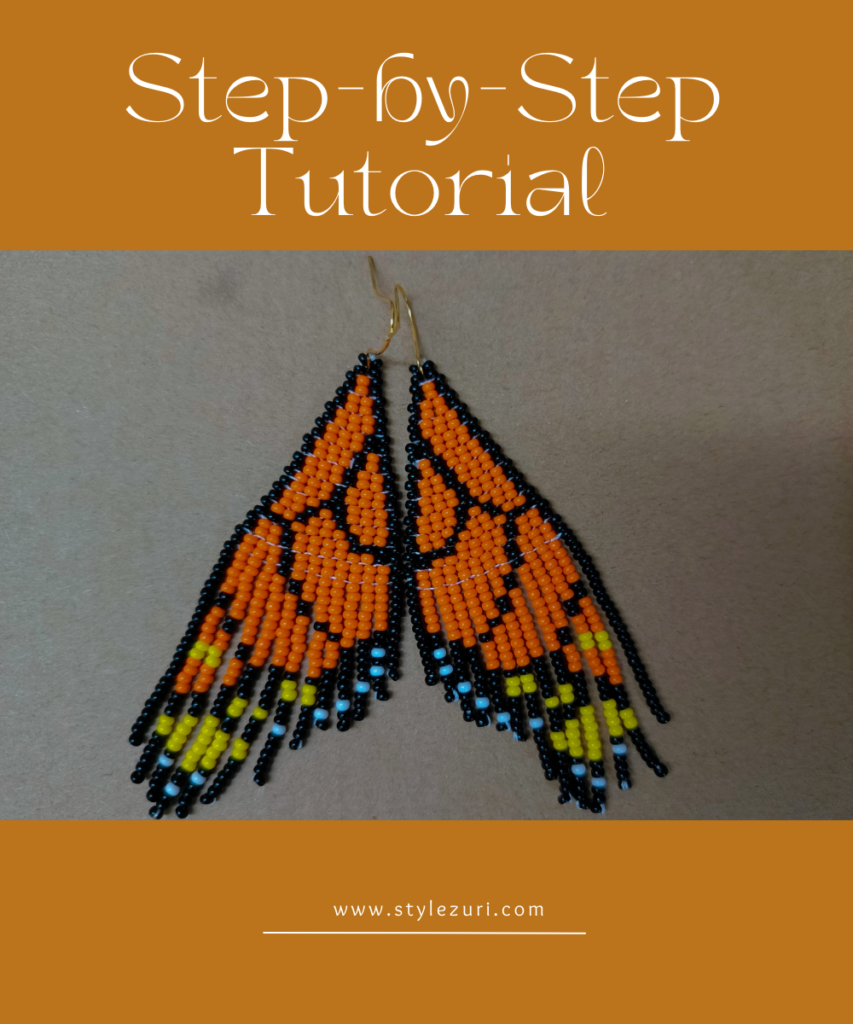
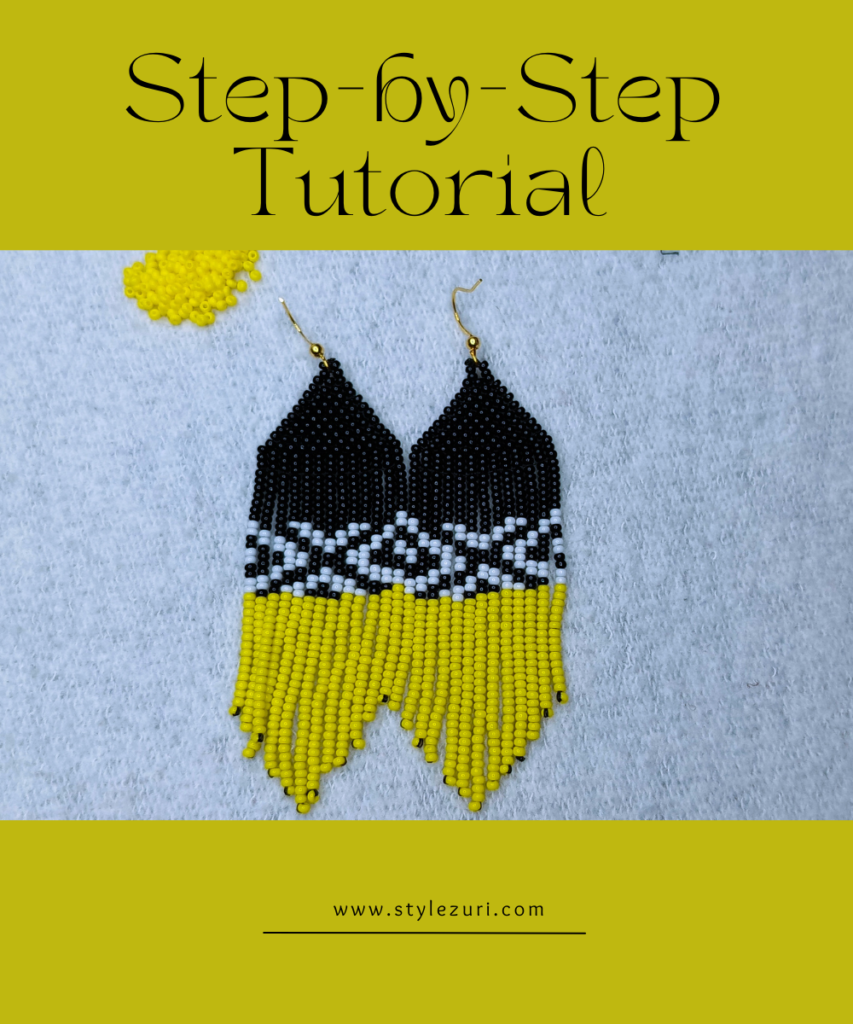
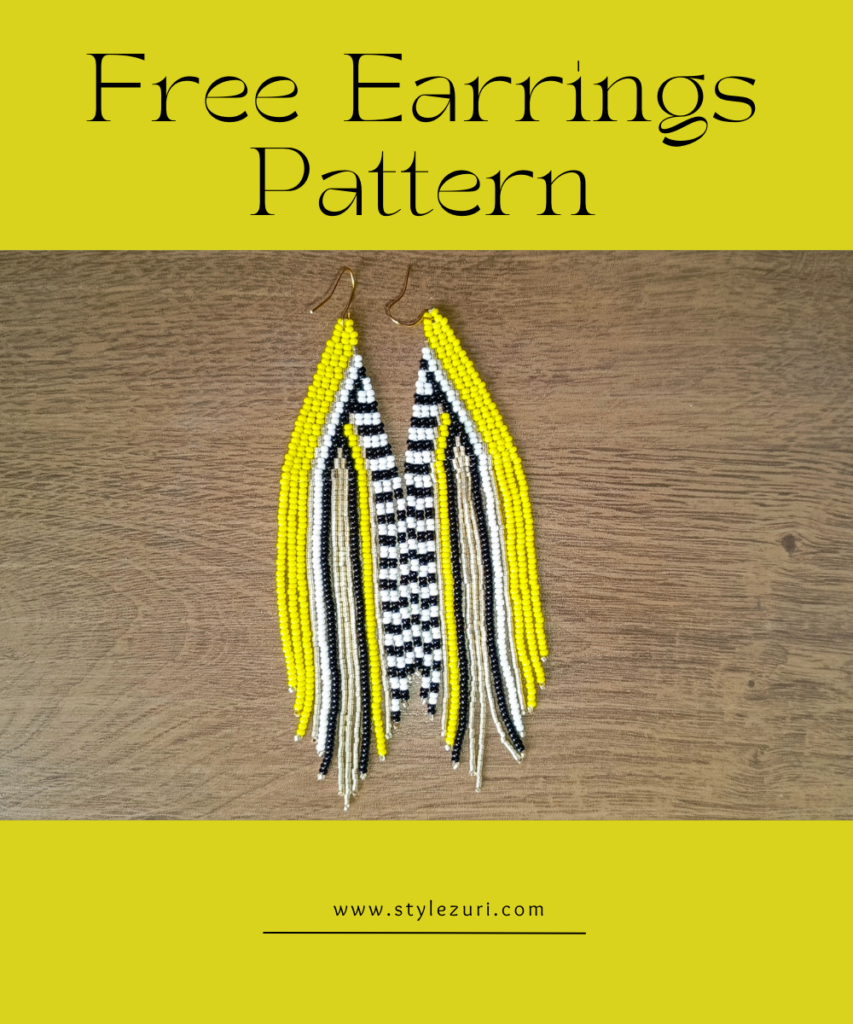
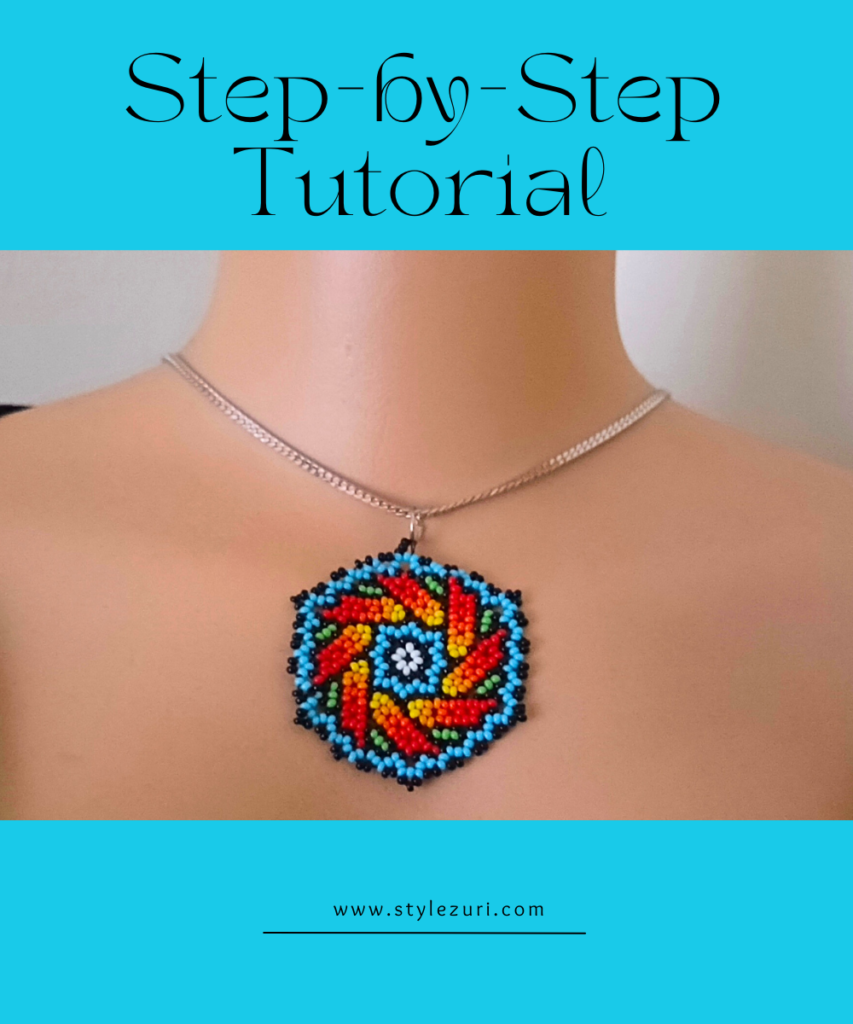
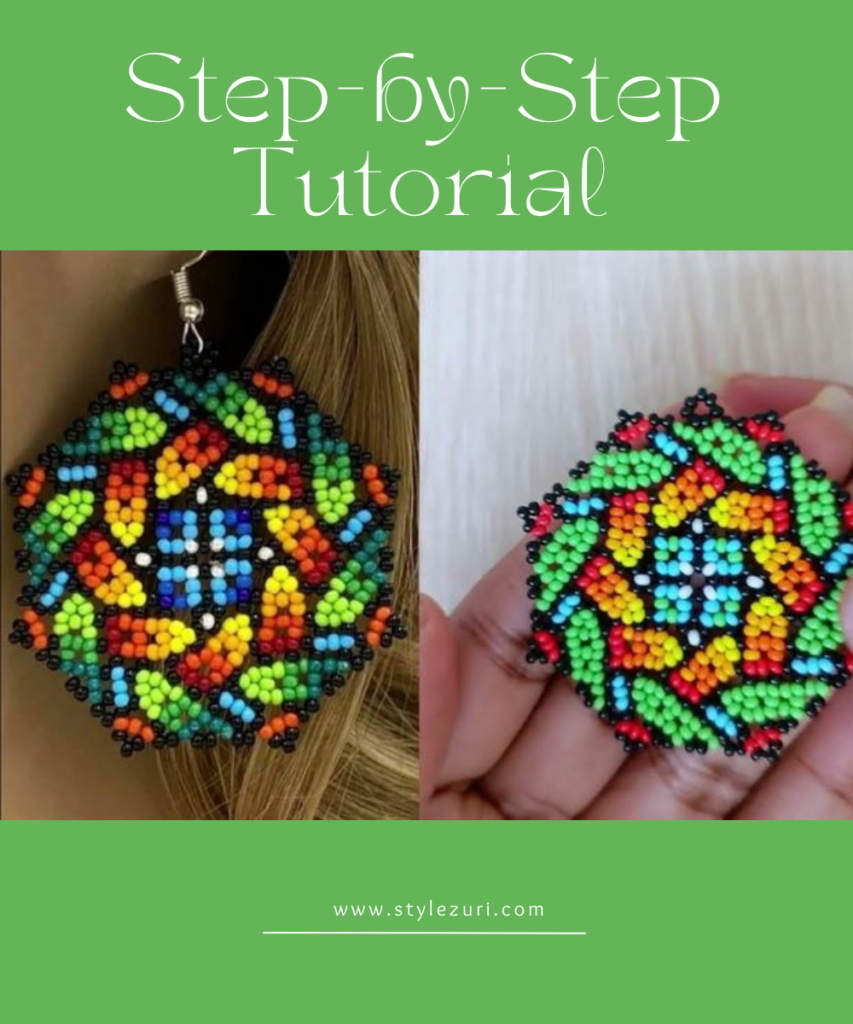
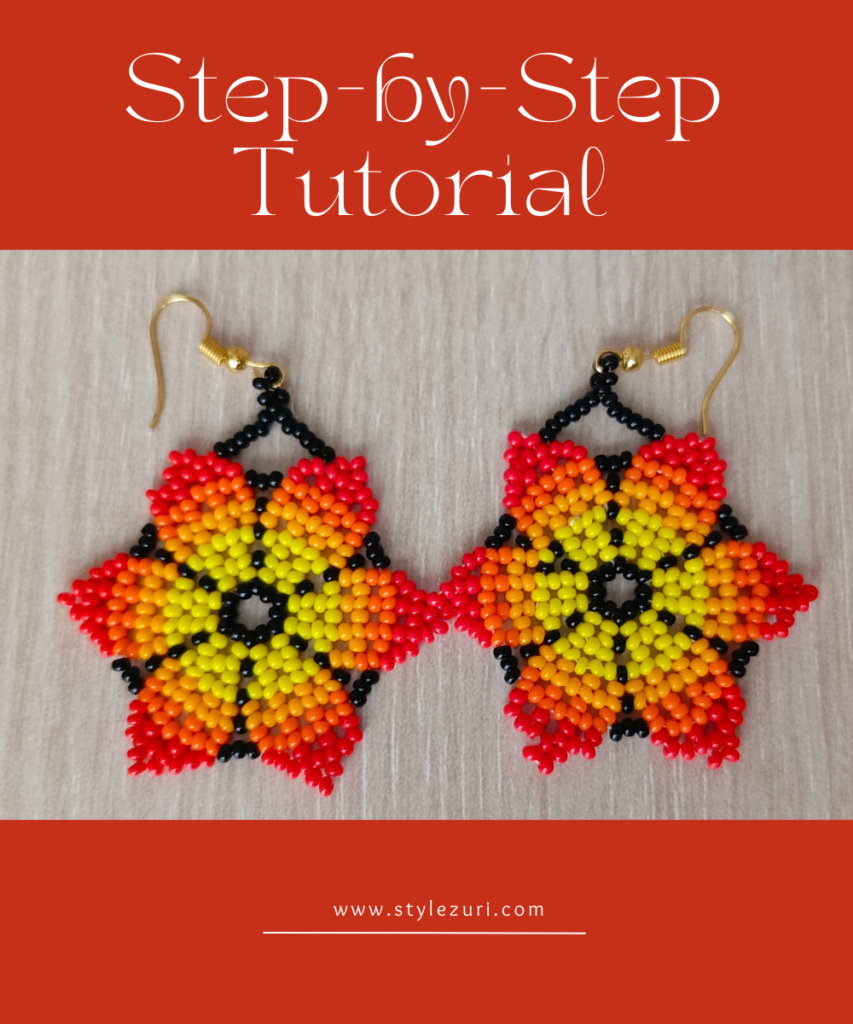
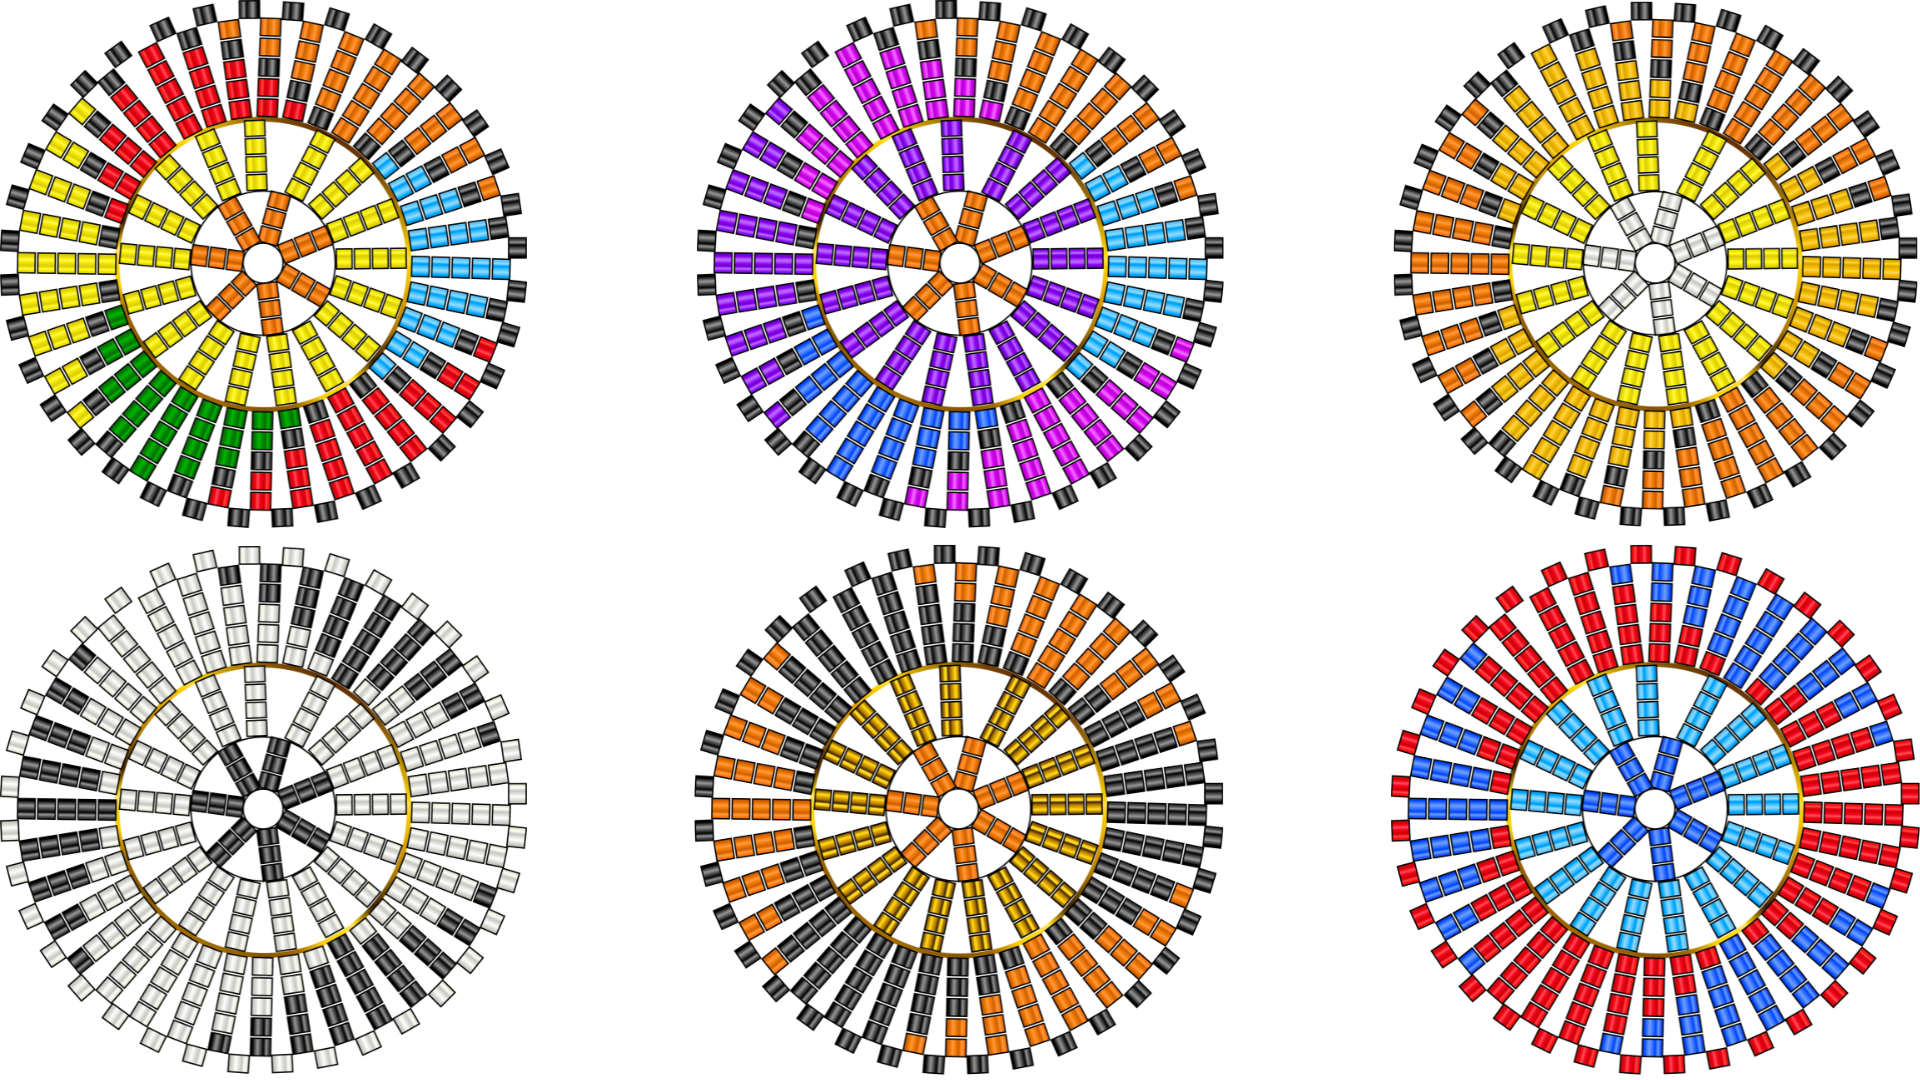
So, I just learned how to make these stunning beaded earrings that are popular in South Africa and among the Maasai, and I couldn’t wait to share the process with you! There are so many ways to create these earrings—just like cooking, there’s more than one recipe. In this tutorial, I’ll show you my preferred method, which I find easier by starting with the outer beads and working inwards. The best part? You can choose any colors you like, as the technique stays the same. Below, I’ve included beautiful examples of color combinations—you’ll see that the possibilities are endless!
Materials Needed:
- 30 mm circular ring
- Beading thread
- Needle
- Earring hooks
- Seed beads (size 10)
Now, let’s get started with this fun and creative journey into making your very own Zulu and Maasai-inspired beaded earrings!
Step 1

Thread the needle and tie a double knot around the ring. Then, pick up 11 beads in this order: 5 red beads, 2 black beads, and 4 red beads. If you don’t have a ring, you can use any round material you have available.
Step 2

Next, pass the needle through the ring and back through the last 5 beads, which are the 4 red beads and 1 black bead. Leave the 6th black bead untouched, as we’re only passing the needle through 5 beads. Then, pick up 6 beads in this order: 1 black bead, 1 orange bead, 1 black bead, and 3 red beads.
Step 3

Next, the process is similar. Pass the needle through the ring and back through the last 5 beads you just picked, which are the 3 red beads, 1 black bead, and 1 orange bead. Do not pass through the 6th bead. Pick up another 6 beads in this order: 1 black bead, 2 orange beads, 1 black bead, and 2 red beads. Repeat the same process by passing the needle through the ring and back through the 5 beads, leaving the 6th black bead untouched. Continue this pattern until you reach the end. The illustration for the remaining pattern is provided below.
STEP 4

When you get to the end, to close the beads together, pick up 1 black bead and pass the needle through the 5 red beads we started with. If you are using the same size ring and beads as I did, the beads will spread evenly. A smaller ring will have fewer gaps compared to a larger one. Once you’re done, tie a double knot around the ring, cut off the excess thread, and melt any frayed ends. That’s it—we’re done with the outer beads!
Step 5

Now that we’re done with the outer beads, it’s time to work on the inner beads, which is really easy. Start by tying a double knot around the ring, as shown in the image above.
Step 6

Next, pick up 8 yellow beads.
Step 7

Skip one space, as indicated by the red arrow, and pass the needle through the following space formed by the beads in the outer pattern we just created.
Step 8

Pass the needle through the last 4 yellow beads. The process is similar to what we did with the outer beads; the only difference is that we are working inward on the ring instead of outward.
Step 9

Next, pick up 4 yellow beads and repeat the process by skipping one space and passing the needle through the next. Then, pass the needle back through the 4 beads you just picked. So, we are simply skipping one space and passing the needle through the next. Since the beads are all yellow, there’s nothing difficult in this step. Continue doing this until you reach the end and close the circle by passing the needle through the first 4 yellow beads. Finally, tie a double knot around the ring, cut away the thread, and melt off any frayed ends.
Step 10

So, that’s it! The illustration doesn’t have the correct number of inner beads, so don’t panic. Just follow the instructions, and you will achieve a great outcome.
Step 11

Now, repeat what you did for the inner part by working on another inner section, but this time we’ll be using 3 beads at a time. Skip one loop and pass the needle through the next. Essentially, it’s the same as the previous inner step. Do the same for this innermost space using orange beads, or feel free to use any color you prefer—it all depends on your color choices.
The Fringe

For the fringe, it’s easy! Pass the needle through the outermost black beads that we previously skipped. Pick the desired number of beads you want for the fringe, and pass the needle through them, skipping the last 3 yellow beads and passing the needle through the remaining beads to create a flower-like end with the 3 yellow beads at the tip. Then, pass the needle through the next black bead and repeat the process.

Pick the desired number of beads you want for the fringe based on the length you prefer. You can play around with the style and colors! The illustration is just to show how the thread for the fringes passes from one black bead to another.
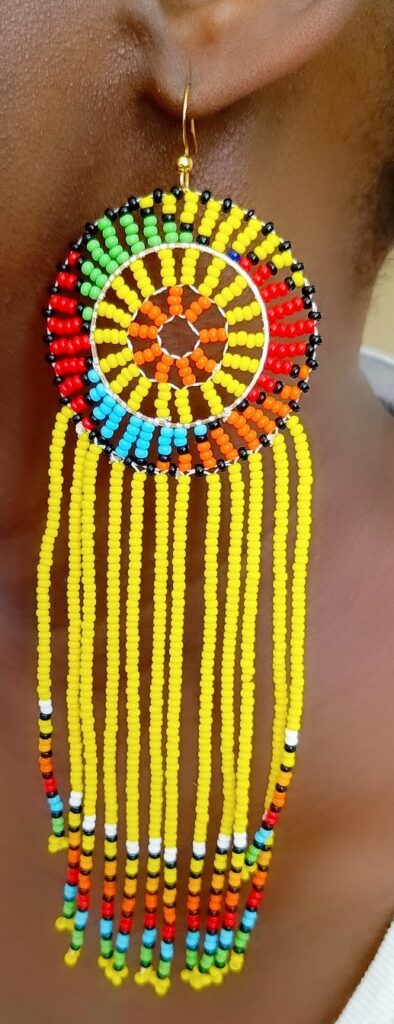
Congratulations on completing your Zulu/Maasai beaded earrings! By following these steps, you’ve not only created beautiful jewelry but also embraced a rich cultural tradition. Remember, the beauty of beading lies in your creativity—feel free to experiment with different colors, styles, and lengths to make each piece uniquely yours. Whether you’re wearing them or gifting them, these earrings are sure to make a statement.
