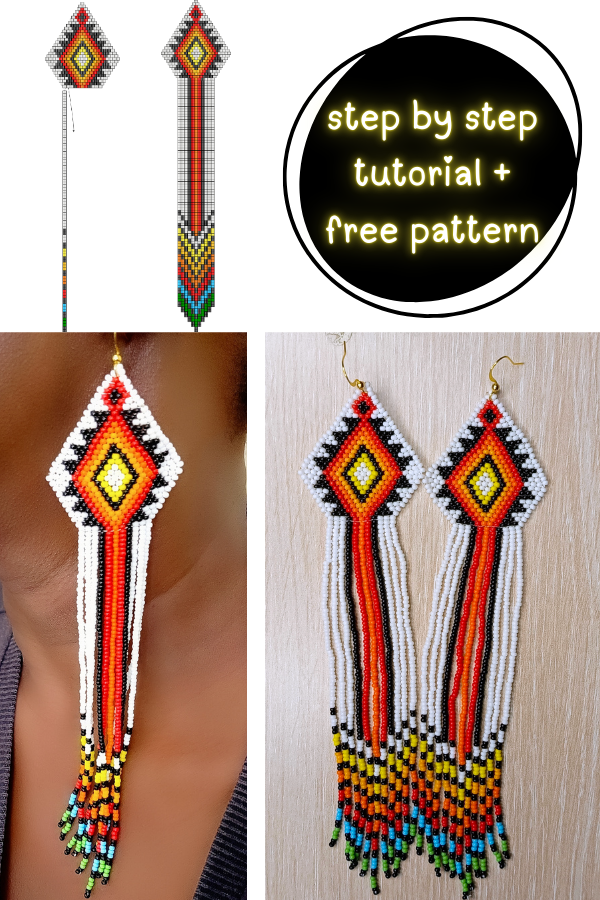
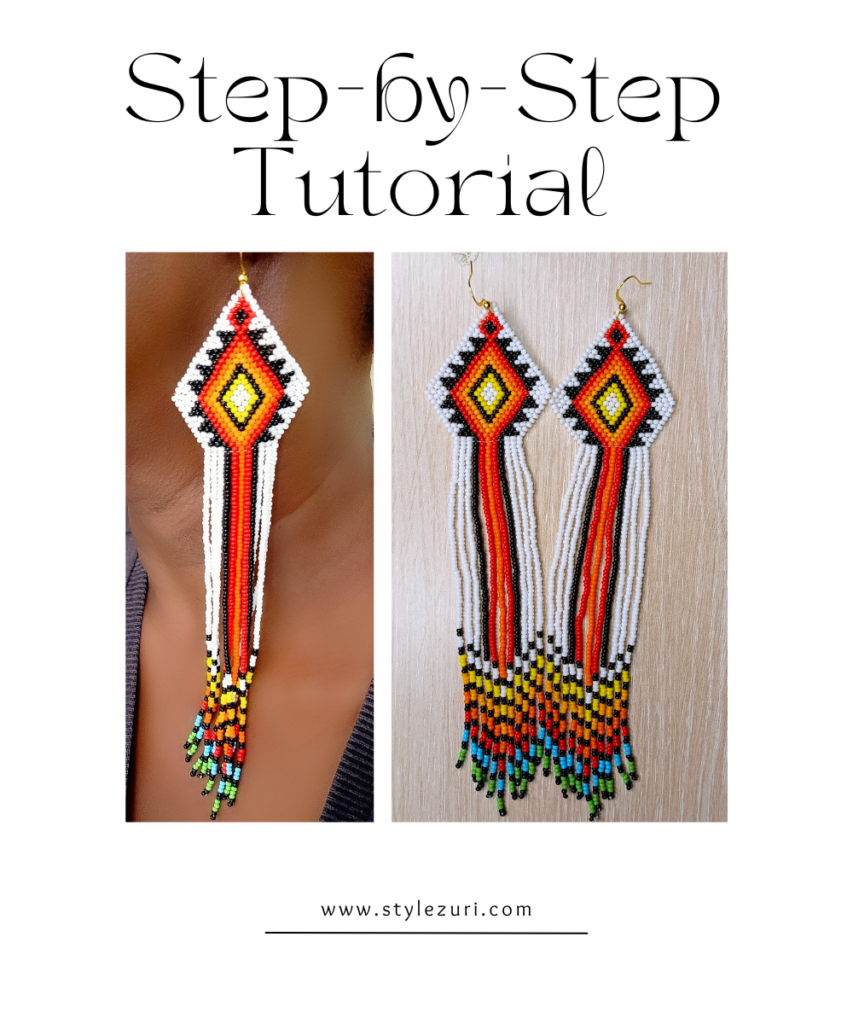
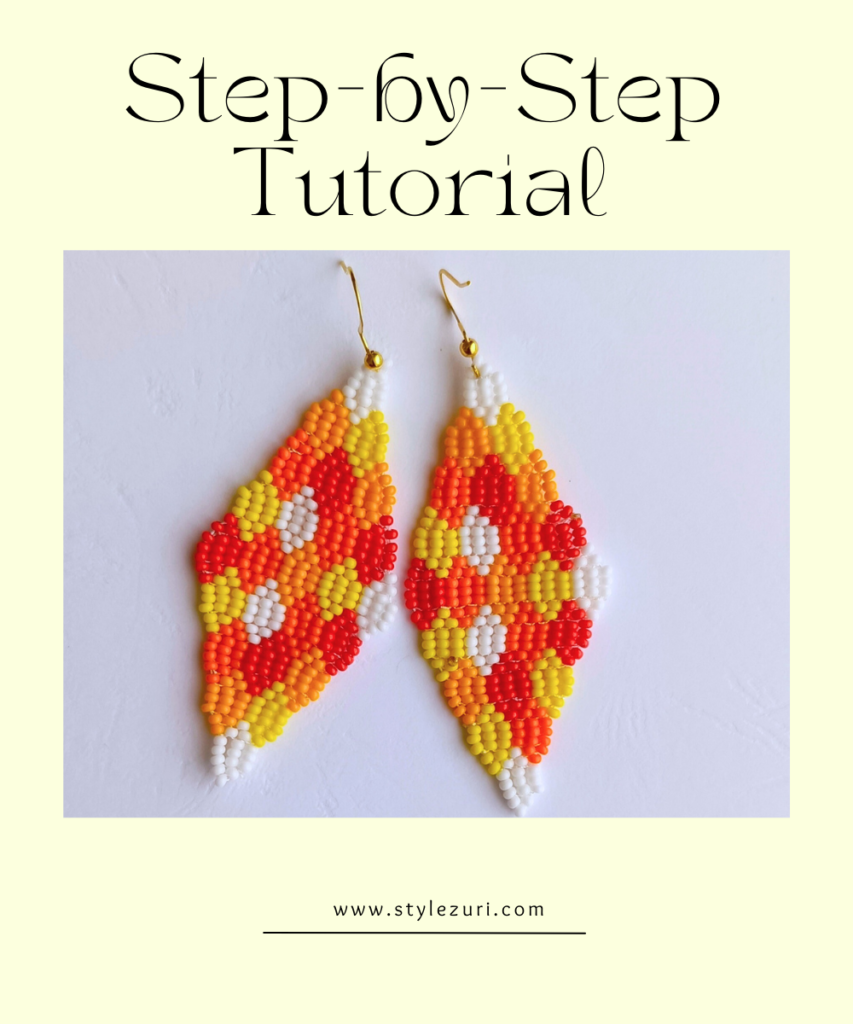
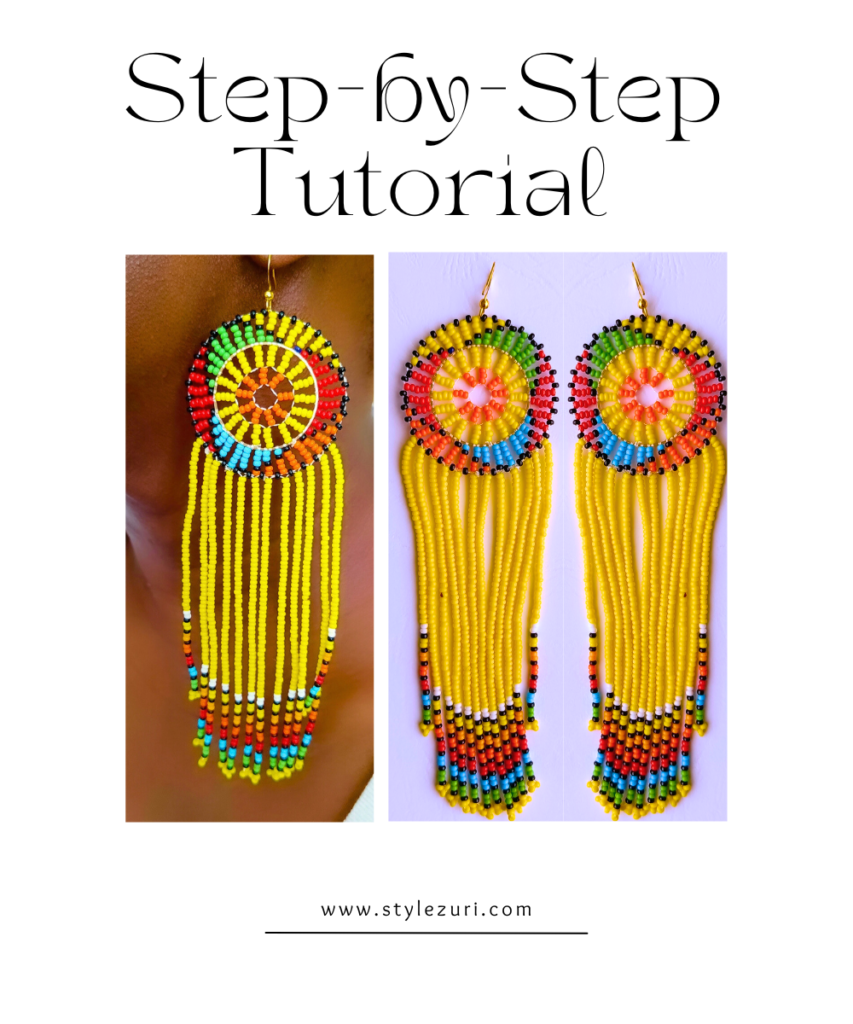
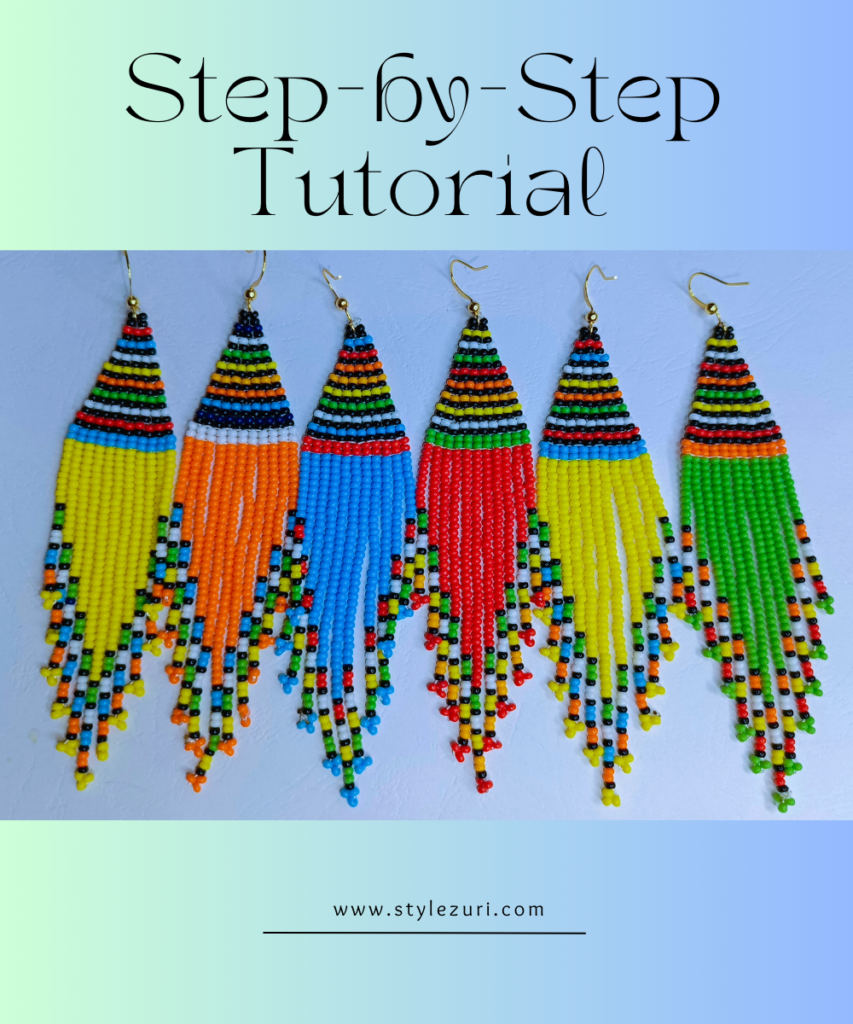
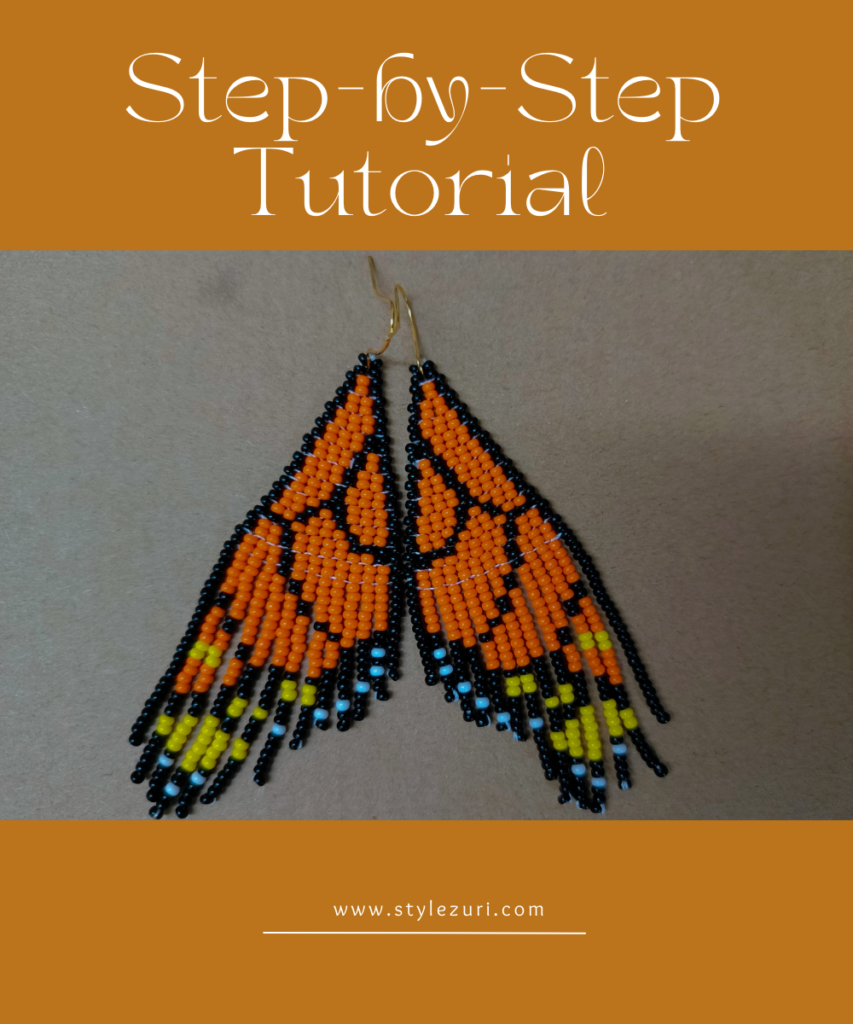
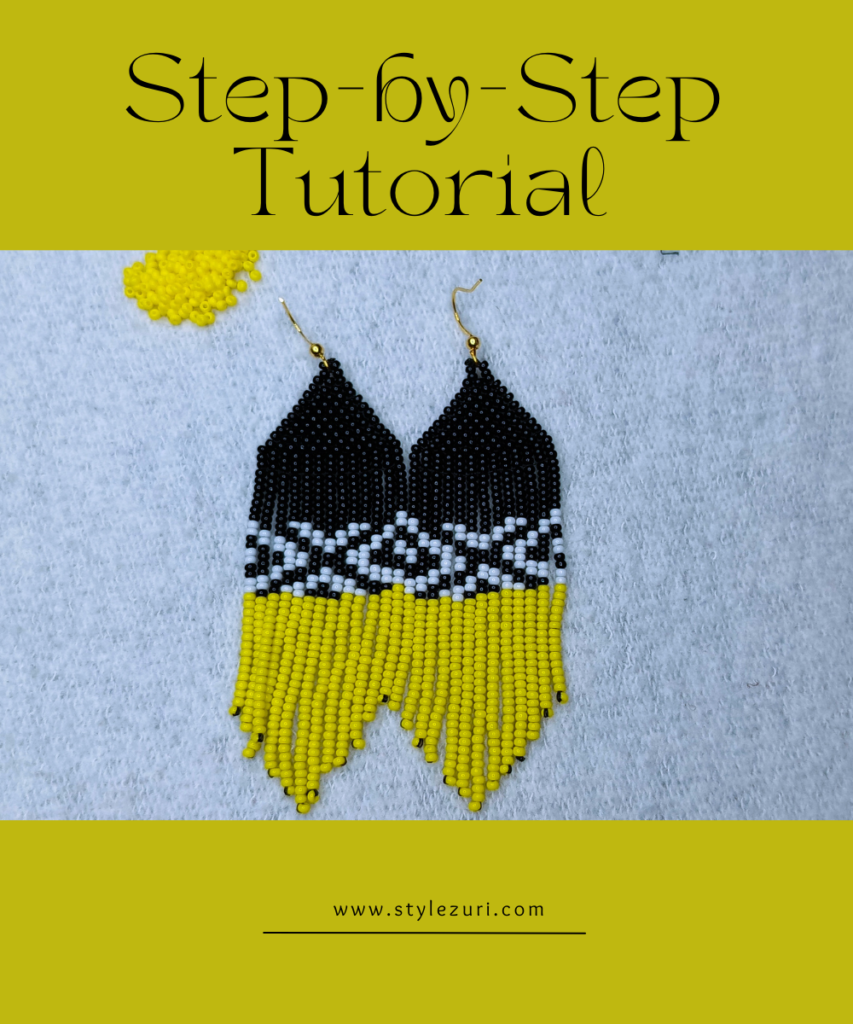
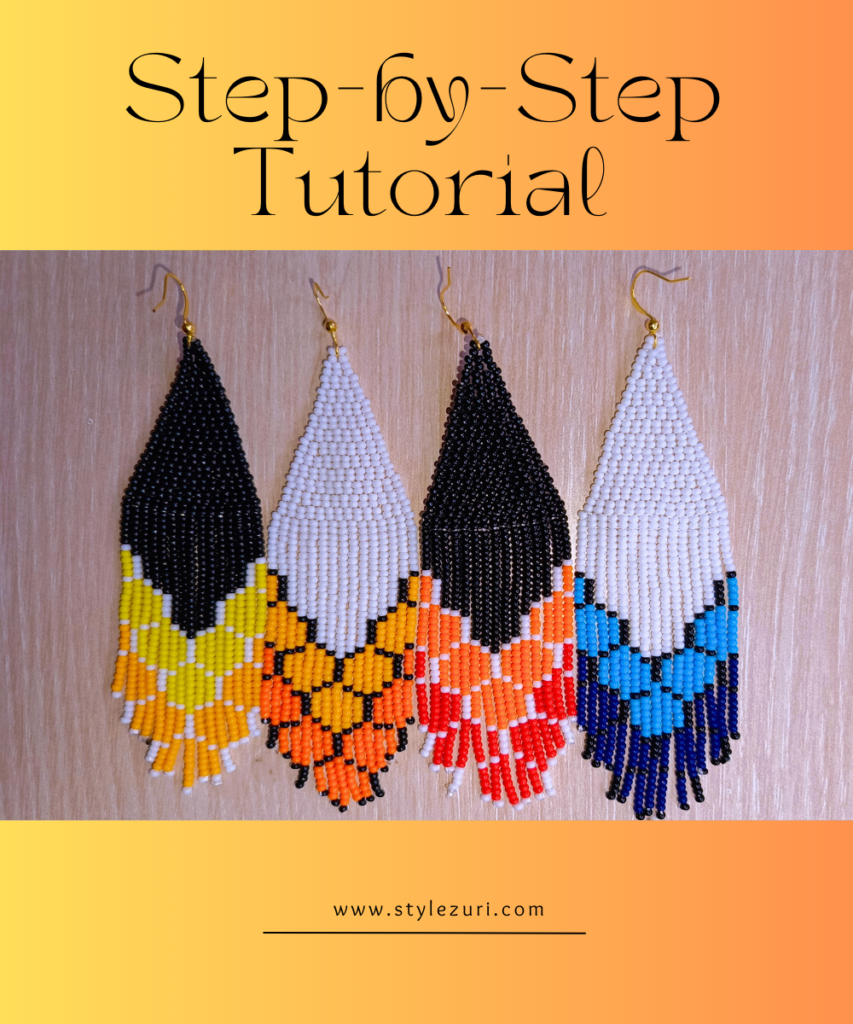
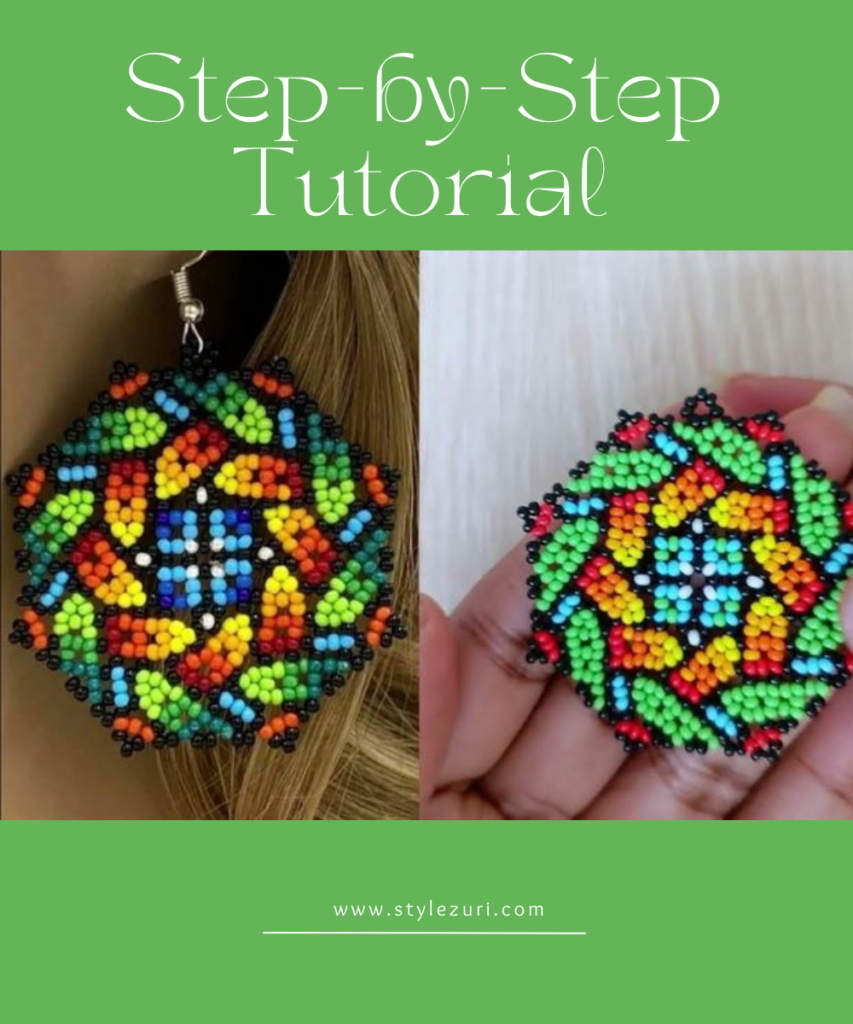
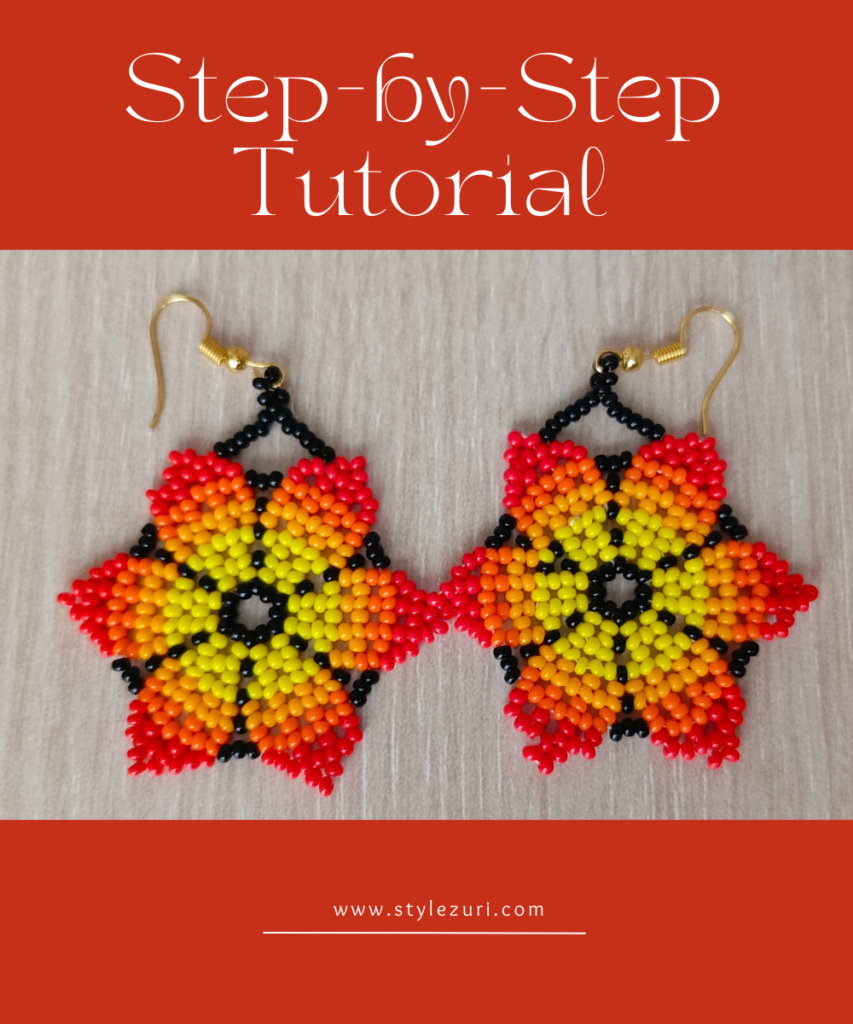
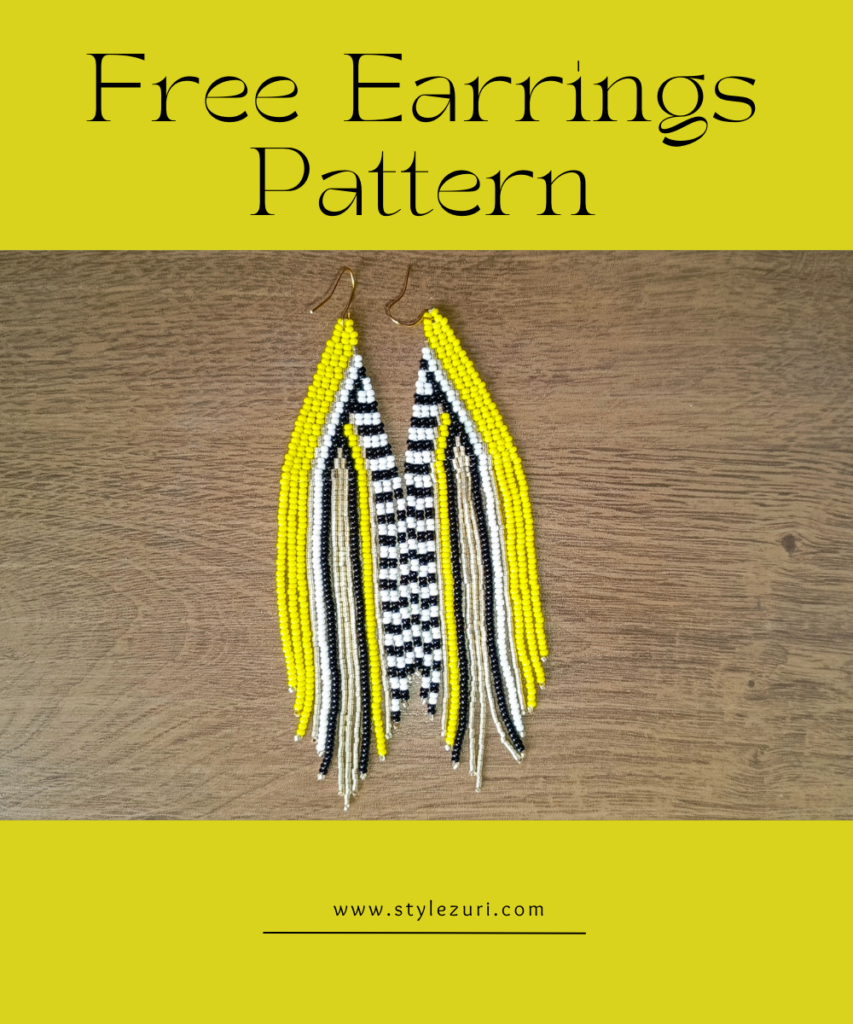
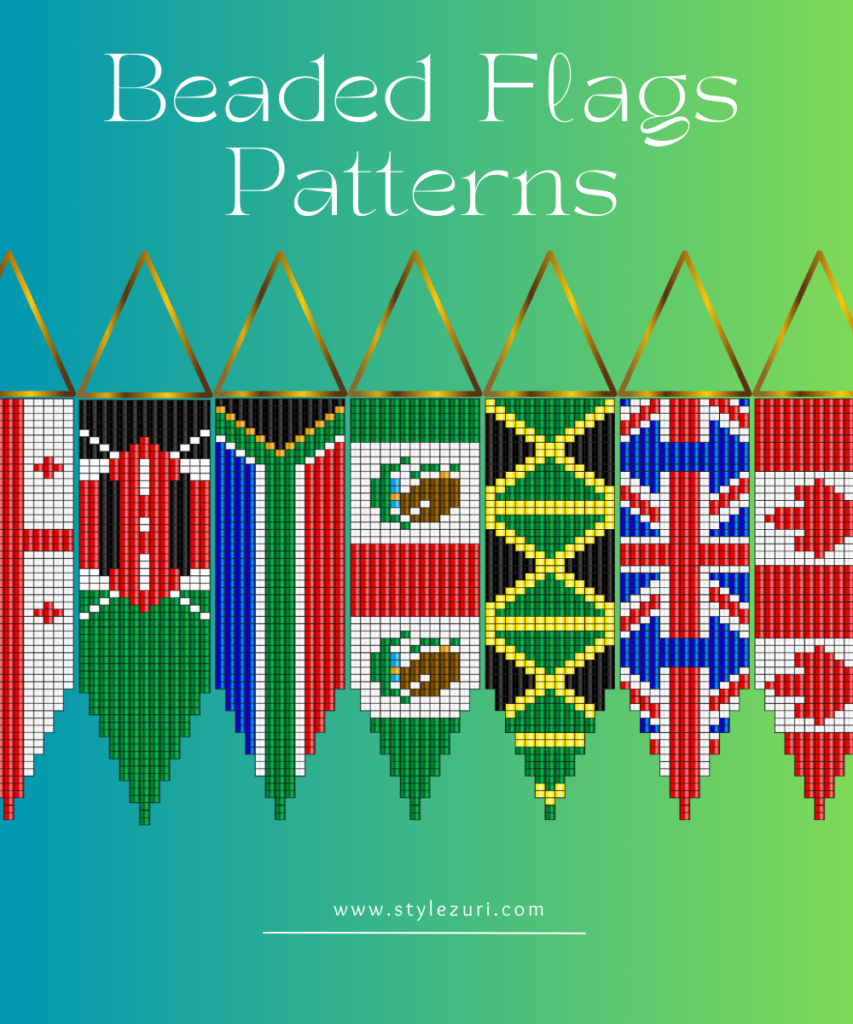
So today, we’re making these beautiful Native American-style long earrings. They’re designed to be extra-long, but feel free to customize the length to suit your style—it’s a free world when it comes to beading! You can also experiment with different colors; just take a look at the examples in this picture for inspiration.
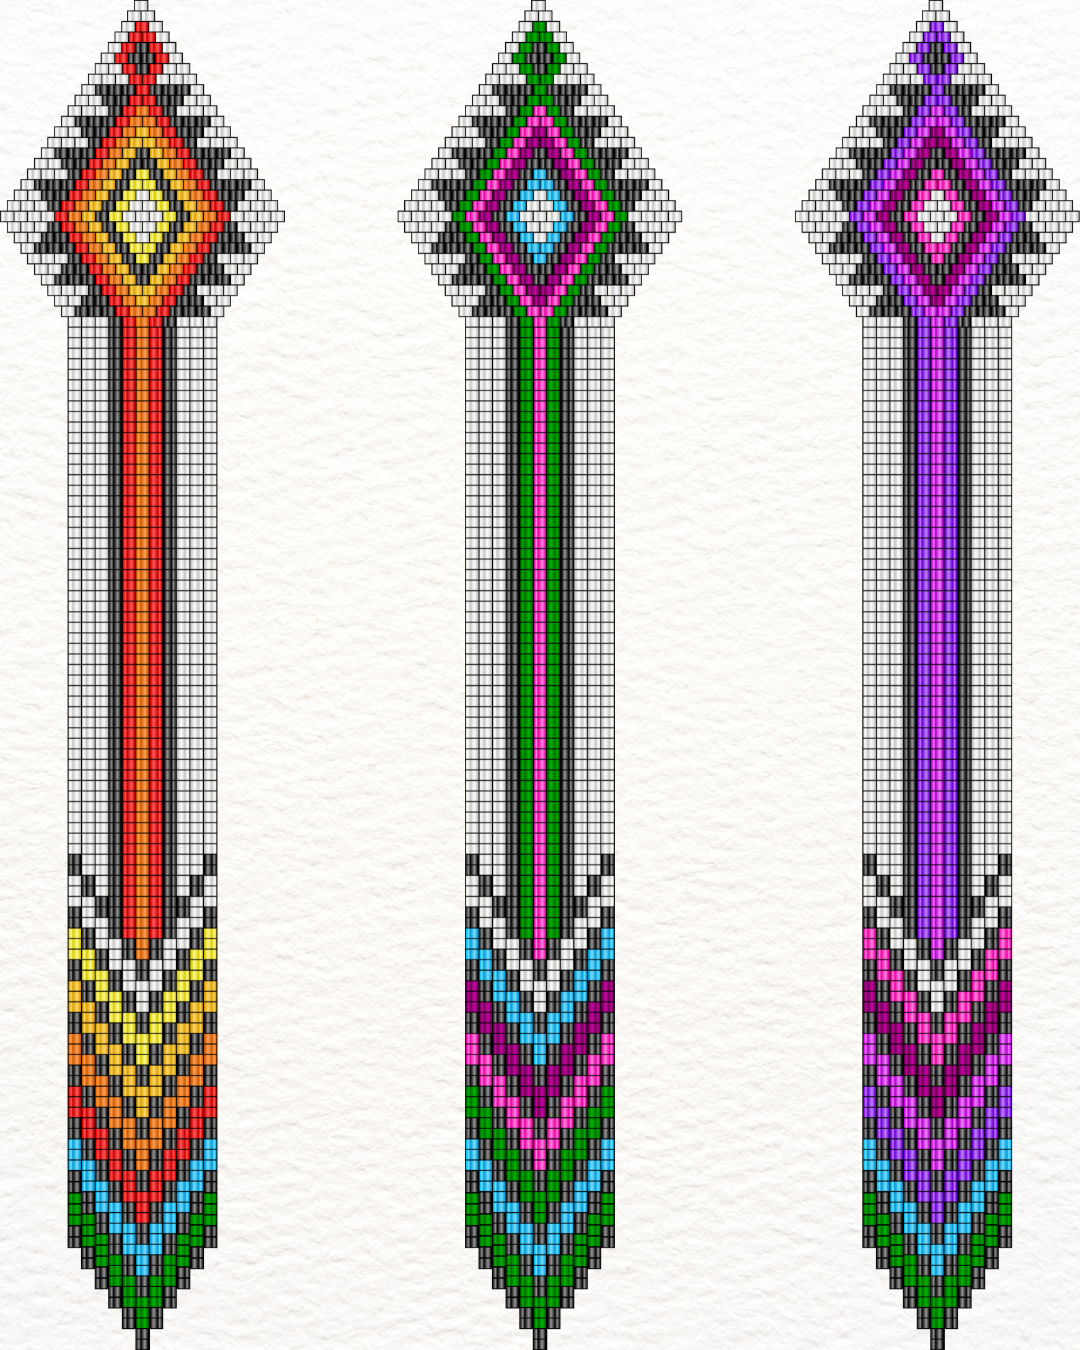
Materials Needed:
- Size 10 Czech seed beads:
- 469 white beads
- 402 black beads
- 205 red beads
- 133 orange beads
- 65 light orange beads
- 49 yellow beads
- 33 blue beads
- 33 green beads
- Beading needle
- Thread
- Earring hooks
- Scissors or thread cutter
You can easily find these materials at BeeBeeCraft. If you prefer watching the tutorial, you can check out the video on YouTube, or simply scroll down to watch it here. Now, let’s get started!
Step 1

Thread the needle and pick up 2 white beads. Pass the needle back through the first bead and then through the second bead. This forms a single ladder stitch, where you’ll be working with one bead at a time.
Step 2

Next, pick up 1 white bead and pass the needle back through the last bead, then through the bead you just picked up. Repeat this process until you have a total of 21 beads in the row. Follow the color sequence shown below.
Step 3

That completes the first row. Make sure to pick the beads according to the color sequence, as it’s essential for creating the overall pattern.
Step 4

To begin the second row, pick up 2 beads—in this case, 2 white beads. Always start each row with 2 beads.
Step 5

Next, skip the first stitch loop (the loops are formed between the beads in the first row) and pass the needle through the second stitch loop.
Step 6

Next, pass the needle back through the last bead. For extra reinforcement, you can pass the needle back through the first bead and then through the last bead again. This is how I like to start each row.
Step 7

Now, pick up 1 white bead and pass the needle through the next stitch loop, then back through the bead you just picked up. Continue this process until you reach the last loop, following the color order shown in the illustration below. This technique is called brick stitch.
Step 8

Make sure to follow the colors in the illustration, as they form the overall pattern. Remember, each new row starts by picking up 2 beads and passing the needle through the second stitch loop, skipping the first. Continue using the brick stitch technique as described, until you reach the last loop.
Step 9

Now that you’re familiar with the technique and the entire process, the key is to follow the color pattern. The illustration below clearly shows which colors to pick. Continue this until you reach the last row, where you will pick just 1 bead.
Recap of the Top Section
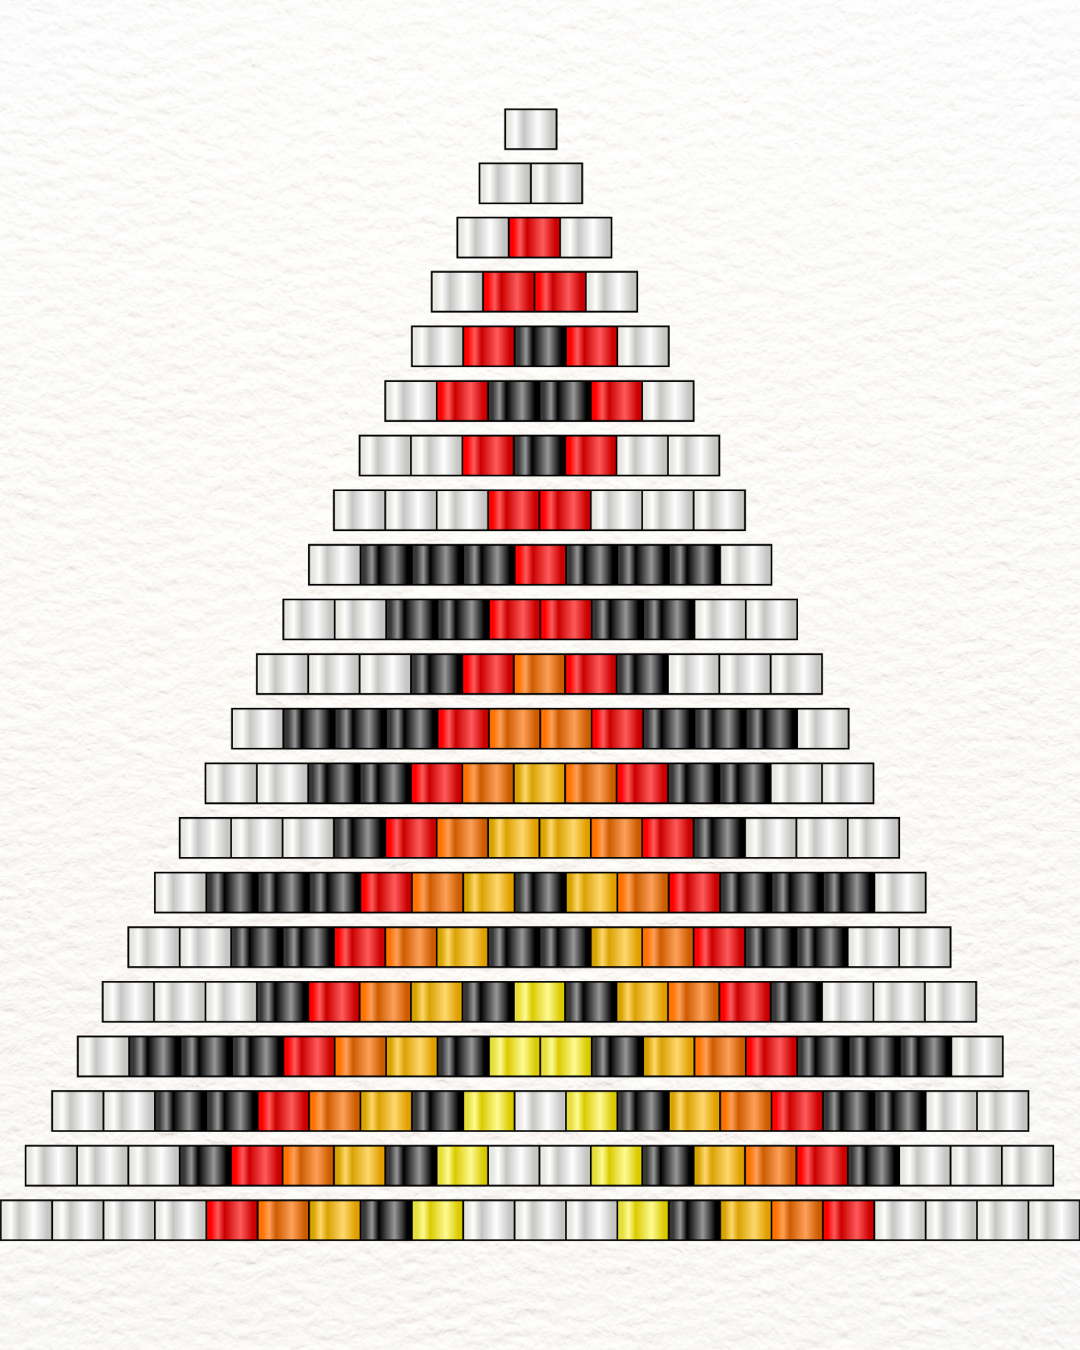
Step 10
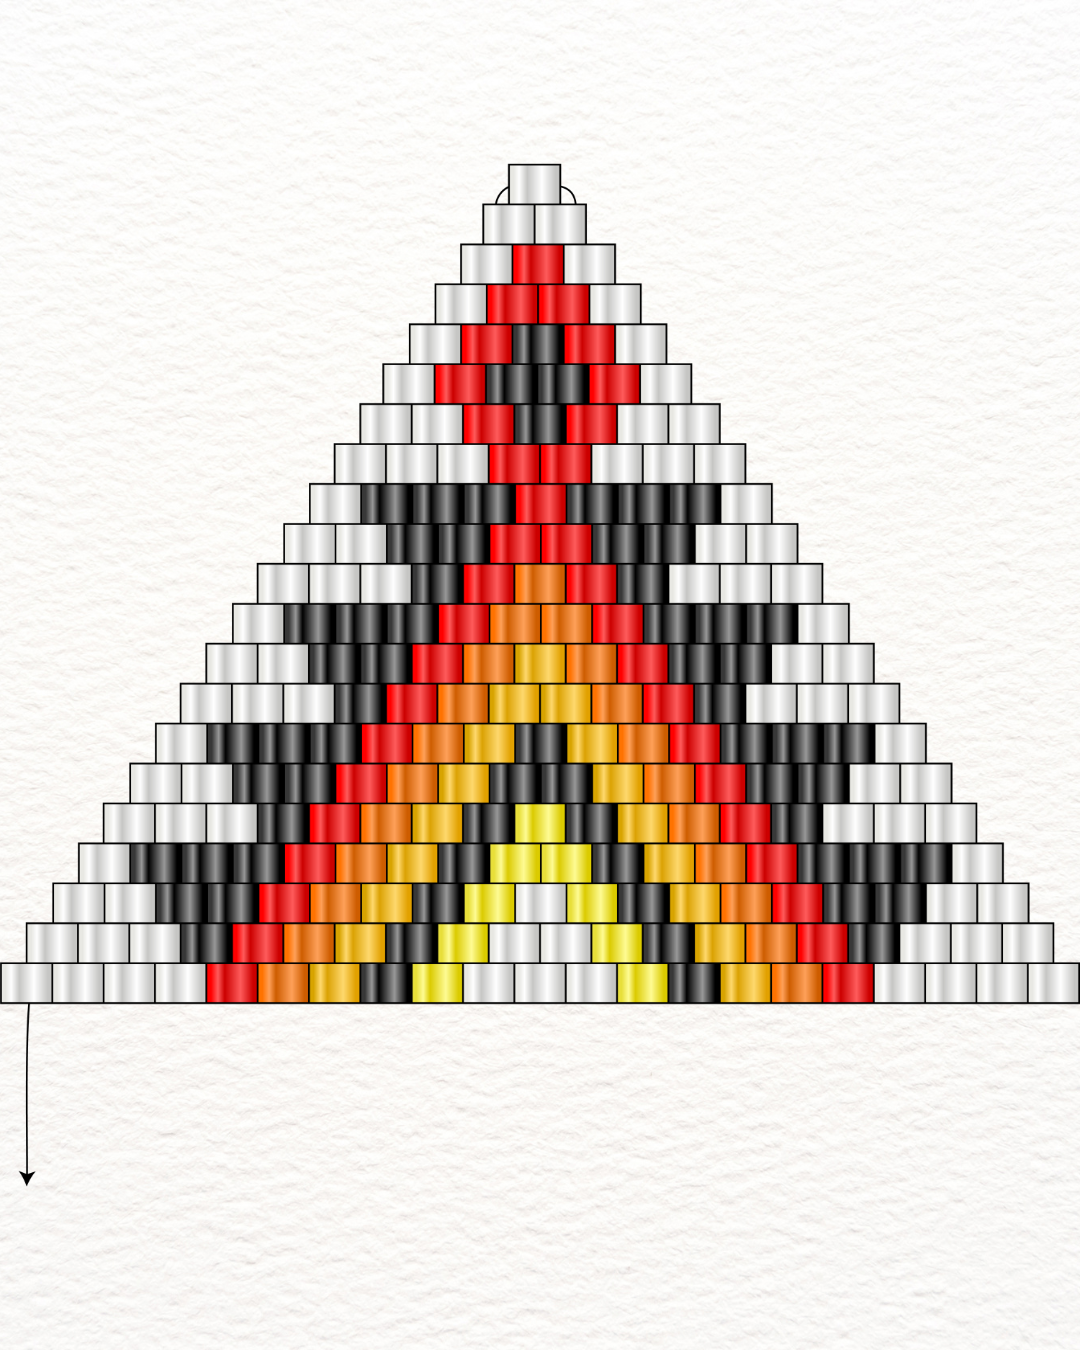
Congratulations! You’ve completed the top half of the earring—see how easy that was. Now, don’t cut the thread. Instead, pass the needle all the way through from the last row back to the first row where we started working.
Step 11
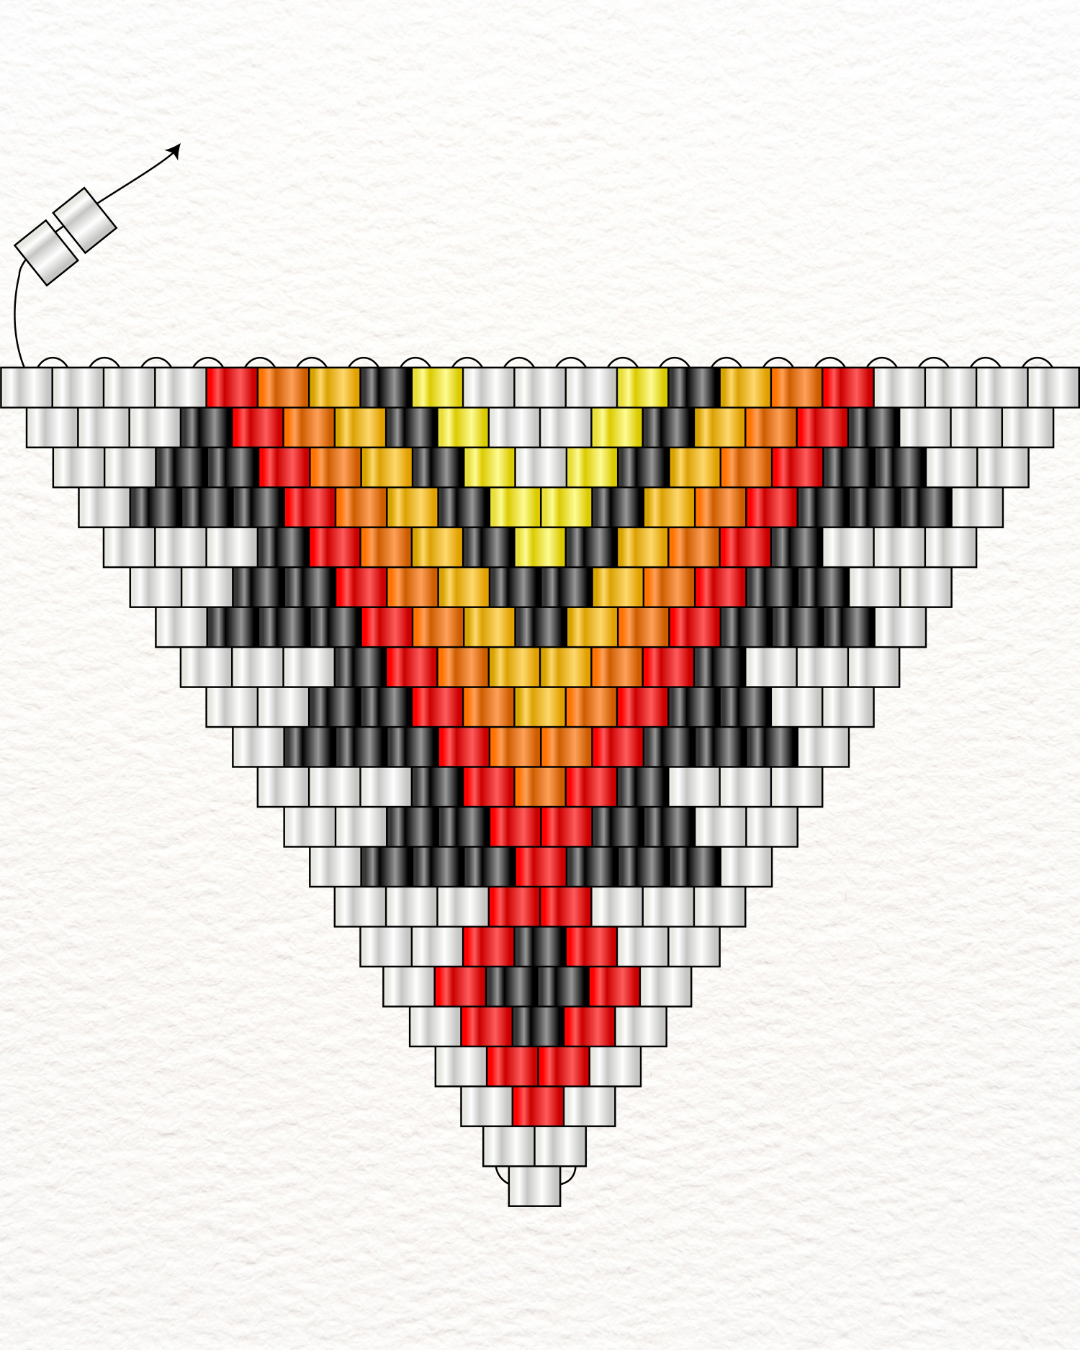
Now, turn your work and treat it as if you are starting from the second row. This part is simply a repetition of what you did in the second row: pick up 2 white beads to start the row.
Step 12
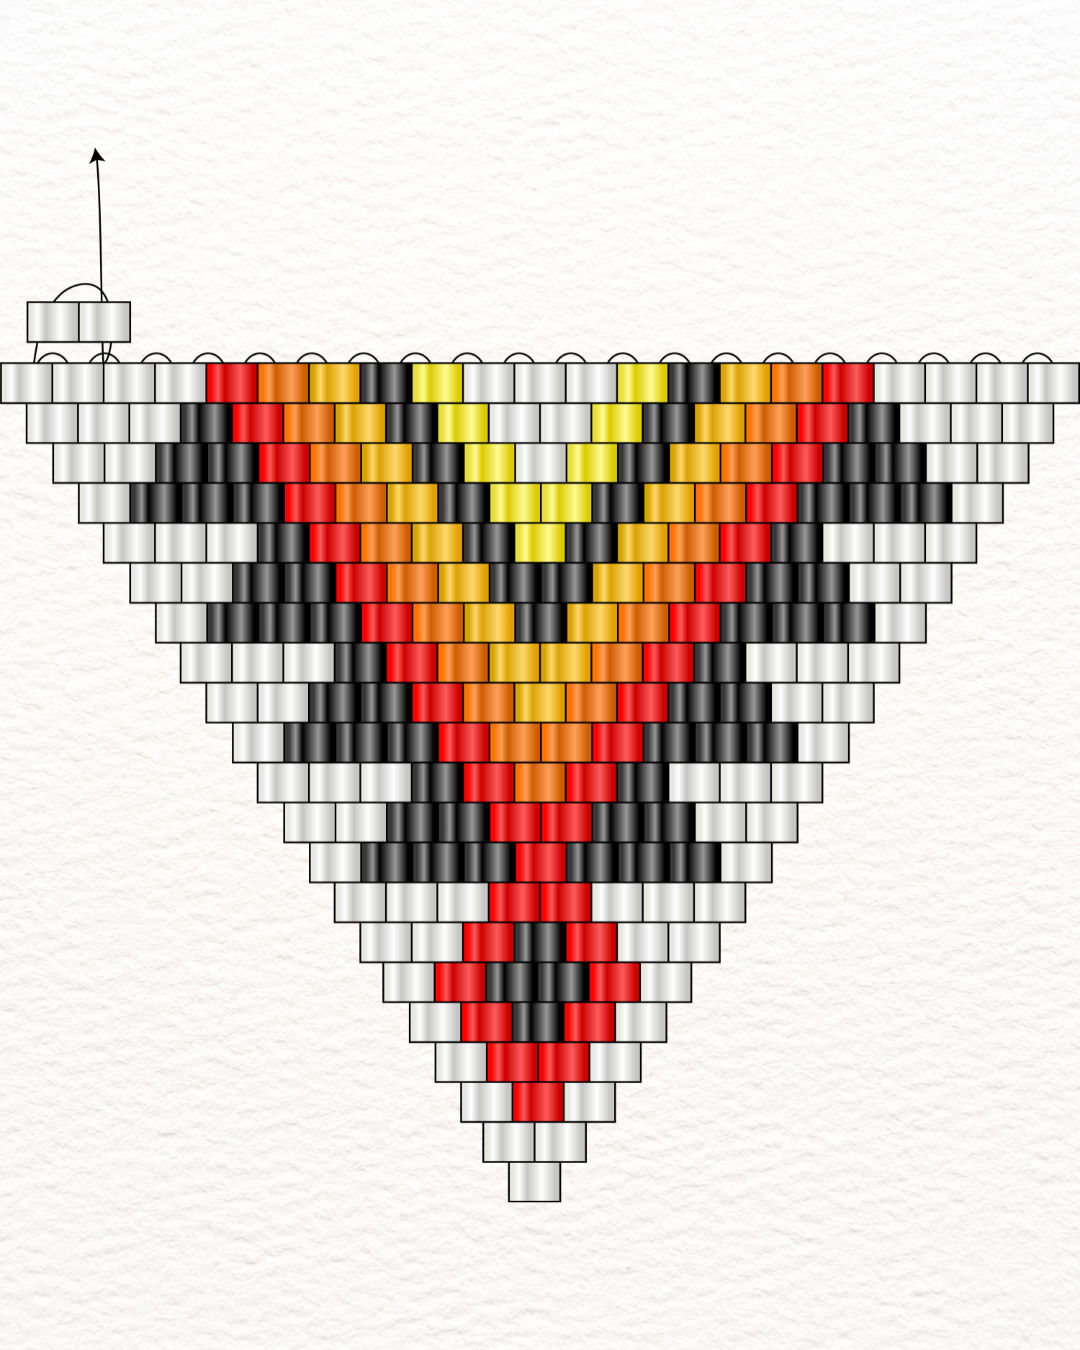
Remember, this is a repetition of the first half starting from the second row. Continue this process until you reach the 11th row, then stop there. The illustration below clearly shows where to stop. Do not complete all the rows this time; instead, stop at row 11, where you will have 11 beads in that row.
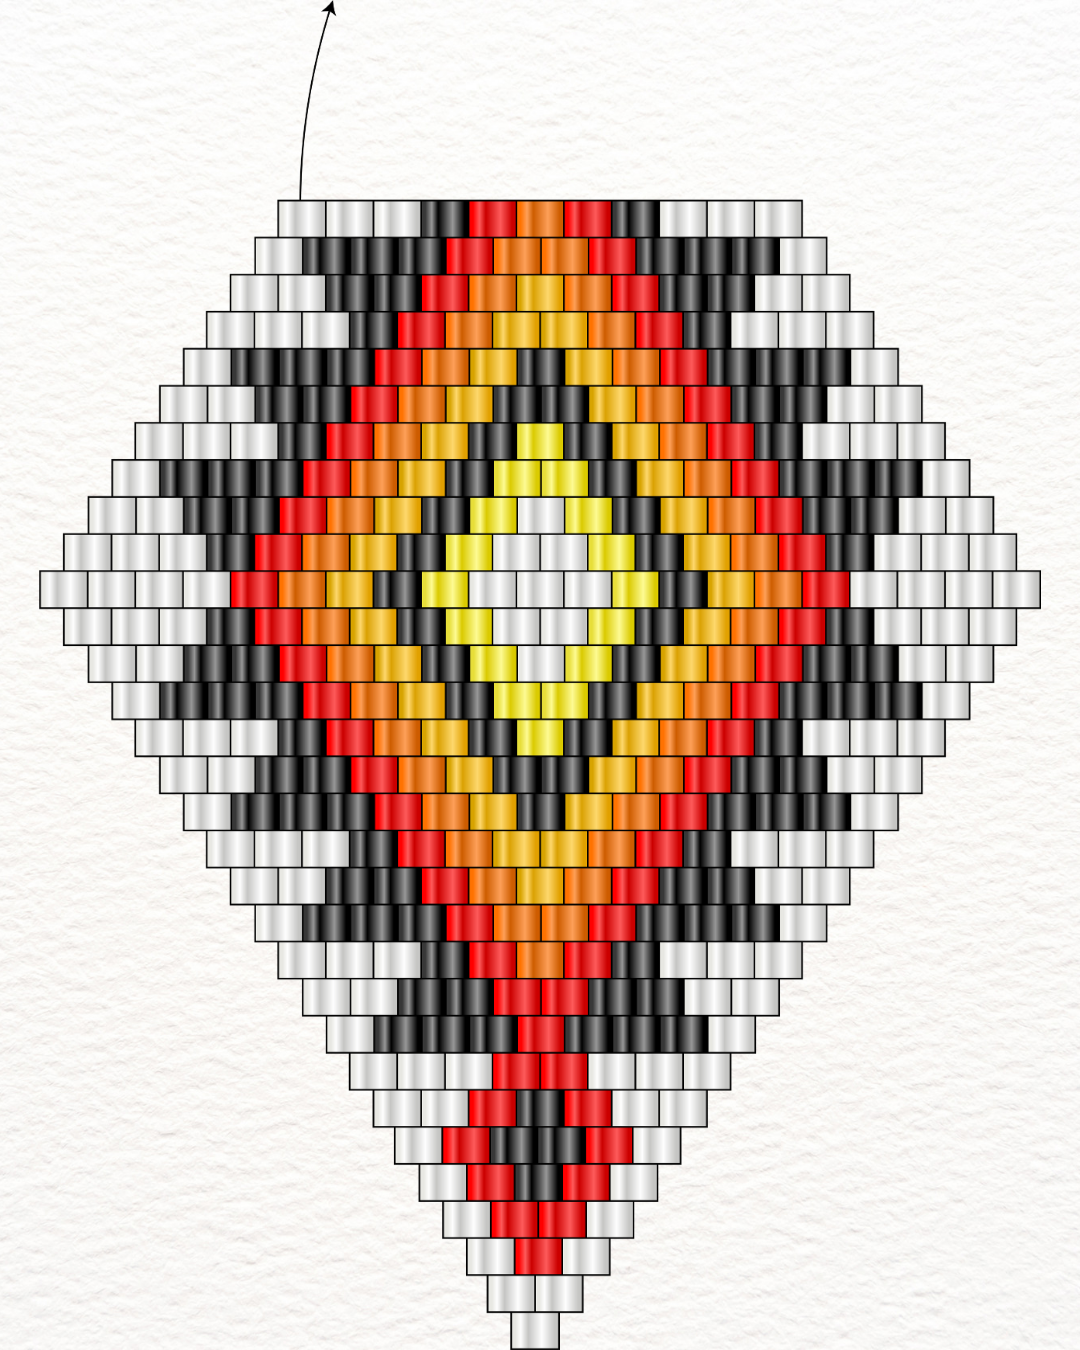
Congratulations! You have completed the entire first part of the earrings. From here, just turn your work and start picking beads for the fringe.
Making the Fringe
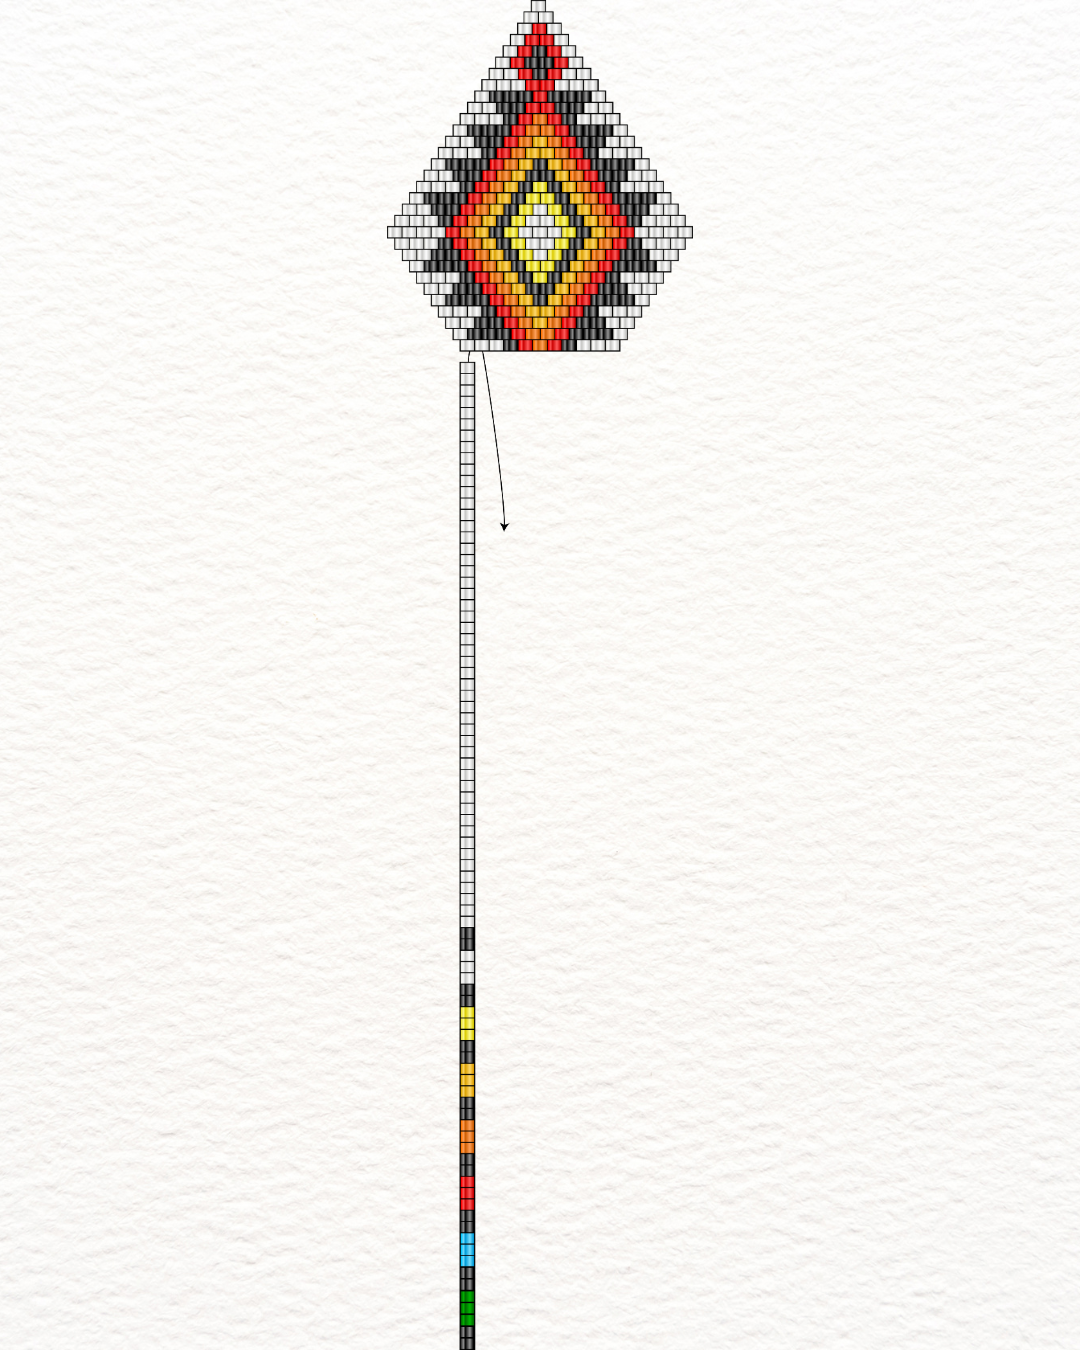
Now, for the fringe, it’s super easy! Just pick up the required number of beads in the correct order, then pass the needle back through all the beads except the last one, going all the way to the first bead in the base row. After that, pass the needle through the second bead in the base row. From here, you can start picking beads for the second fringe. Continue this process until you complete the last fringe. The instructions for the fringe are provided below.
Instructions for the Fringe
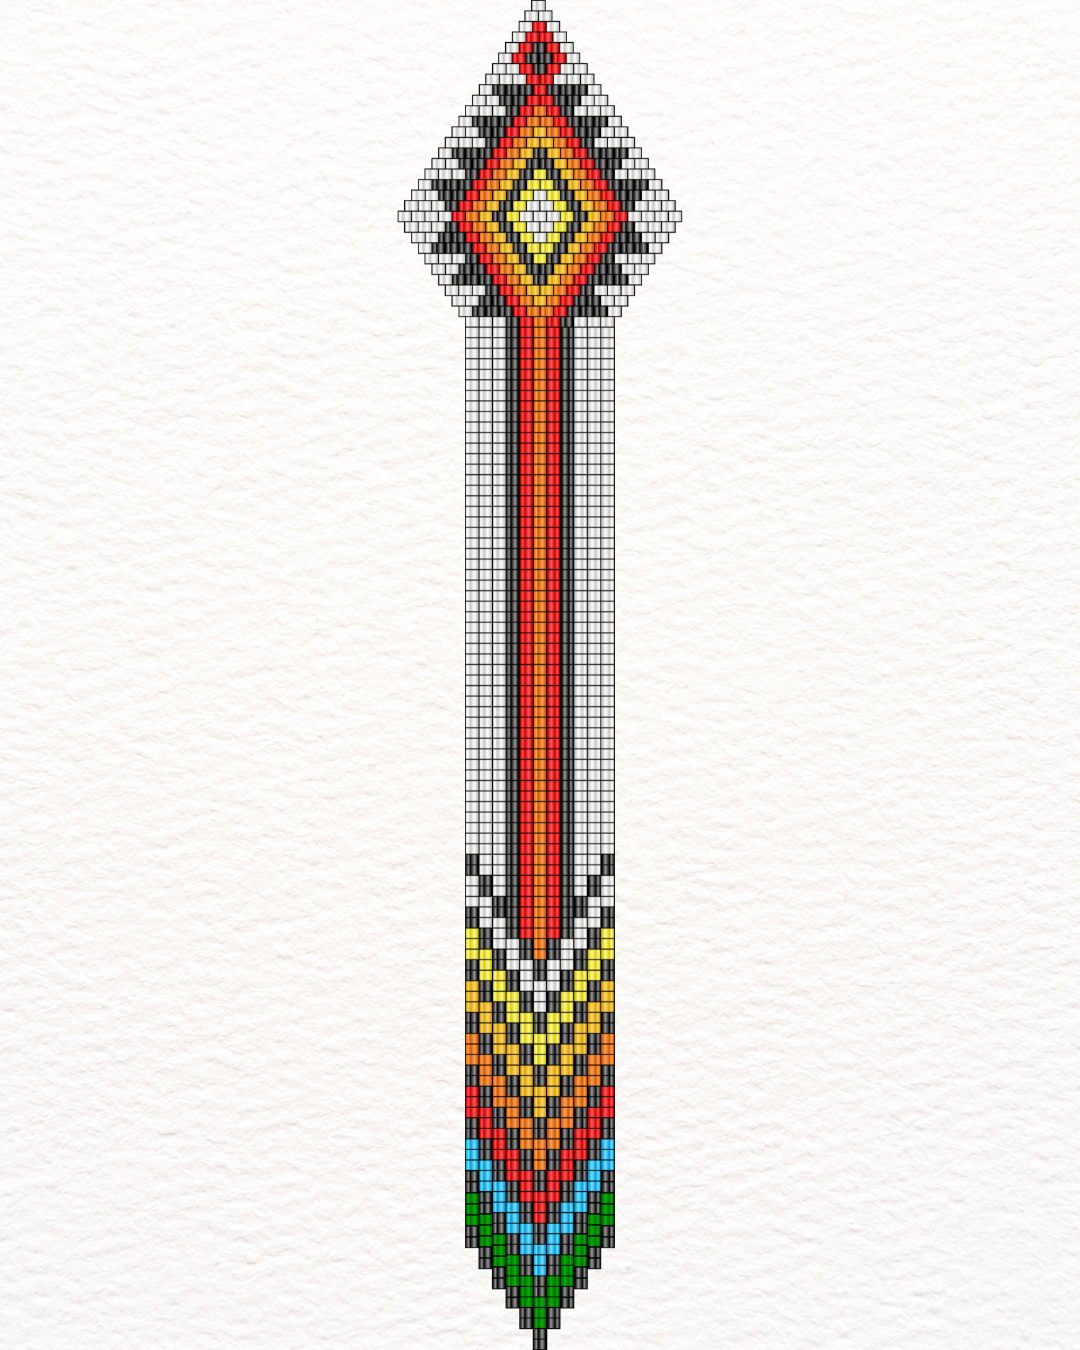
Fringe 1: 50 white beads, 2 black beads, 3 white beads, 2 black beads, 3 yellow beads, 2 black beads, 3 light orange beads, 2 black beads, 3 orange beads, 2 black beads, 3 red beads, 2 black beads, 3 blue beads, 2 black beads, 3 green beads, 2 black beads.
Fringe 2: 52 white beads, 2 black beads, 3 white beads, 2 black beads, 3 yellow beads, 2 black beads, 3 light orange beads, 2 black beads, 3 orange beads, 2 black beads, 3 red beads, 2 black beads, 3 blue beads, 2 black beads, 3 green beads, 2 black beads.
Fringe 3: 54 white beads, 2 black beads, 3 white beads, 2 black beads, 3 yellow beads, 2 black beads, 3 light orange beads, 2 black beads, 3 orange beads, 2 black beads, 3 red beads, 2 black beads, 3 blue beads, 2 black beads, 3 green beads, 2 black beads.
Fringe 4: 58 black beads, 3 white beads, 2 black beads, 3 yellow beads, 2 black beads, 3 light orange beads, 2 black beads, 3 orange beads, 2 black beads, 3 red beads, 2 black beads, 3 blue beads, 2 black beads, 3 green beads, 2 black beads.
Fringe 5: 58 red beads, 2 black beads, 3 white beads, 2 black beads, 3 yellow beads, 2 black beads, 3 light orange beads, 2 black beads, 3 orange beads, 2 black beads, 3 red beads, 2 black beads, 3 blue beads, 2 black beads, 3 green beads, 2 black beads.
Fringe 6: 60 orange beads, 2 black beads, 3 white beads, 2 black beads, 3 yellow beads, 2 black beads, 3 light orange beads, 2 black beads, 3 orange beads, 2 black beads, 3 red beads, 2 black beads, 3 blue beads, 2 black beads, 3 green beads, 2 black beads.
Fringe 7: 58 red beads, 2 black beads, 3 white beads, 2 black beads, 3 yellow beads, 2 black beads, 3 light orange beads, 2 black beads, 3 orange beads, 2 black beads, 3 red beads, 2 black beads, 3 blue beads, 2 black beads, 3 green beads, 2 black beads.
Fringe 8: 58 black beads, 3 white beads, 2 black beads, 3 yellow beads, 2 black beads, 3 light orange beads, 2 black beads, 3 orange beads, 2 black beads, 3 red beads, 2 black beads, 3 blue beads, 2 black beads, 3 green beads, 2 black beads.
Fringe 9: 54 white beads, 2 black beads, 3 white beads, 2 black beads, 3 yellow beads, 2 black beads, 3 light orange beads, 2 black beads, 3 orange beads, 2 black beads, 3 red beads, 2 black beads, 3 blue beads, 2 black beads, 3 green beads, 2 black beads.
Fringe 10: 52 white beads, 2 black beads, 3 white beads, 2 black beads, 3 yellow beads, 2 black beads, 3 light orange beads, 2 black beads, 3 orange beads, 2 black beads, 3 red beads, 2 black beads, 3 blue beads, 2 black beads, 3 green beads, 2 black beads.
Fringe 11: 50 white beads, 2 black beads, 3 white beads, 2 black beads, 3 yellow beads, 2 black beads, 3 light orange beads, 2 black beads, 3 orange beads, 2 black beads, 3 red beads, 2 black beads, 3 blue beads, 2 black beads, 3 green beads, 2 black beads.

Watch Video Tutorial
Congratulations on creating your stunning Native American-style long beaded earrings! By following the steps and techniques outlined in this tutorial, you’ve not only learned a beautiful craft but also embraced the creativity and freedom that comes with beading. Remember, the color combinations and lengths can always be adjusted to reflect your unique style. Whether you’re making these earrings for yourself or as a thoughtful gift, each pair will carry the love and effort you put into them.
