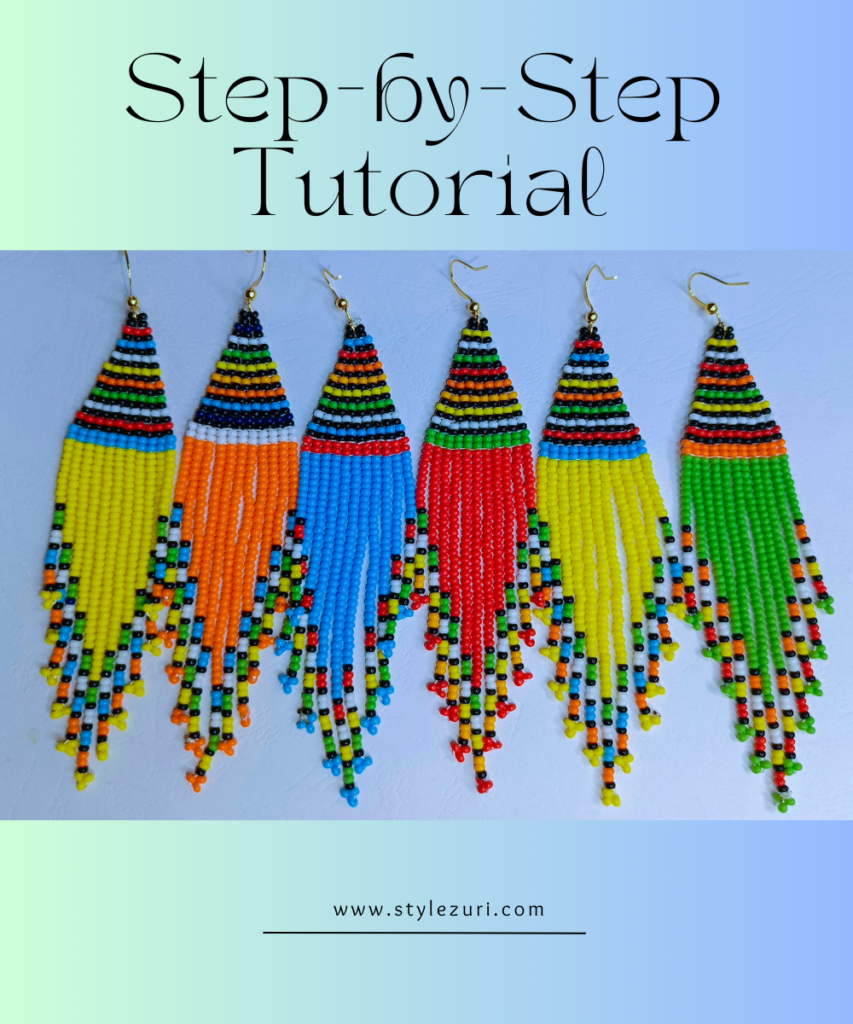
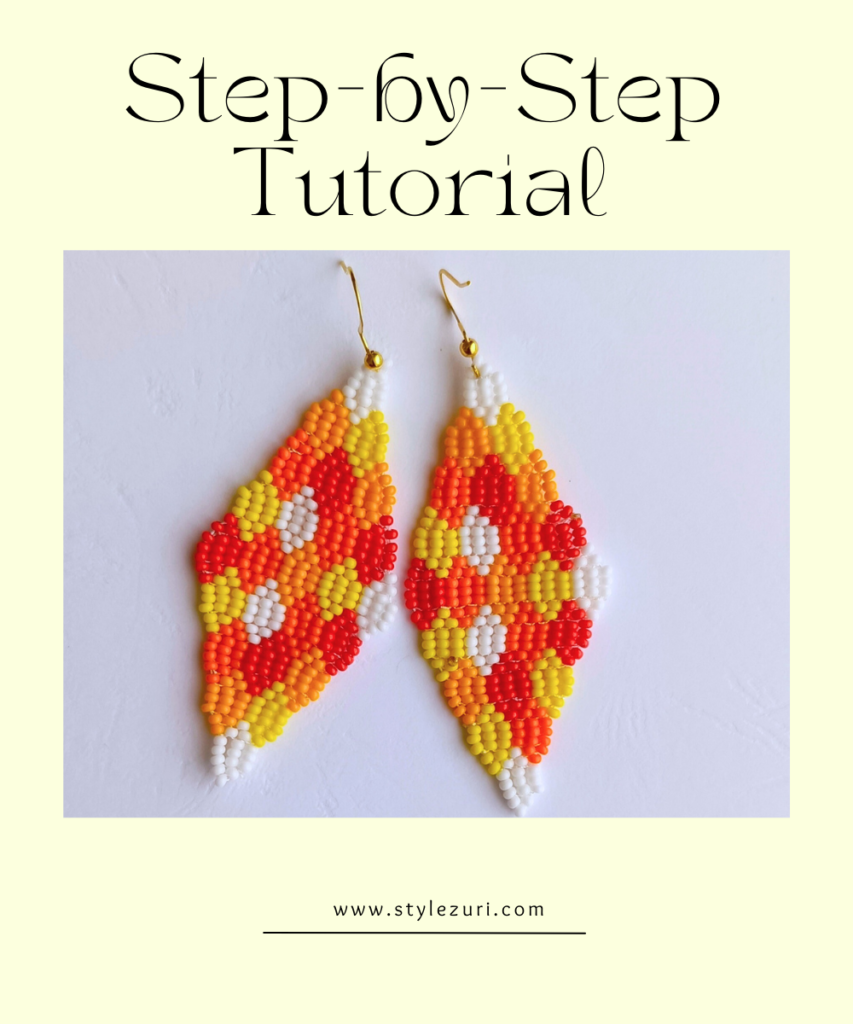
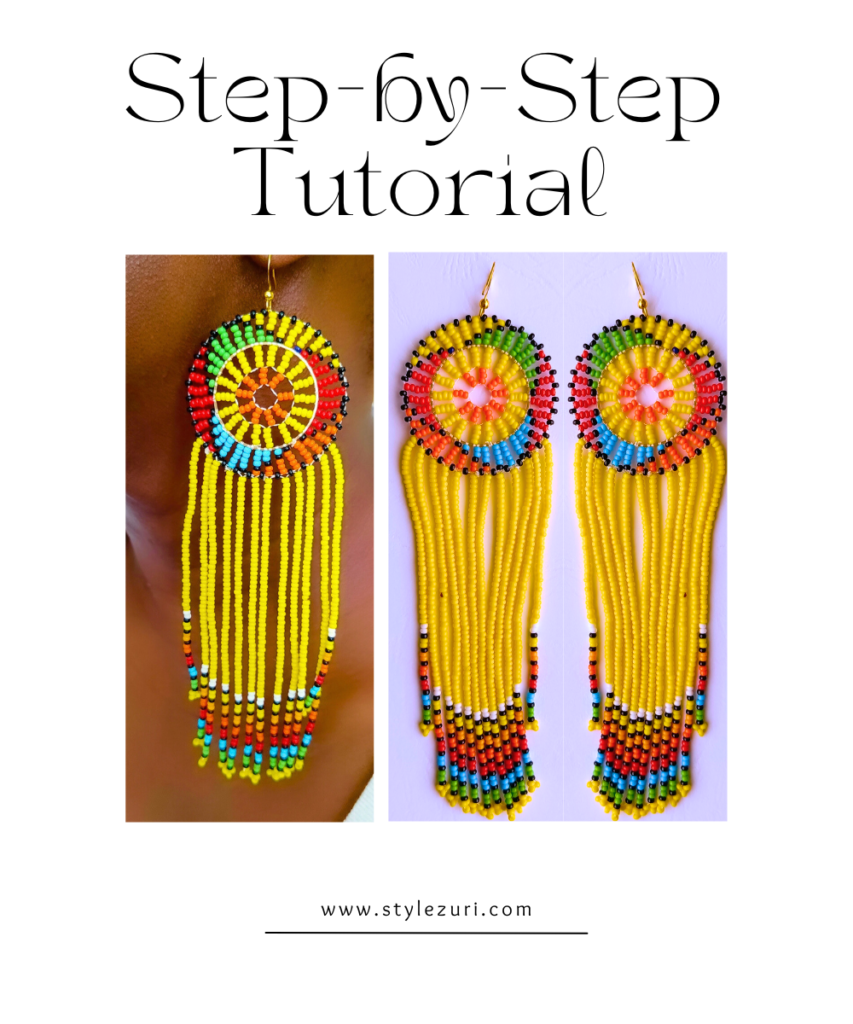
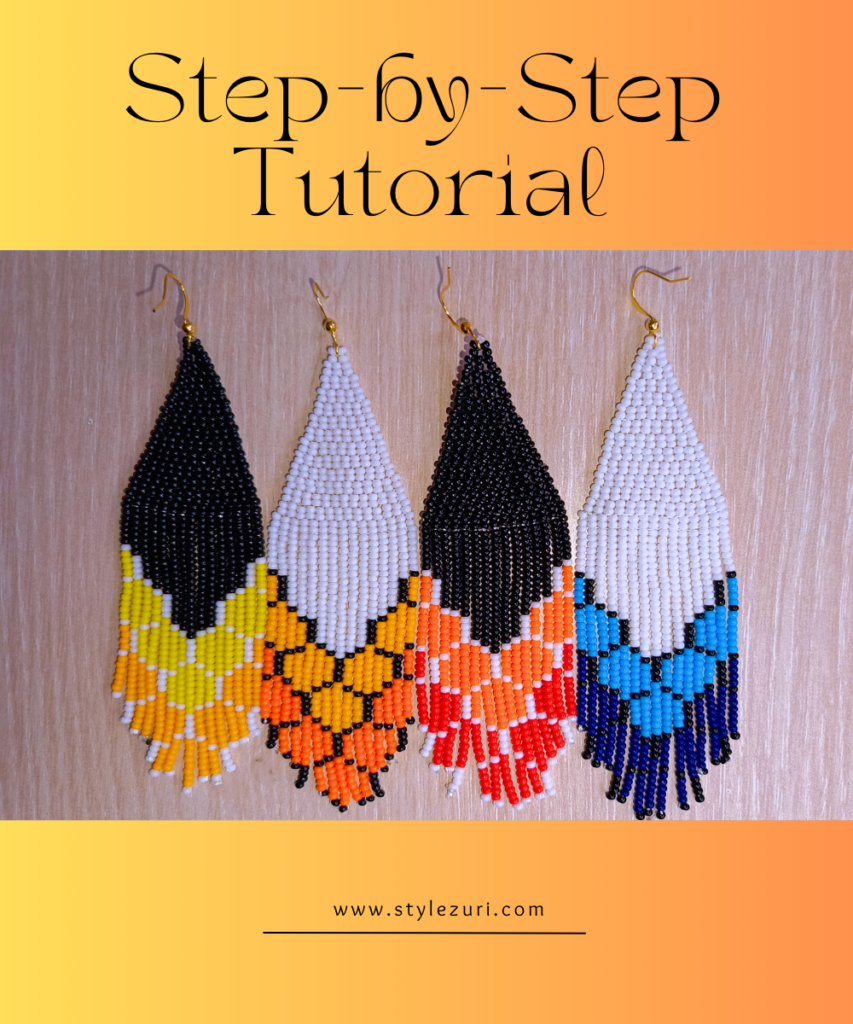
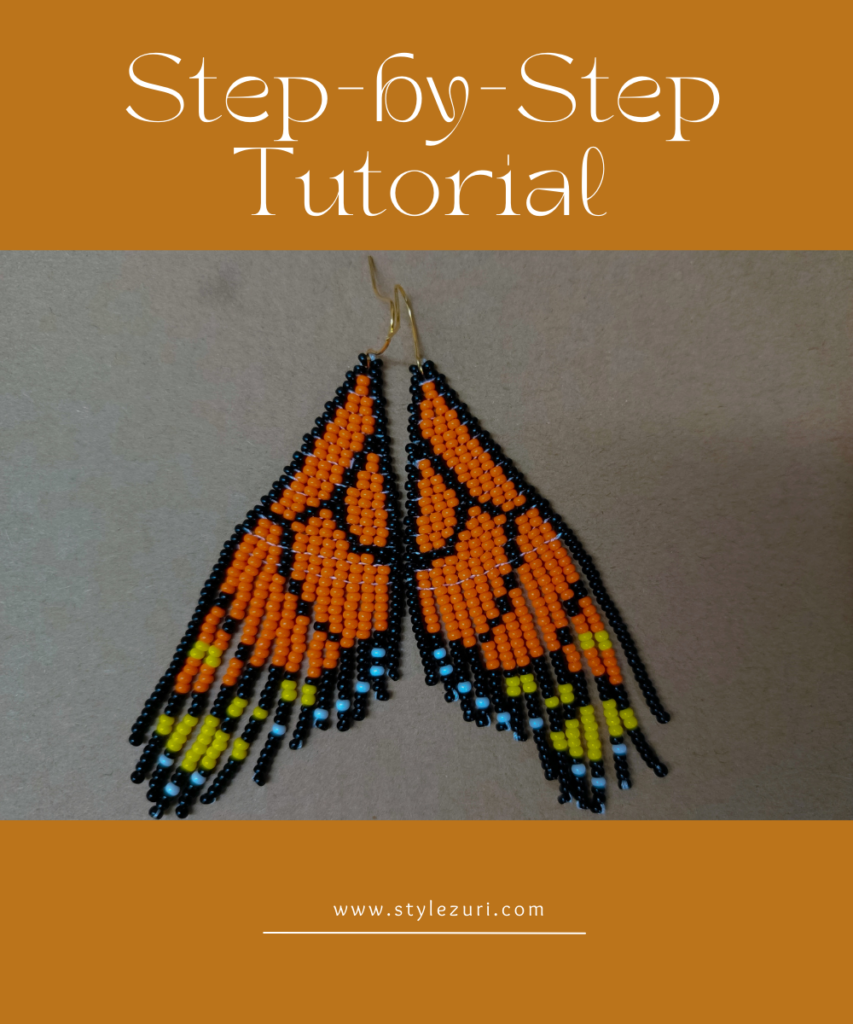
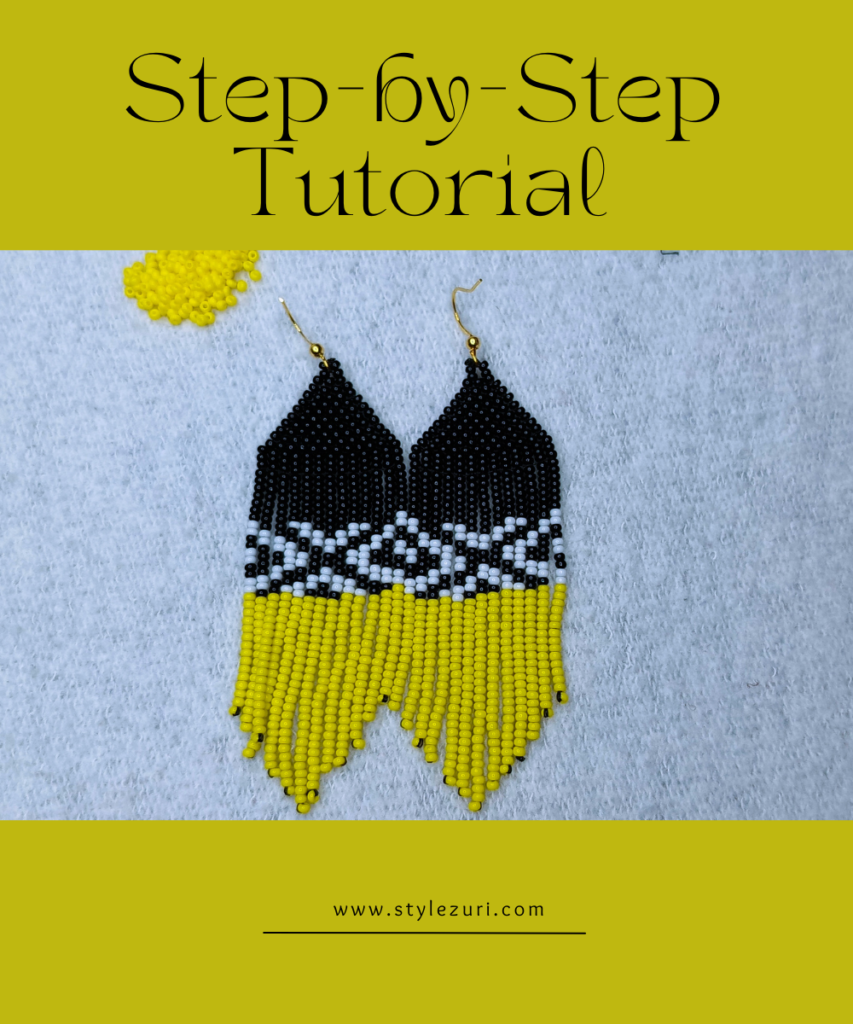
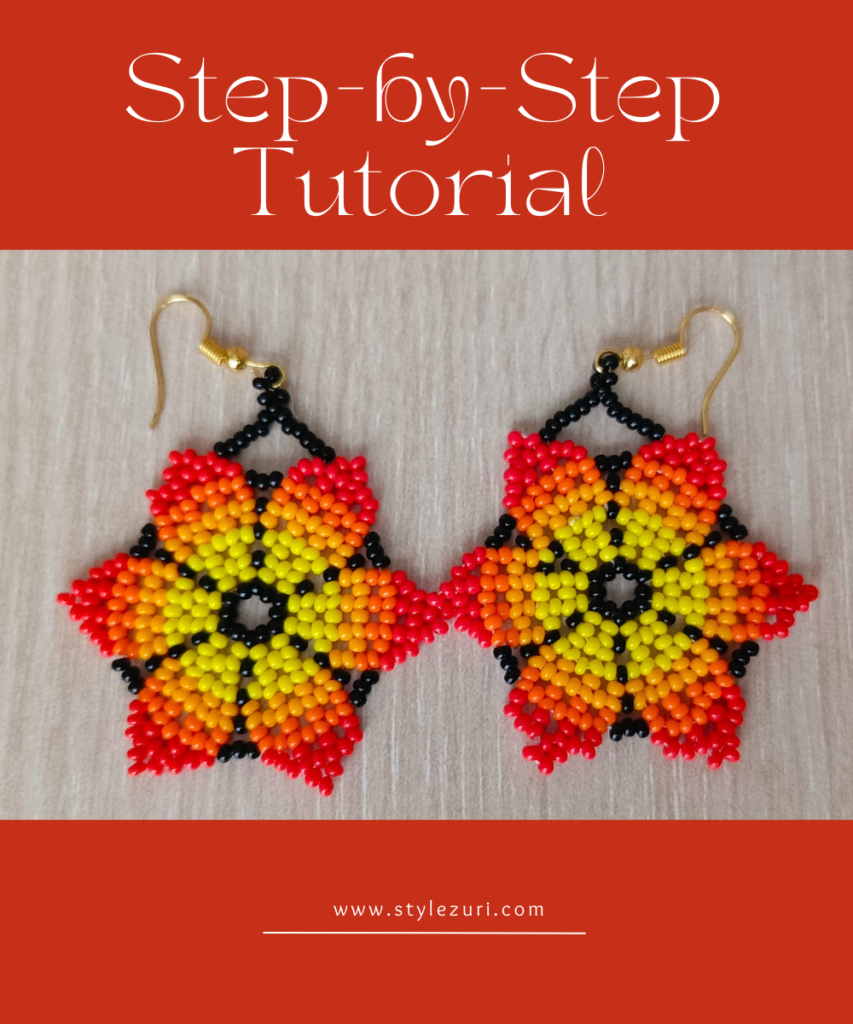
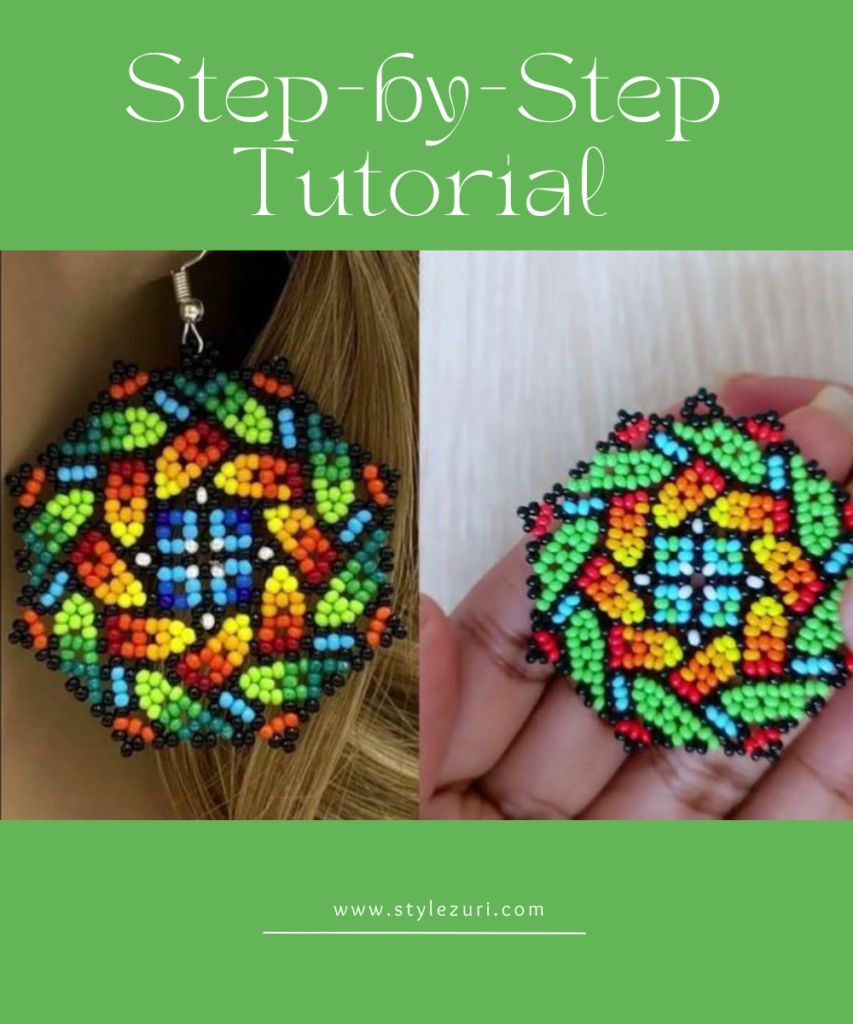
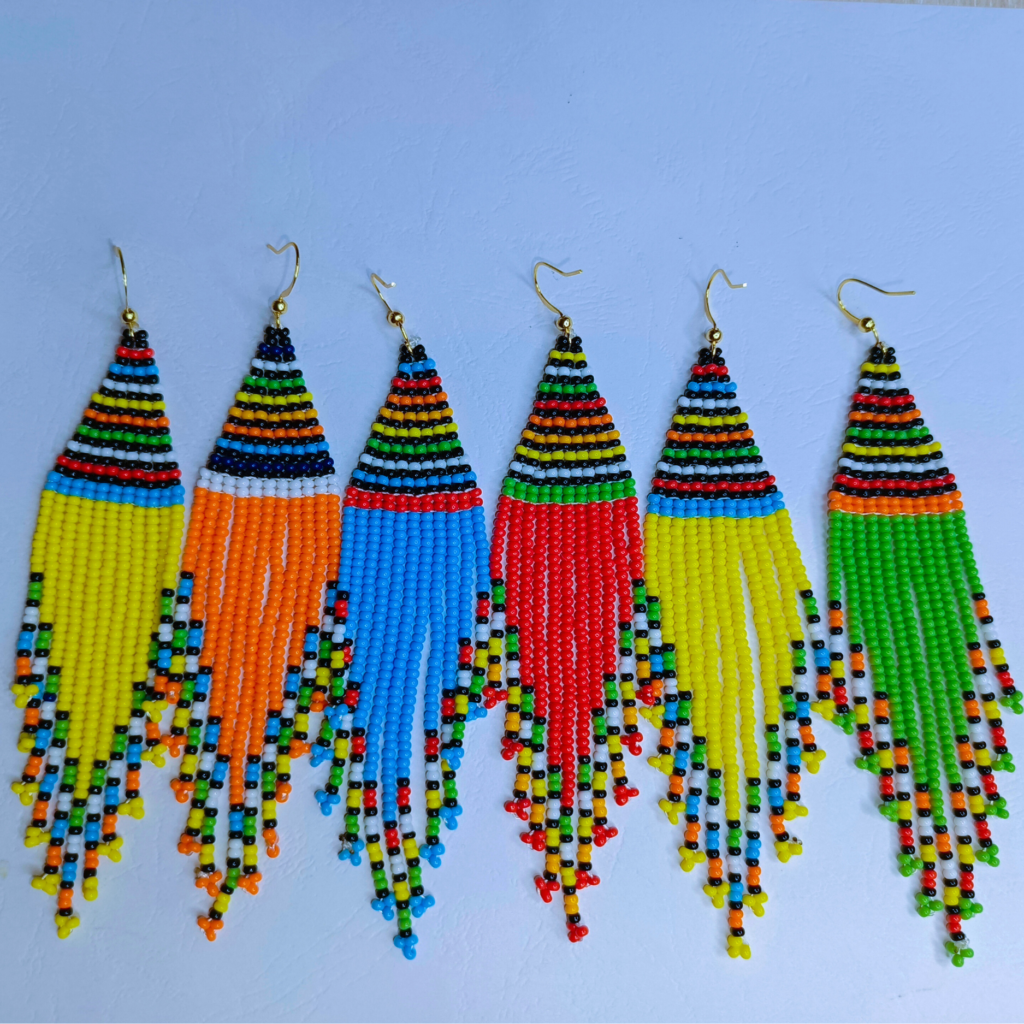
Looking to add a pop of color to your accessories? This tutorial will guide you through making stunning, colorful beaded earrings with ease! Whether you’re a beginner or experienced in beading, these earrings are the perfect project to showcase your creativity. And if you prefer watching the process, the video tutorial is conveniently located at the end of this blog – just scroll down!
*This post contains affiliate links and commission may be earned*
Materials You’ll Need:
- 541 size 10 seed beads:
- 48 blue beads
- 111 black beads
- 13 red beads
- 36 white beads
- 30 green beads
- 29 orange beads
- 274 yellow beads
- Beading needle
- Thread
- Scissors or thread cutter
- Beading mat
Now, let’s get started on crafting your own vibrant pair of earrings!
Step-by-Step Beaded Fringe Earrings Tutorial
Step 1

Begin by threading the needle and picking 4 blue beads. Pass the needle through the first 2 blue beads, then through the last 2 beads. This step is essential for reinforcing the start of the base row.
Step 2

Pick 2 blue beads and pass the needle back through the last 2 beads and back through the 2 blue beads that you just picked.
Step 3

Repeat the process by picking 2 beads and passing the needle back through the last 2 beads and through the 2 beads that you just picked. Continue this until you have a total of 11 sets of 2 beads in the row. This technique is called a ladder stitch, and because we are working with a set of 2 beads, it is referred to as a double ladder stitch.
Step 4

Now we are ready to start working on the second row. Pay attention to the way you pick the colors of the beads, as this will determine the pattern. In this case, you will begin the row by selecting 1 black bead, followed by 2 red beads, and then 1 black bead. Continue picking in that same manner. At the beginning of each row, you will select a total of 4 beads.
Step 5

Next, you will skip the first loop formed by the first row between each set of 2 beads. Skip the first loop and pass the needle through the second loop. This is necessary because we are decreasing as we progress upward to create the triangular shape of the top part.
Step 6

Next, pass the needle back through the last two beads, and I recommend also passing the needle through the first two beads and then back through the last two beads to reinforce the beginning of the row. Now, pick 2 beads, paying close attention to the color sequence: start with the red bead, followed by the black bead, and pass the needle through the next loop. Repeat this process until you reach the last loop. This technique is called a brick stitch, and since we are working with 2 beads, it is referred to as a double brick stitch. Continue this until you reach the final row, which is row number 10.
Recap of the Top Section

Congratulations! You’ve finished the top portion of the earring, which comprises 10 rows. The first row is a ladder stitch, while the remaining rows are constructed with brick stitches. Be sure to follow the color sequence indicated in the diagram above.
Making the Fringe

Now, it’s time to dive into the exciting part: the fringe! This element adds a touch of elegance and drama to your earrings. Begin by selecting the number of beads required. Pass the needle back through the beads, and when you get to the last three yellow beads, create a flower shape by passing the needle back through the remaining beads.
After you’ve threaded through all the beads except for the last three yellow ones, pass the needle through the first two beads of the base row and then back through the next set of two beads. This step is crucial for ensuring the fringe is securely fastened to the top part.
Next, you’ll begin crafting the second fringe. The method remains the same—just be sure to follow the pattern closely and avoid pulling the thread too tightly. This will allow the fringe to have a nice movement, swaying freely when worn.
Keep repeating this process until you’ve added all the fringe strands. Detailed instructions for each fringe are provided below.

Fringe Instructions
Fringe 1: 10 yellow beads, 1 black bead, 2 green beads, 1 black bead, 2 white beads, 1 black bead, 2 blue beads, 1 black bead, 2 orange beads, 1 black bead, 3 yellow beads.
Fringe 2: 15 yellow beads, 1 black bead, 2 green beads, 1 black bead, 2 white beads, 1 black bead, 2 blue beads, 1 black bead, 2 orange beads, 1 black bead, 3 yellow beads.
Fringe 3: 20 yellow beads, 1 black bead, 2 green beads, 1 black bead, 2 white beads, 1 black bead, 2 blue beads, 1 black bead, 2 orange beads, 1 black bead, 3 yellow beads.
Fringe 4: 25 yellow beads, 1 black bead, 2 green beads, 1 black bead, 2 white beads, 1 black bead, 2 blue beads, 1 black bead, 2 orange beads, 1 black bead, 3 yellow beads.
Fringe 5: 30 yellow beads, 1 black bead, 2 green beads, 1 black bead, 2 white beads, 1 black bead, 2 blue beads, 1 black bead, 2 orange beads, 1 black bead, 3 yellow beads.
Fringe 6: 35 yellow beads, 1 black bead, 2 green beads, 1 black bead, 2 white beads, 1 black bead, 2 blue beads, 1 black bead, 2 orange beads, 1 black bead, 3 yellow beads.
Fringe 7: 30 yellow beads, 1 black bead, 2 green beads, 1 black bead, 2 white beads, 1 black bead, 2 blue beads, 1 black bead, 2 orange beads, 1 black bead, 3 yellow beads.
Fringe 8: 25 yellow beads, 1 black bead, 2 green beads, 1 black bead, 2 white beads, 1 black bead, 2 blue beads, 1 black bead, 2 orange beads, 1 black bead, 3 yellow beads.
Fringe 9: 20 yellow beads, 1 black bead, 2 green beads, 1 black bead, 2 white beads, 1 black bead, 2 blue beads, 1 black bead, 2 orange beads, 1 black bead, 3 yellow beads.
Fringe 10: 15 yellow beads, 1 black bead, 2 green beads, 1 black bead, 2 white beads, 1 black bead, 2 blue beads, 1 black bead, 2 orange beads, 1 black bead, 3 yellow beads.
Fringe 11: 10 yellow beads, 1 black bead, 2 green beads, 1 black bead, 2 white beads, 1 black bead, 2 blue beads, 1 black bead, 2 orange beads, 1 black bead, 3 yellow beads.

After finishing the fringes, attach the earring hooks, and that’s it—you are done with the earrings! Feel free to play with the colors to create different vibrant beaded earrings. These earrings are perfect for festivals and special occasions.
Watch the Video Tutorial
If you prefer following along with a visual guide, be sure to check out the video tutorial below, where I walk through every step of this process in real time. It’s a great way to see the techniques in action and make sure you’re on track.
Thank you so much for following along with this tutorial. I hope you love your new earrings as much as I do! If you have any questions, feel free to leave a comment below. Happy beading!


