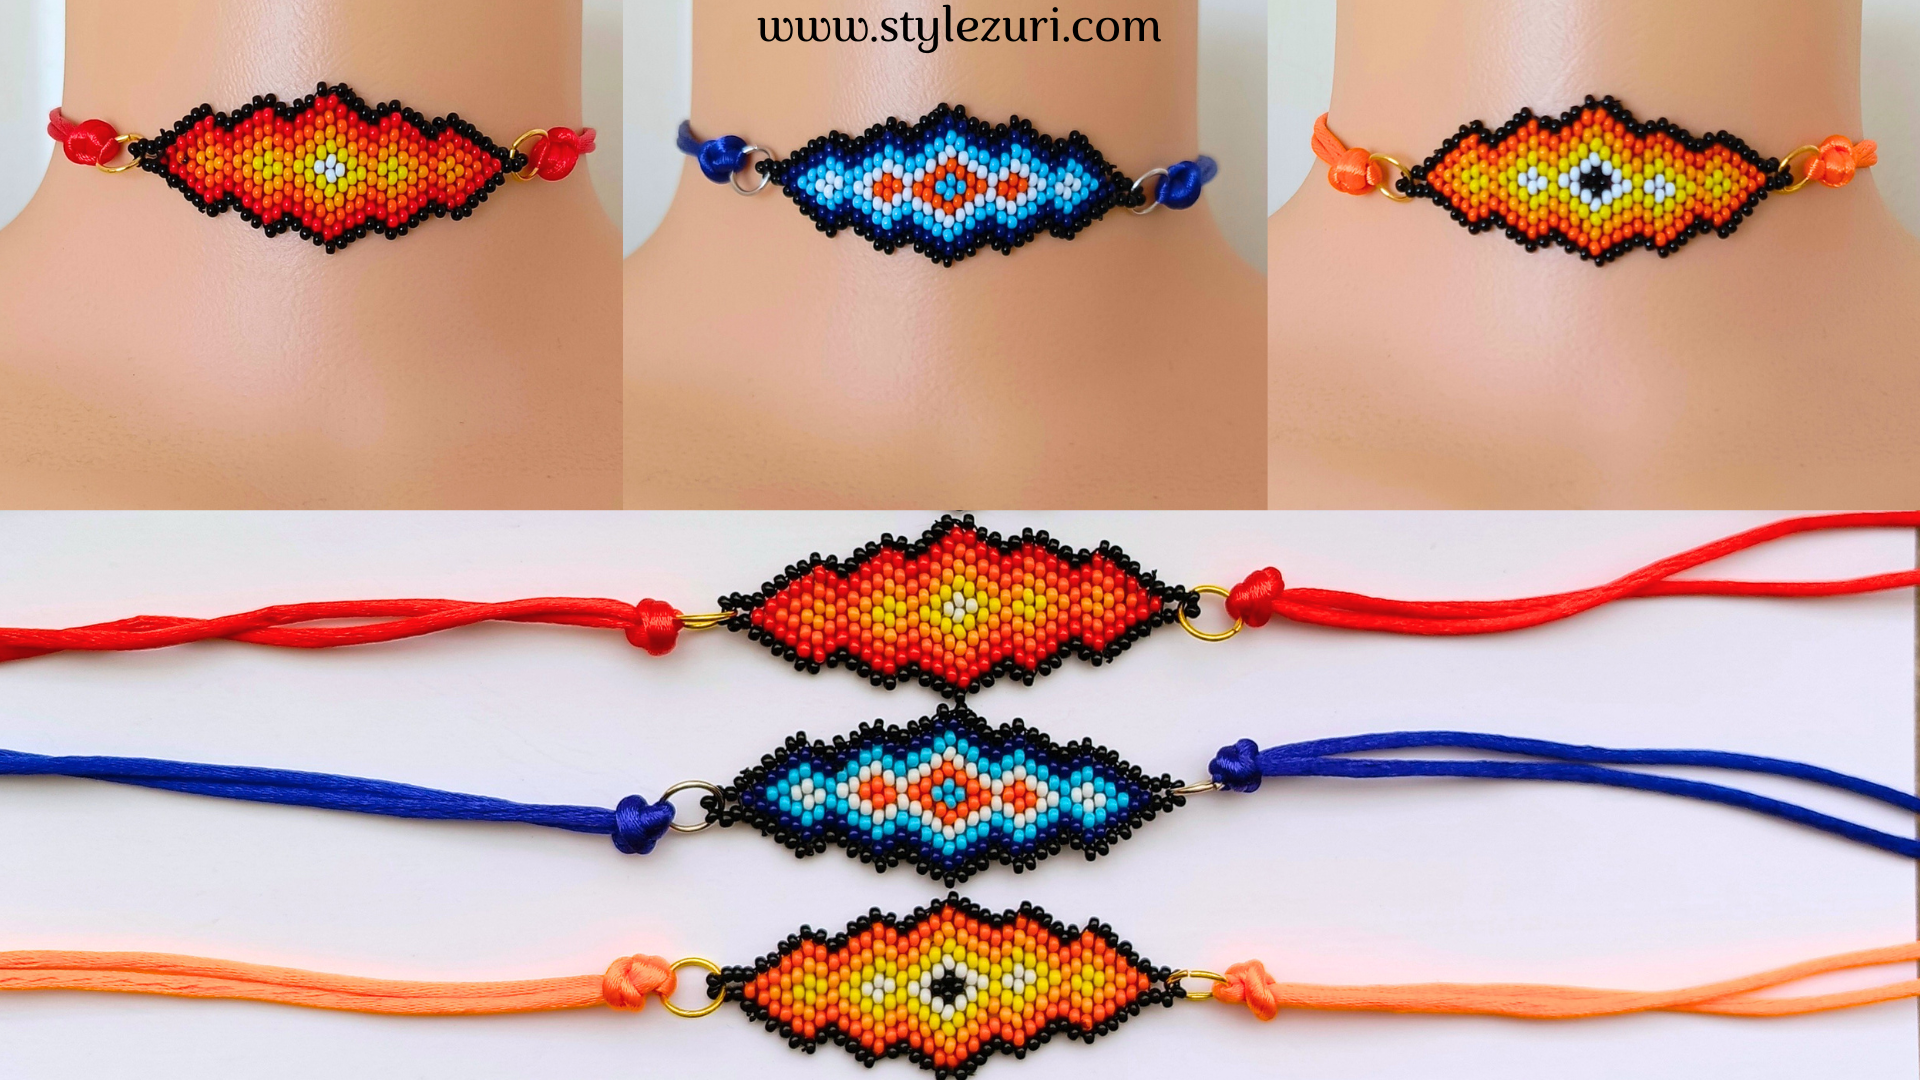
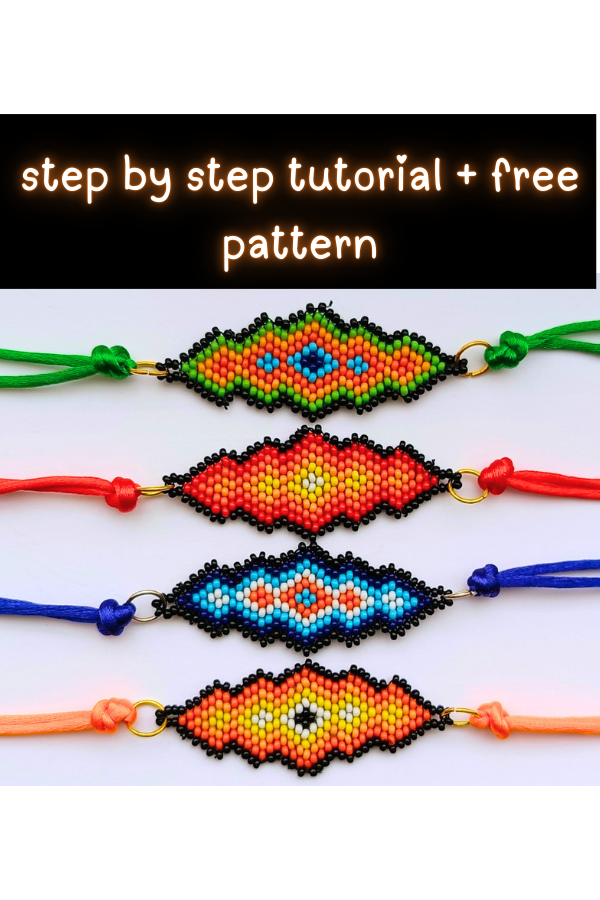
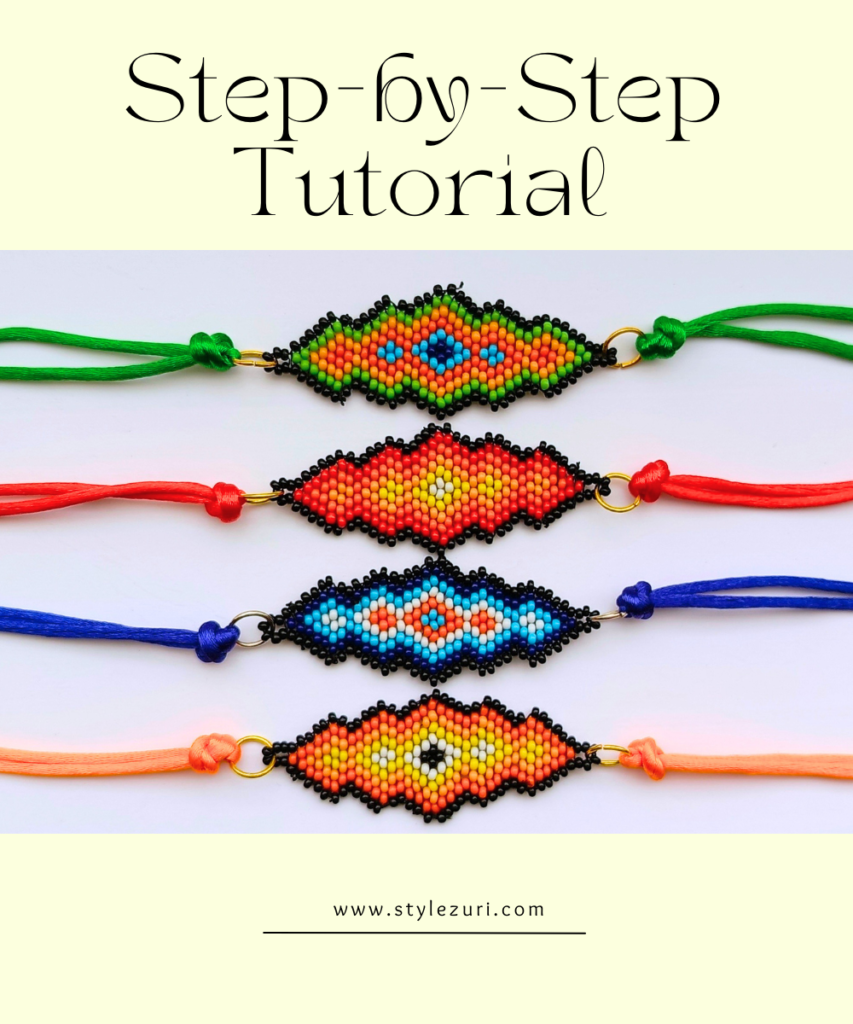
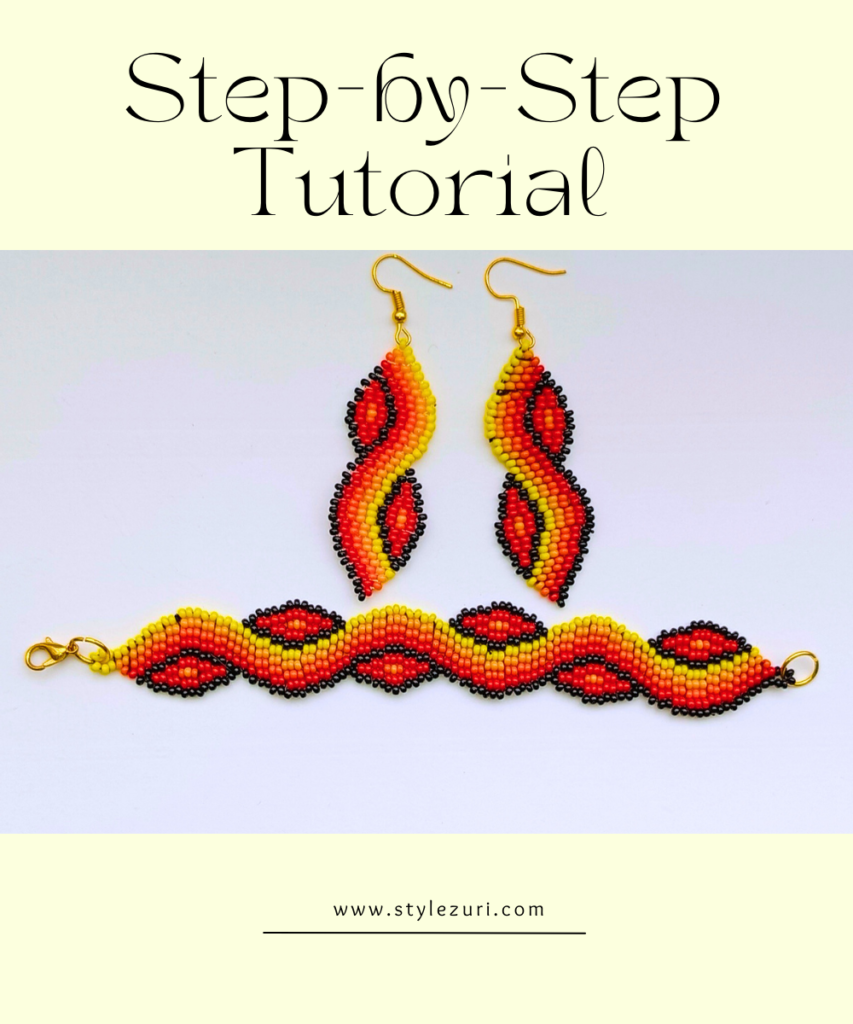
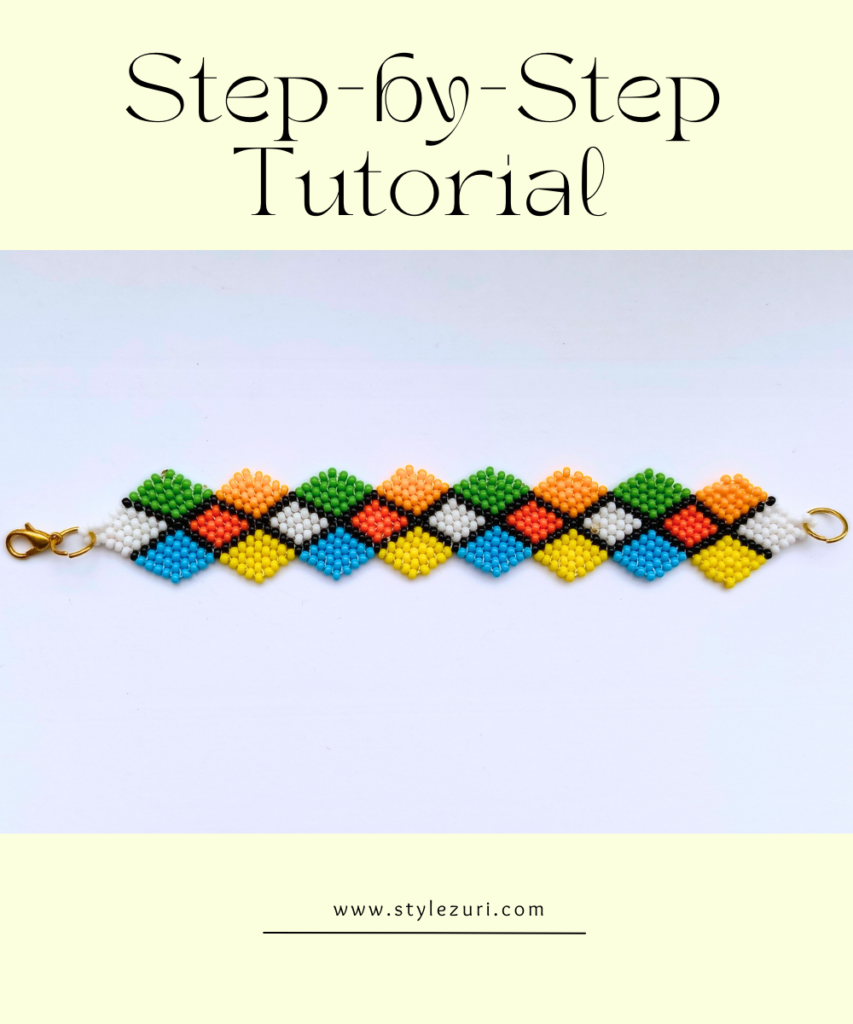
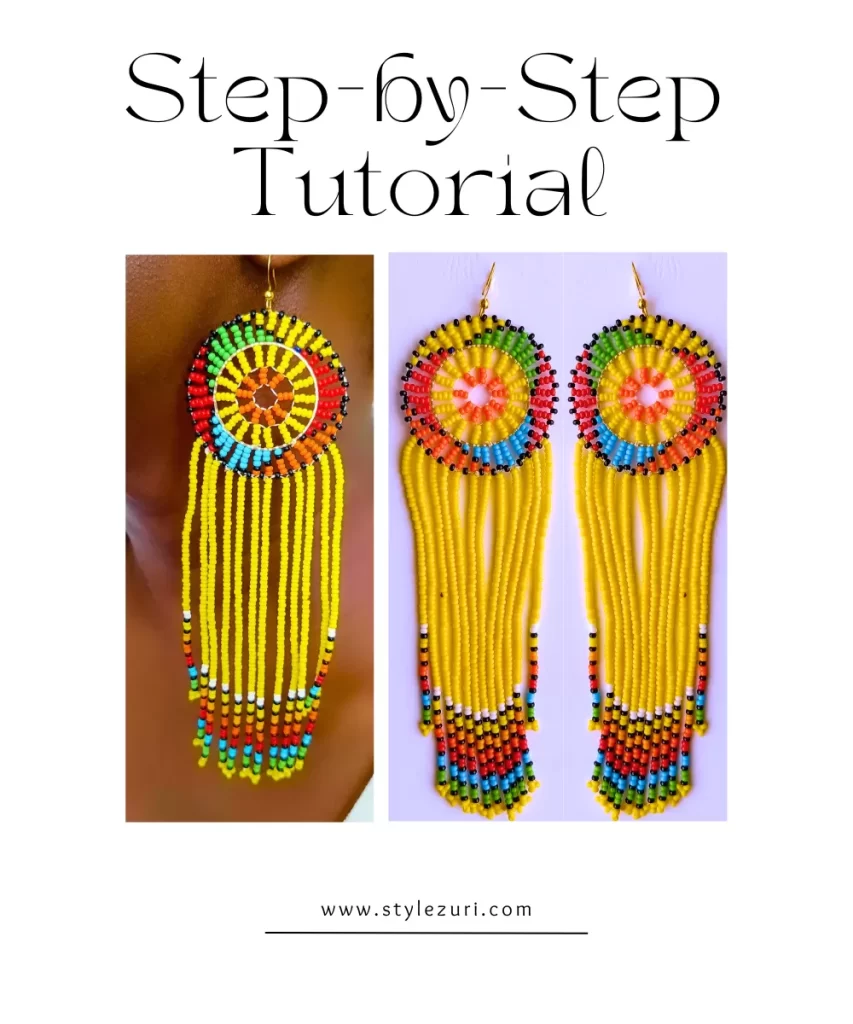
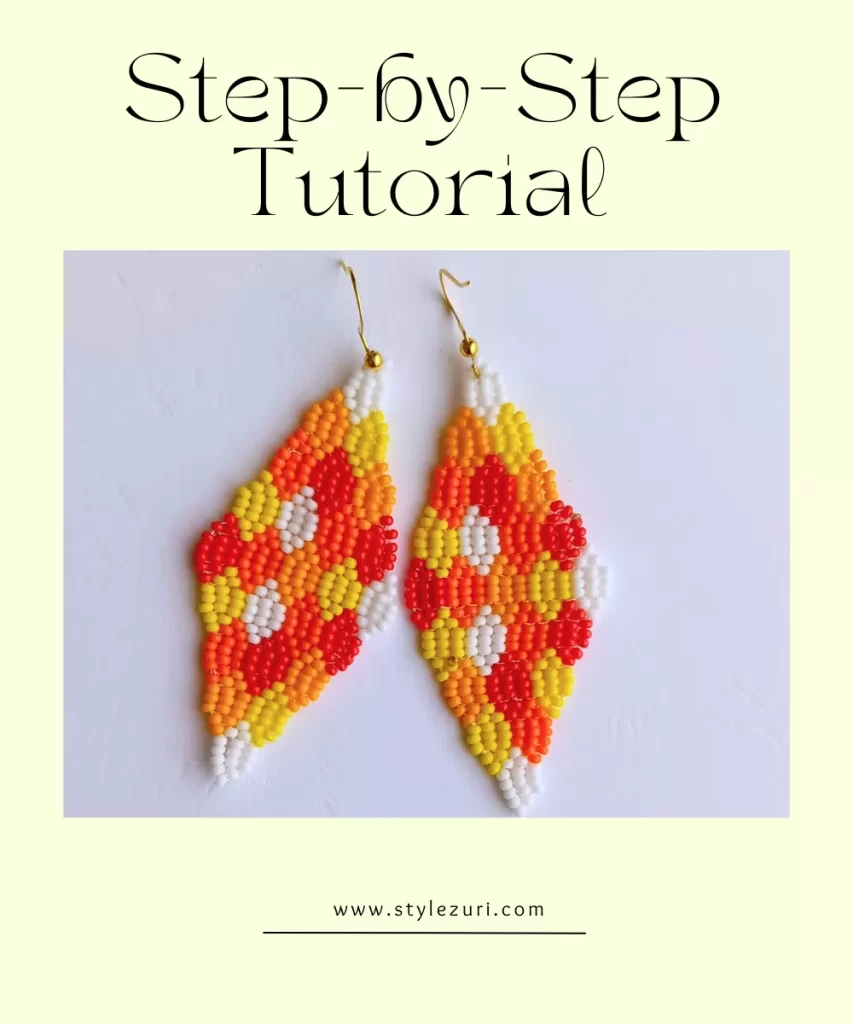
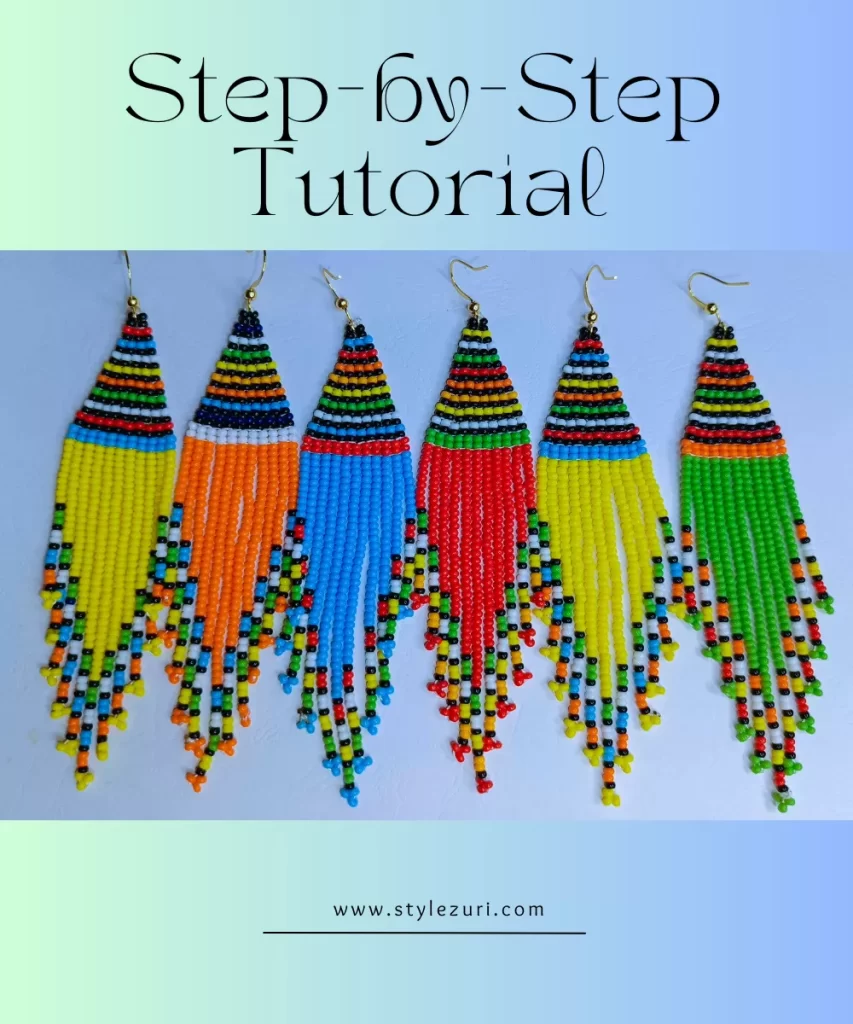
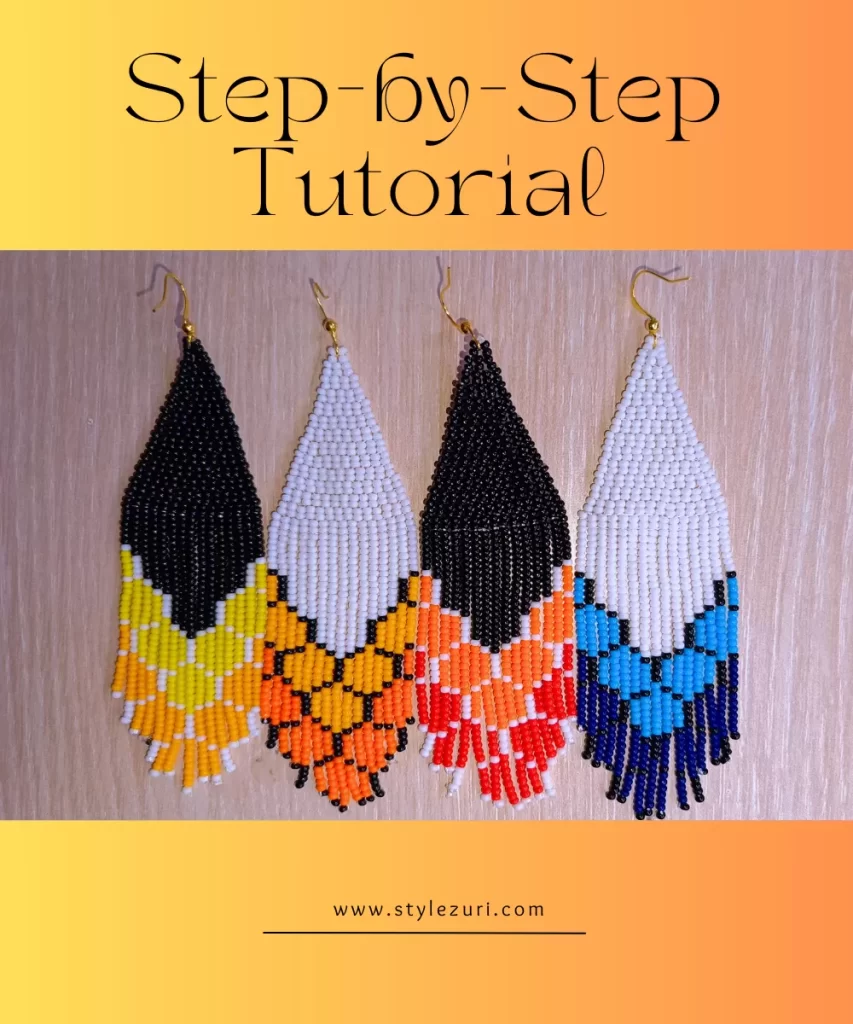
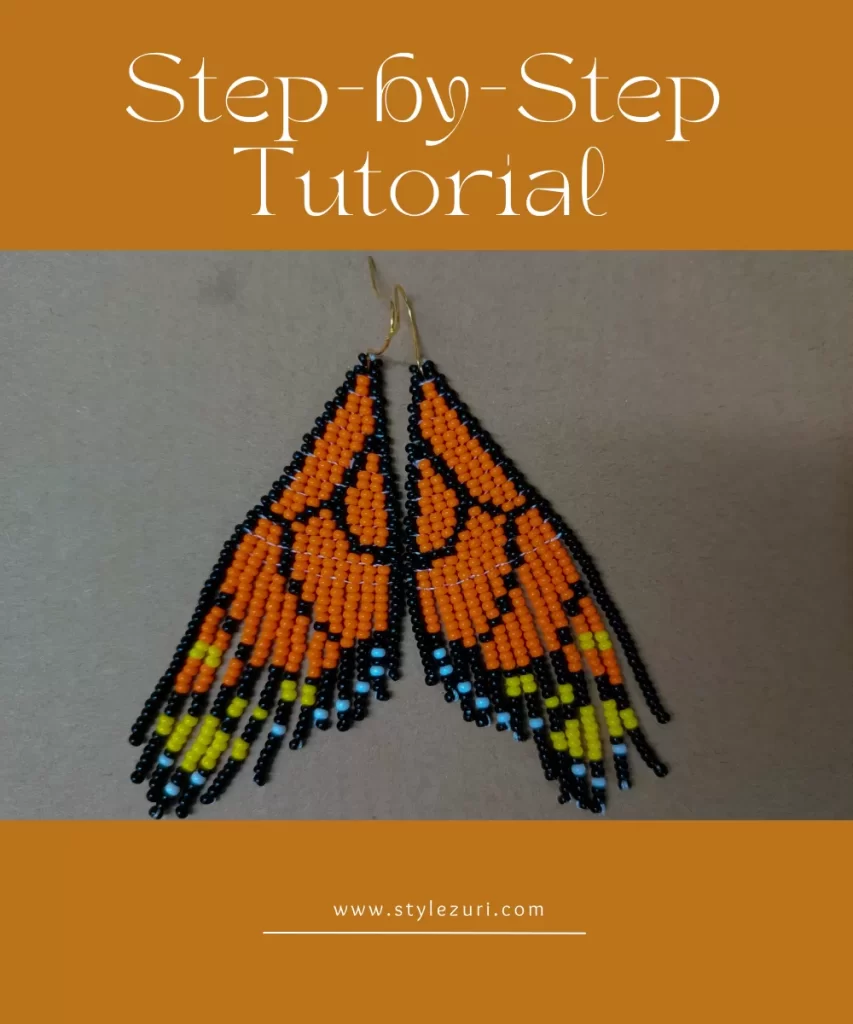
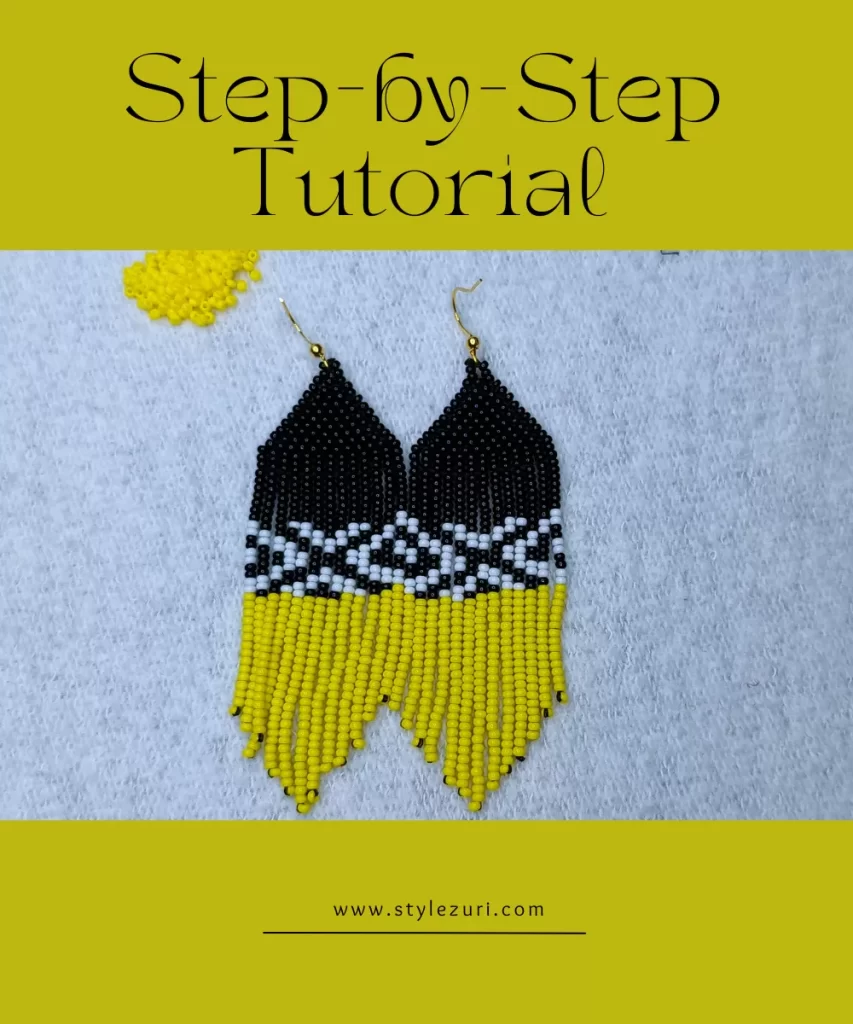
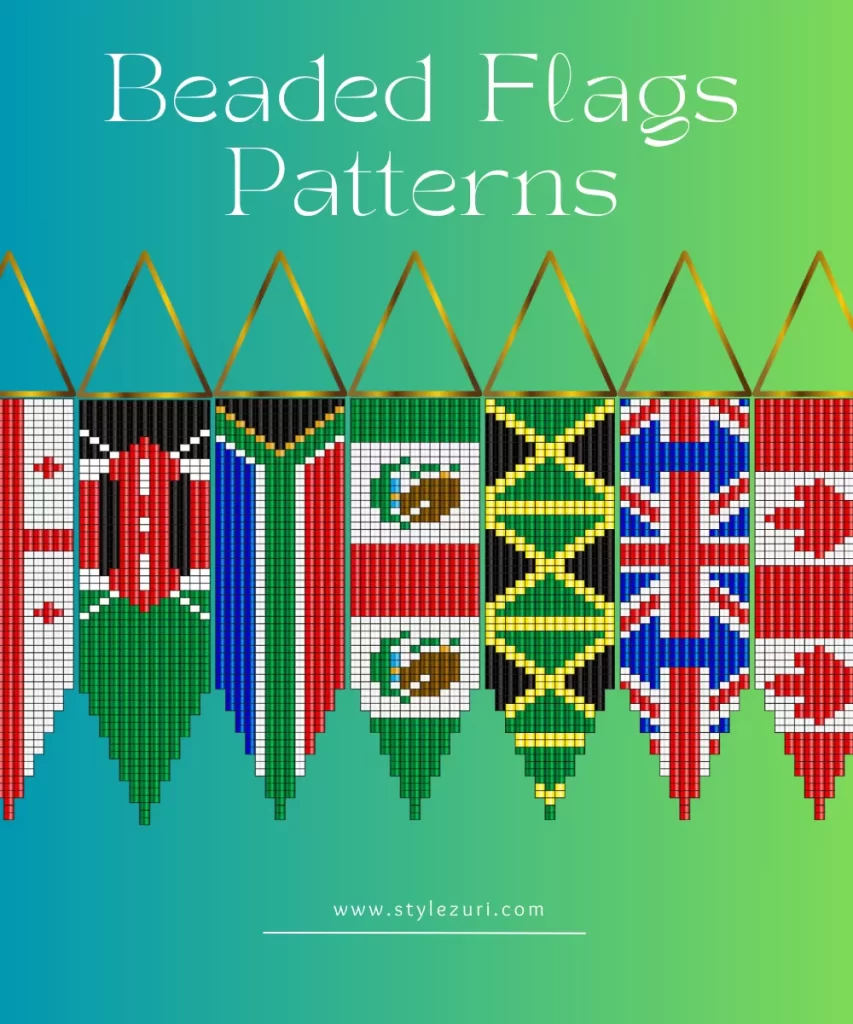
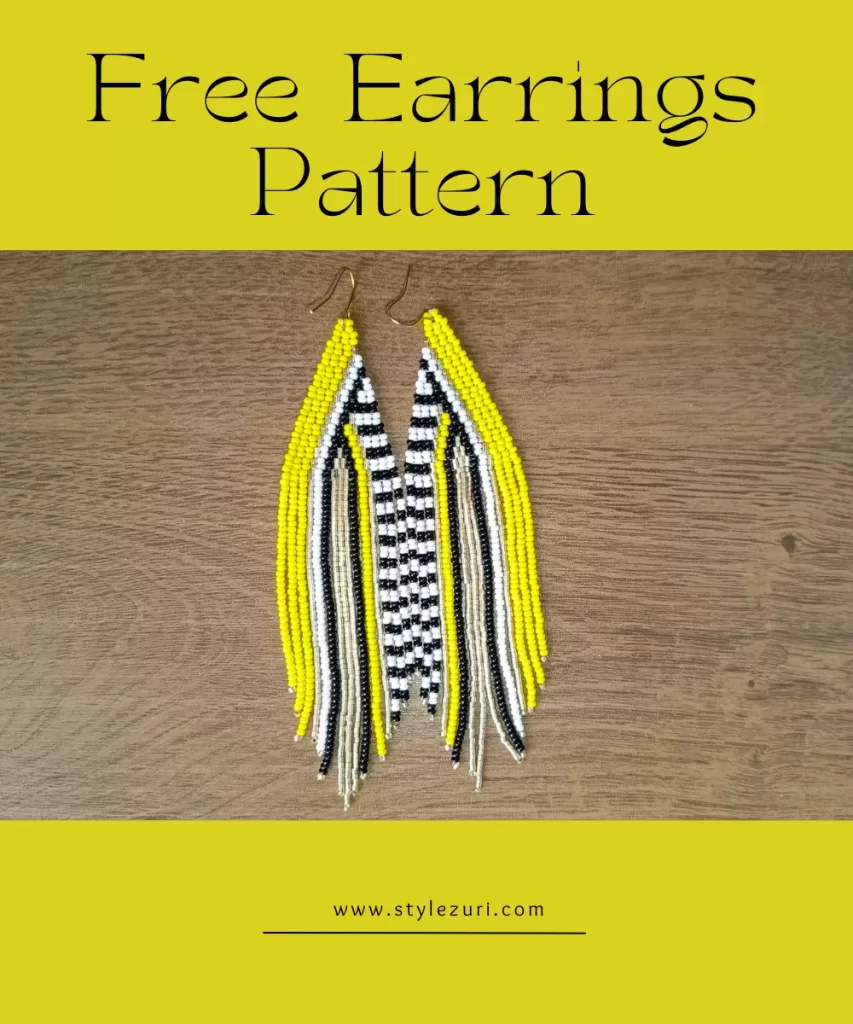
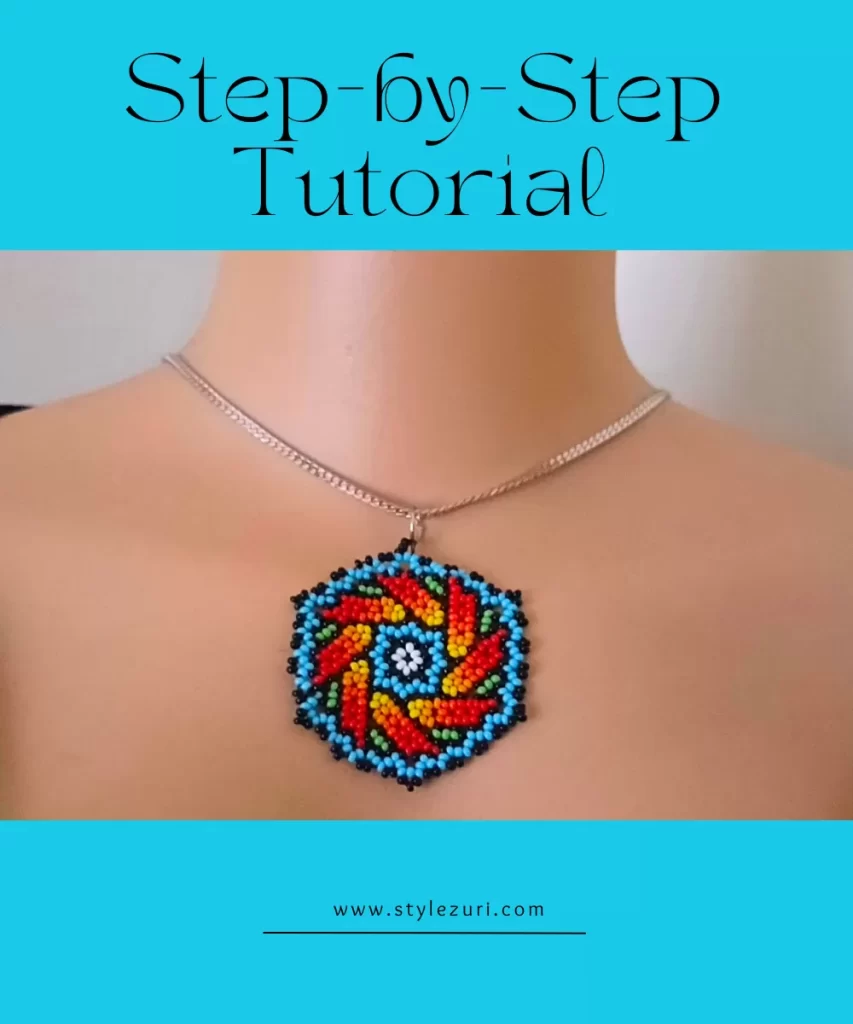
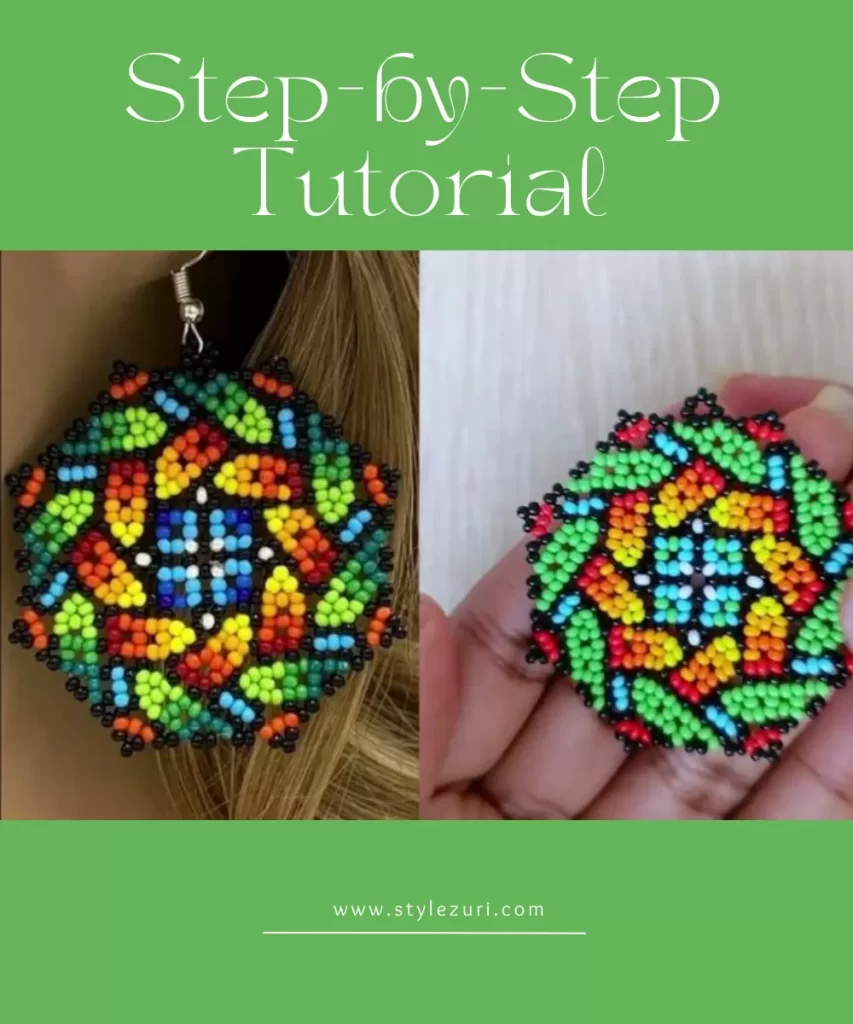
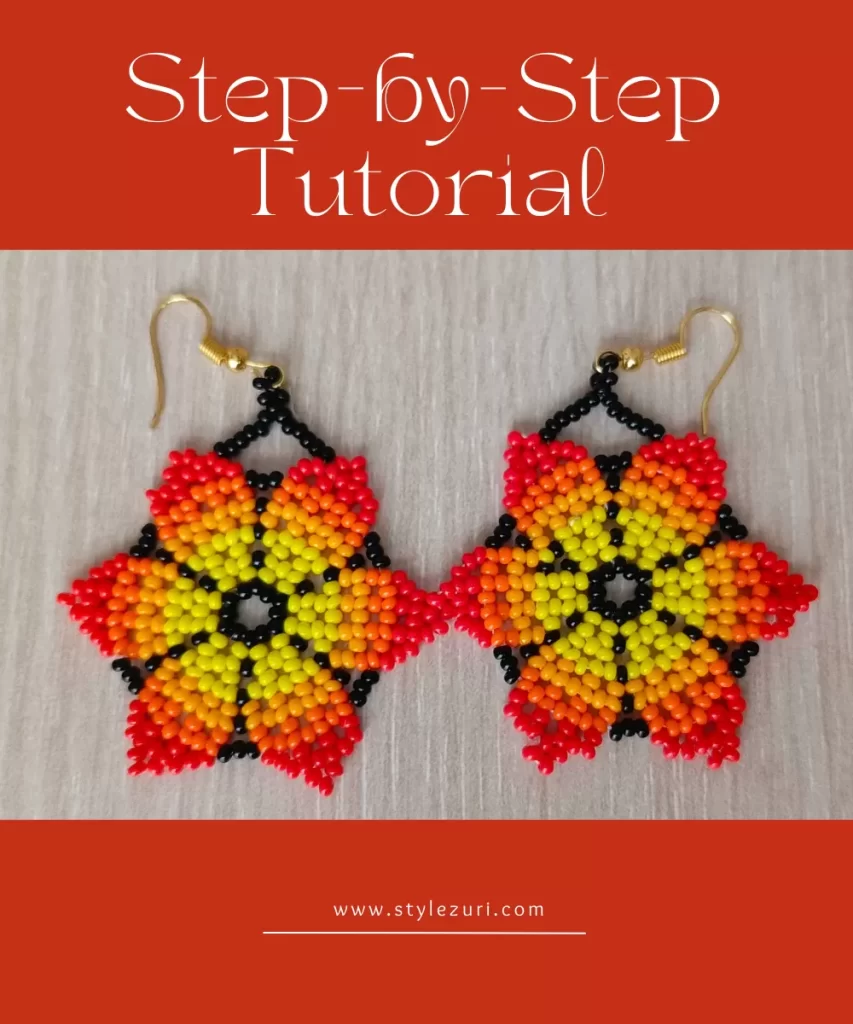
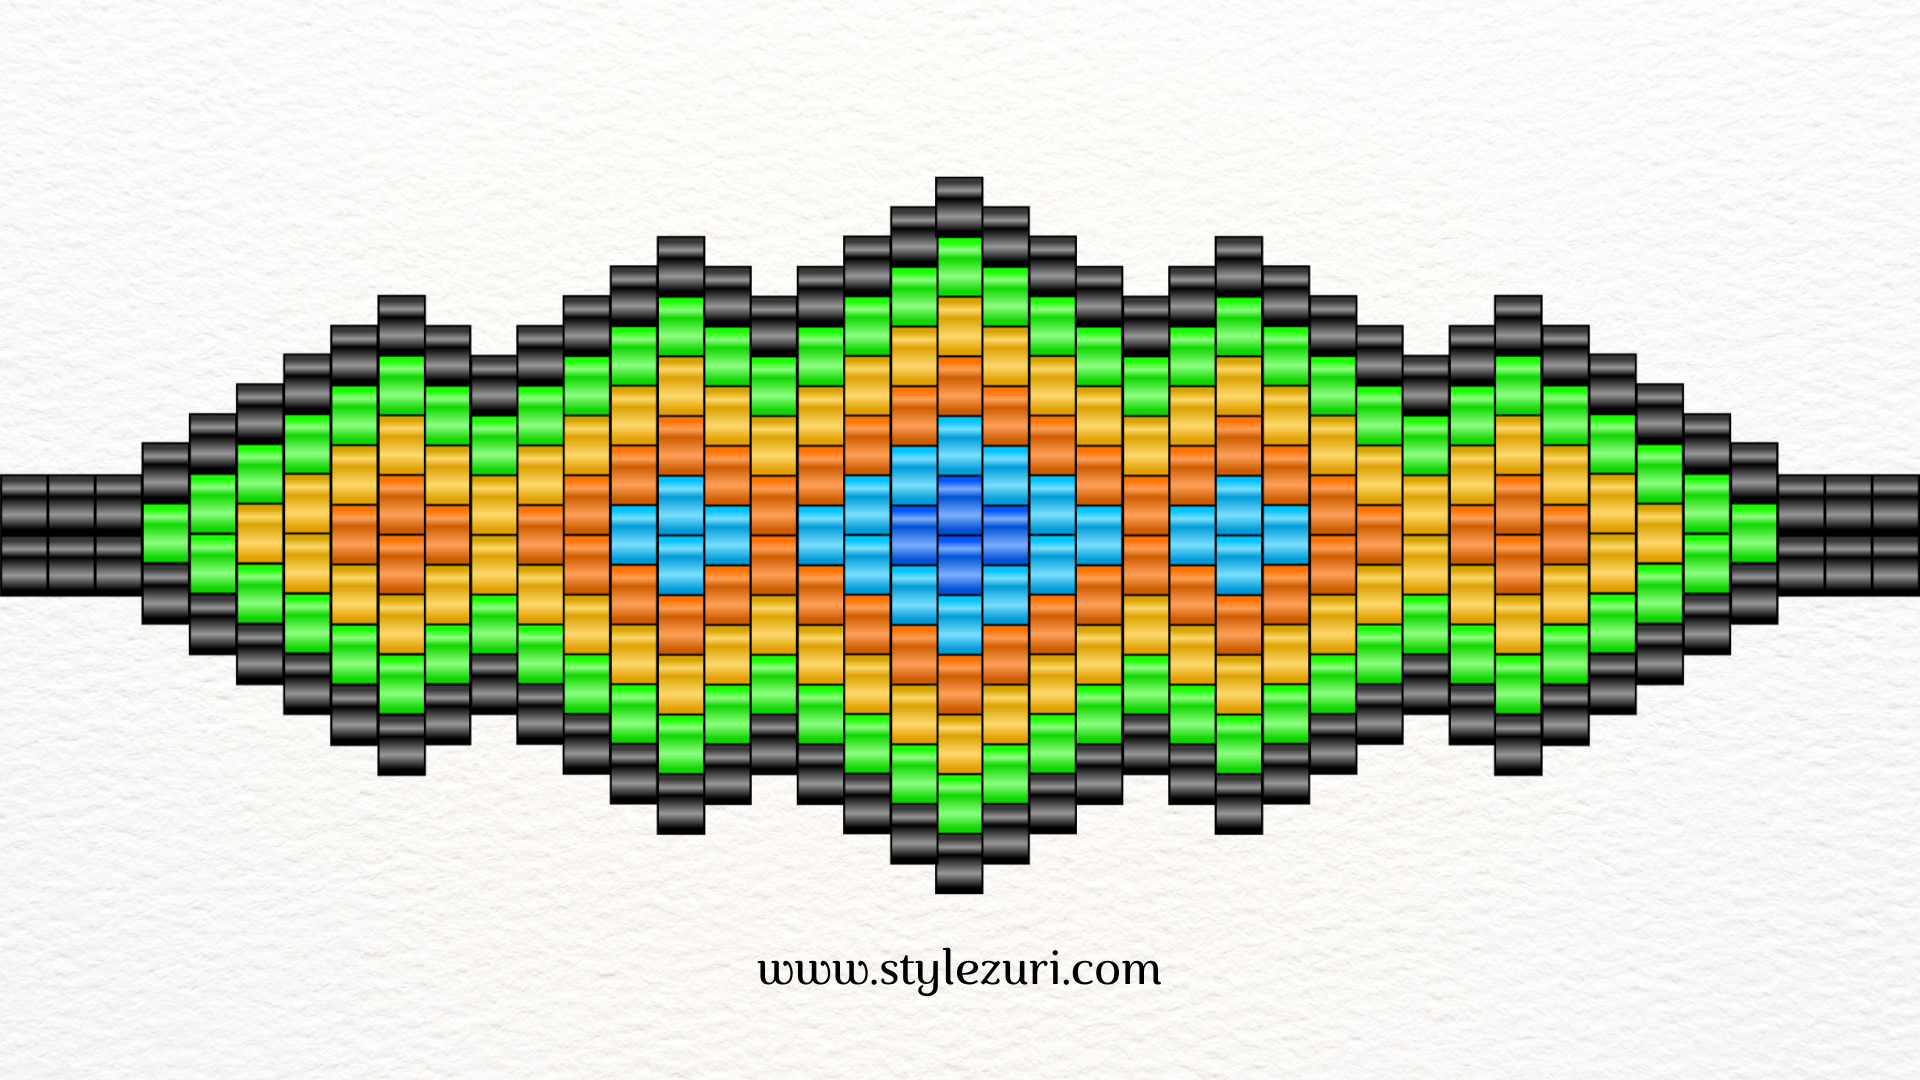
In this tutorial, we’ll guide you through creating a colorful beaded bracelet pattern that can also be used as earrings or a necklace. We’ll be working with the brick stitch technique, incorporating a mix of increase and decrease stitches. If you’re new to these techniques, make sure to check out our comprehensive guide on basic beading methods for beginners. The versatility of this pattern allows you to easily transform your creation into beautiful matching jewelry pieces.
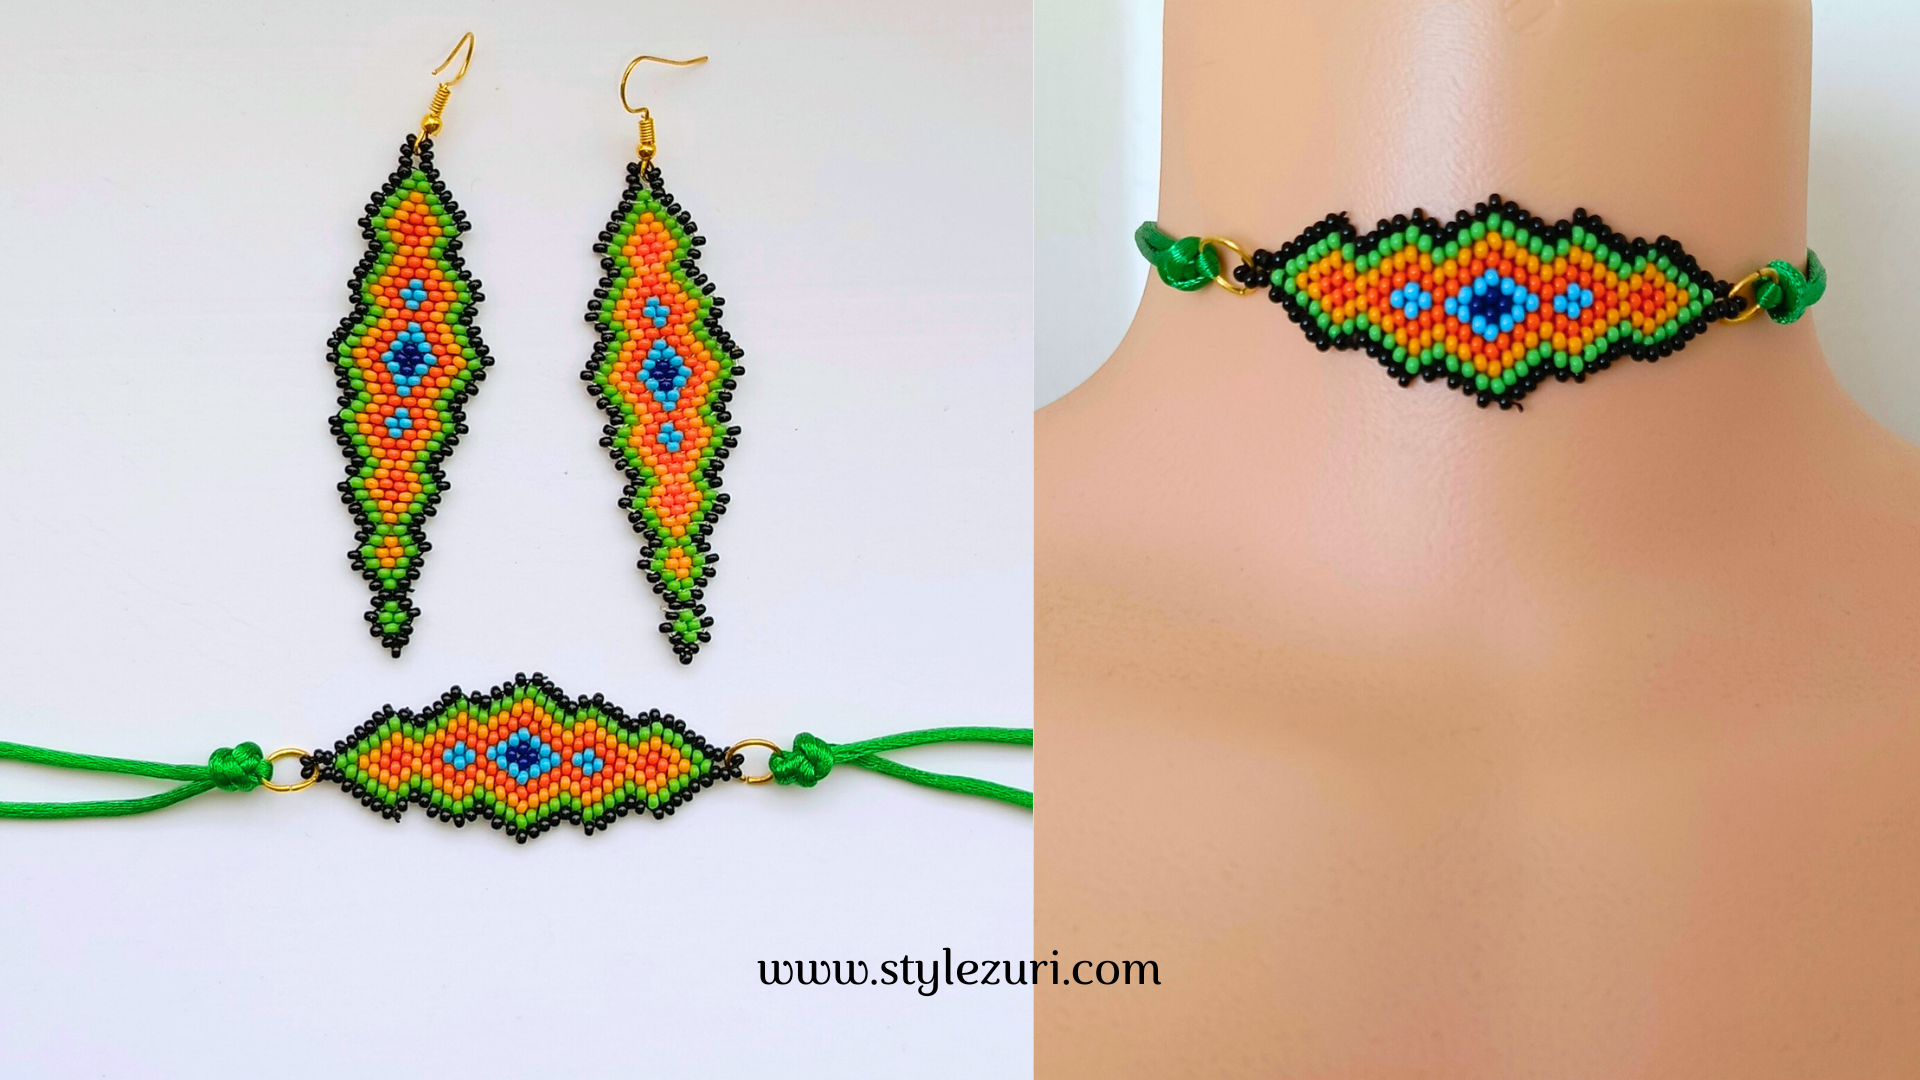
To follow along with this design, you’ll need size 10 seed beads in six different colors—if you want to use the same colors as shown, go for black, green, light orange, dark orange, light blue, and navy blue. Additionally, gather your beading needle, thread, jump rings, and a thread or chain of your choice for the bracelet. Let’s get started on this fun and creative beading project!
Step 1
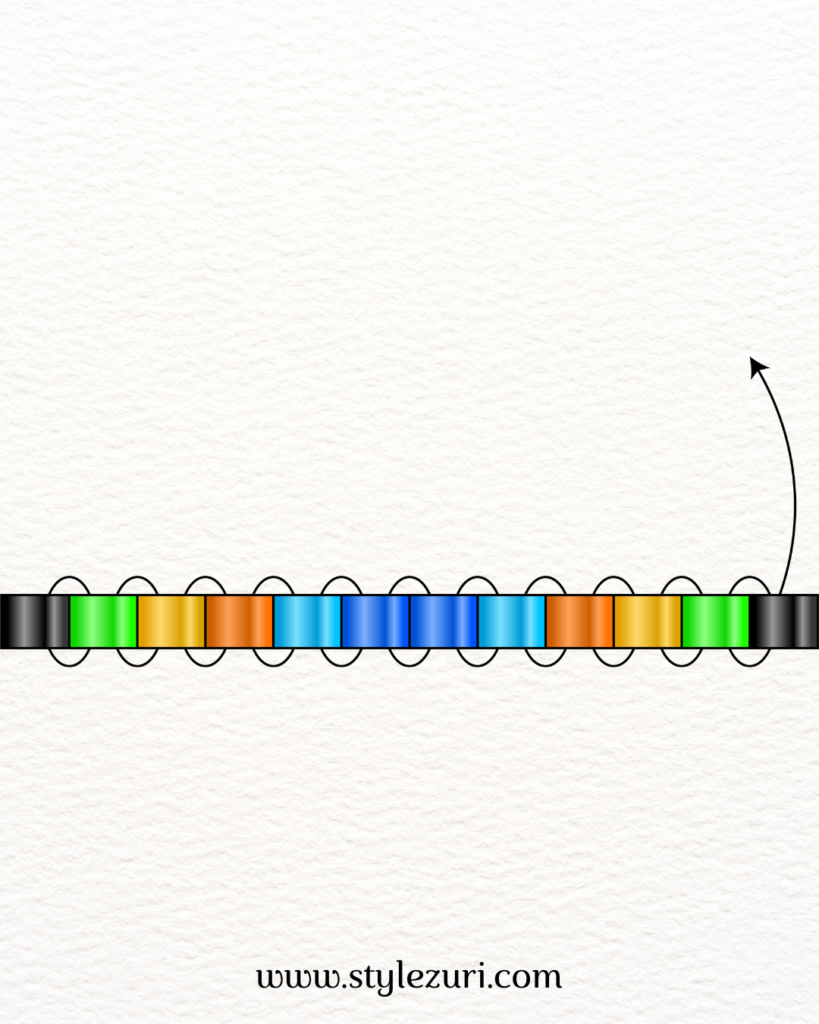
For the base row, we’ll use the single ladder stitch technique with a total of 12 beads, following the color pattern shown in the illustration. If you’re not familiar with the ladder stitch, please refer to our detailed article for guidance.
Step 2
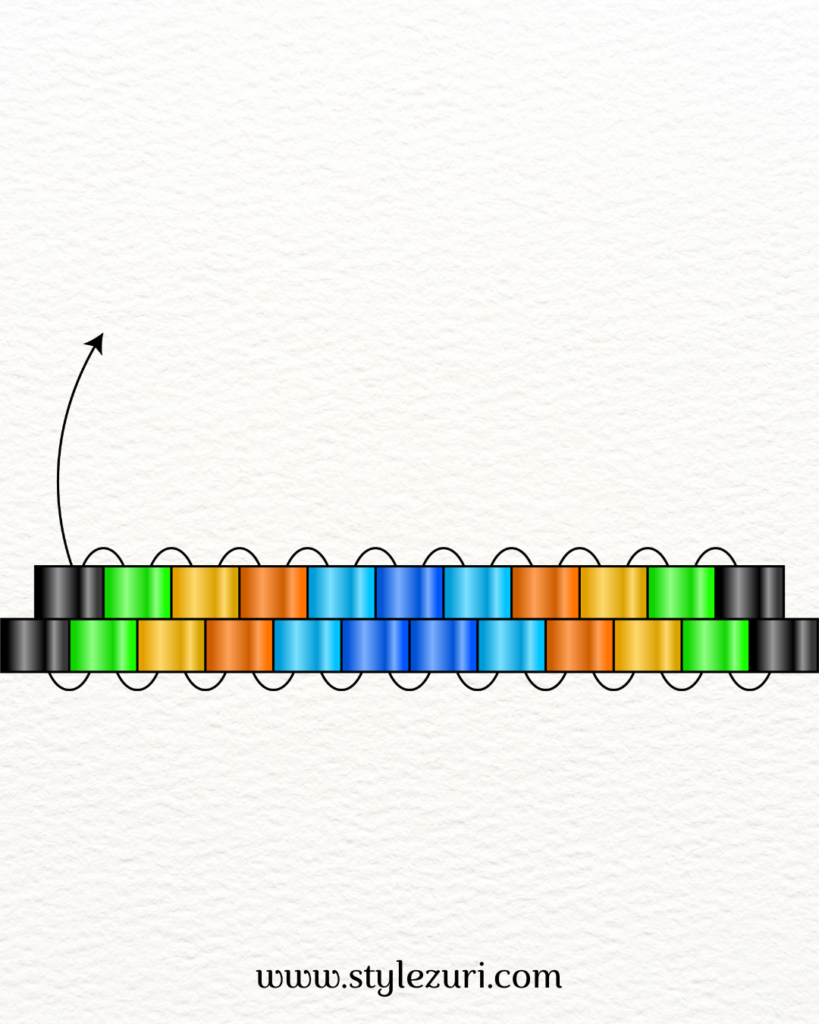
For row 2, we’ll use the brick stitch technique with a decrease. Start by picking up 2 beads at the beginning of the row, then pass the needle through the second thread loop, skipping the first one. For a detailed explanation of this technique, check out the full guide here.
Step 3
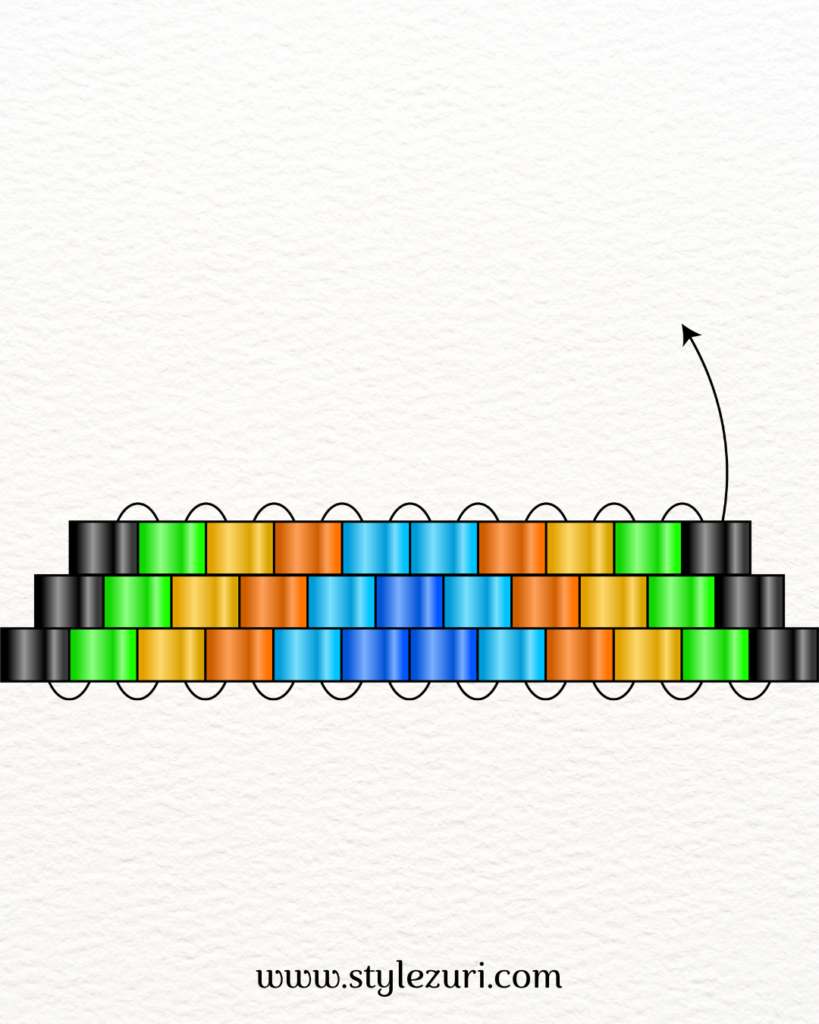
Continue using the same decrease brick stitch technique for each row until you reach row 5, following the pattern for every row. Make sure to maintain the color sequence as indicated in the illustration to achieve the desired design.
Step 4
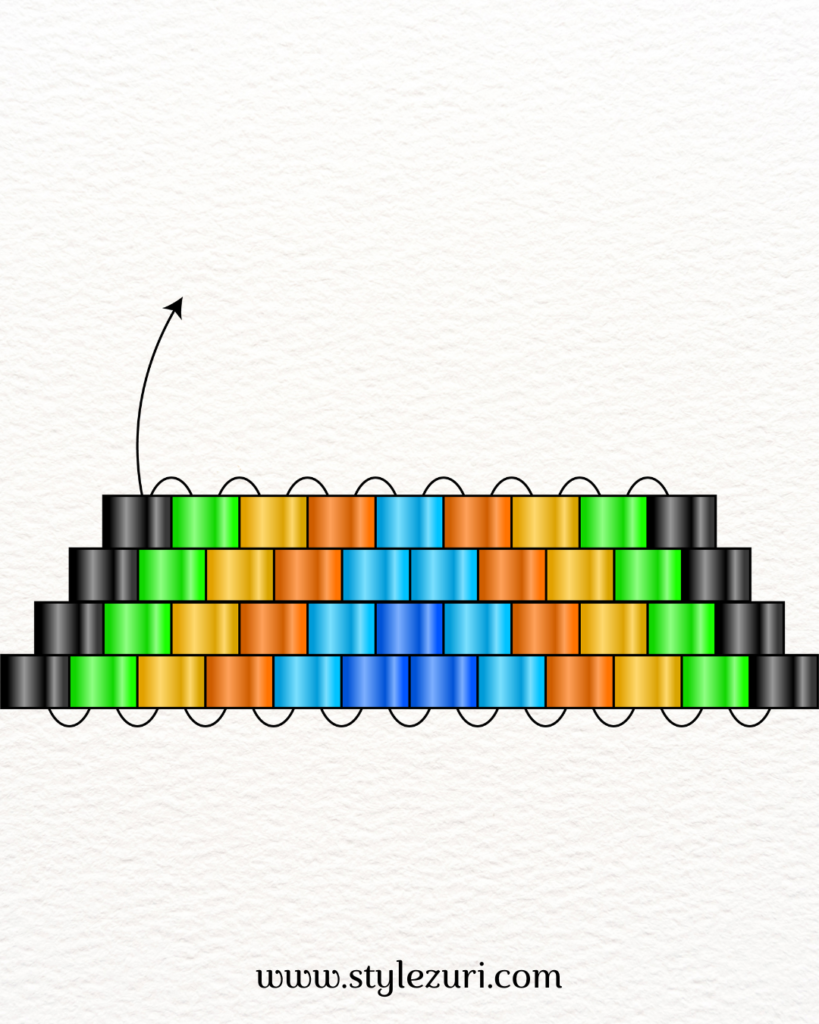
Step 5
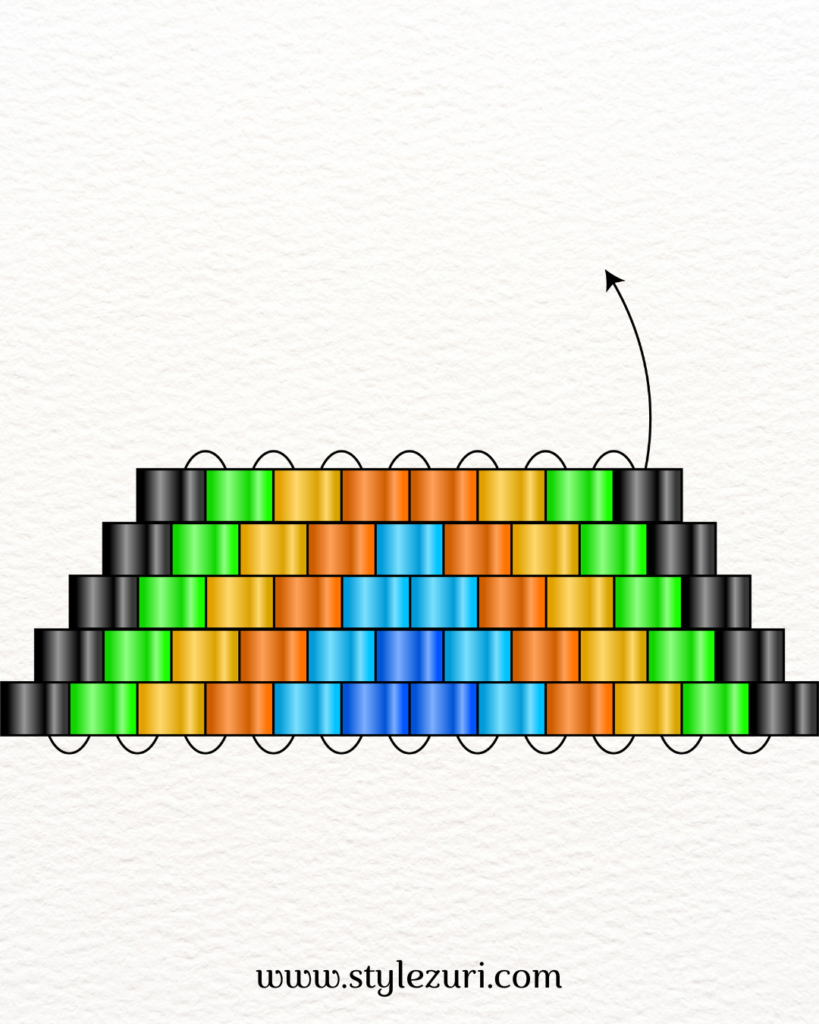
Step 6
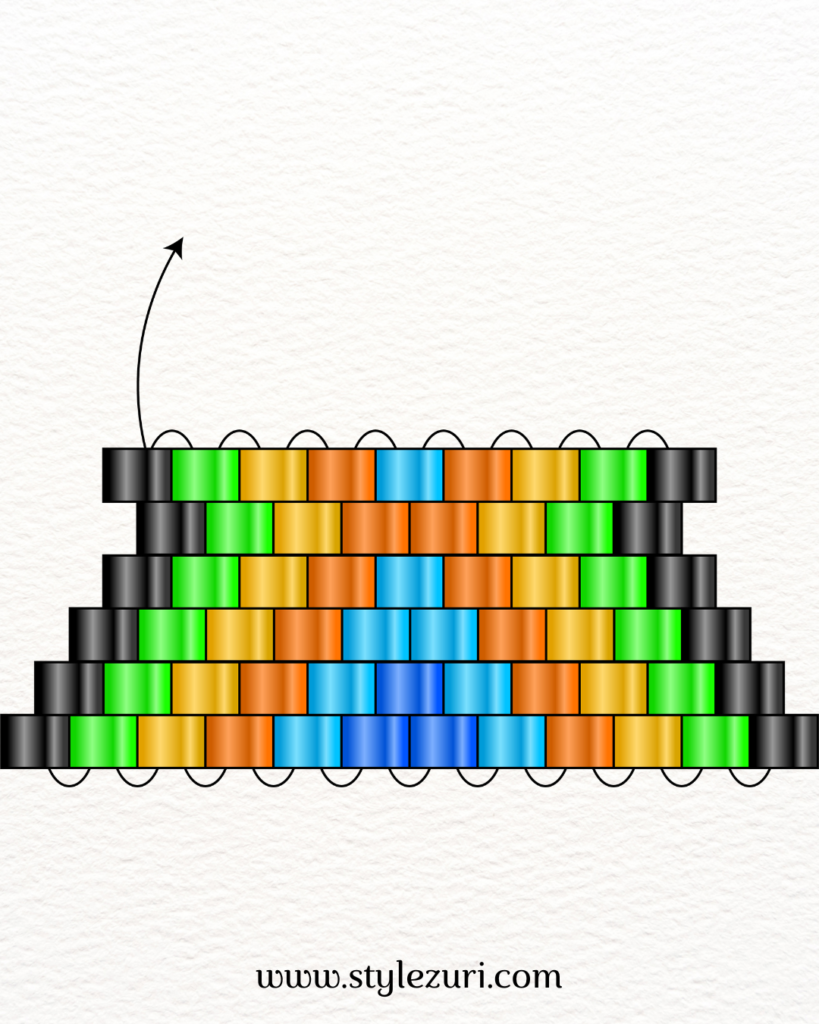
When you reach row 6, we’ll switch to an increase brick stitch. To add an extra bead, start by picking up 2 beads, just like in the decrease technique, but this time, pass the needle through the first loop instead of skipping it. Continue with the brick stitch as usual, and when you get to the last loop, pick up an extra bead and pass the needle through that same last loop. Be sure to follow the pattern illustration for the bead colors, and refer to the full tutorial for a detailed explanation of the technique.
Step 7
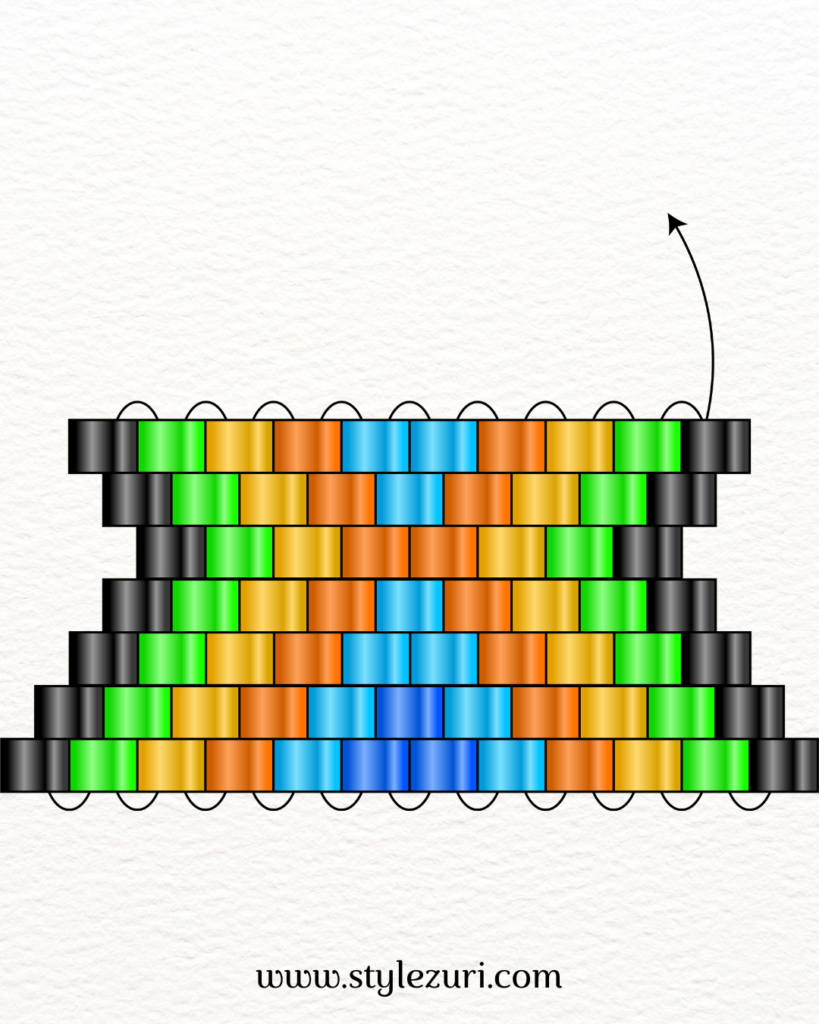
For row 7, continue using the increase brick stitch technique. Follow the same process as in row 6: start by passing the needle through the first loop, then continue with the brick stitch, and add an extra bead at the end by passing the needle through the last loop again. Make sure to follow the color pattern as shown in the illustration.
Step 8
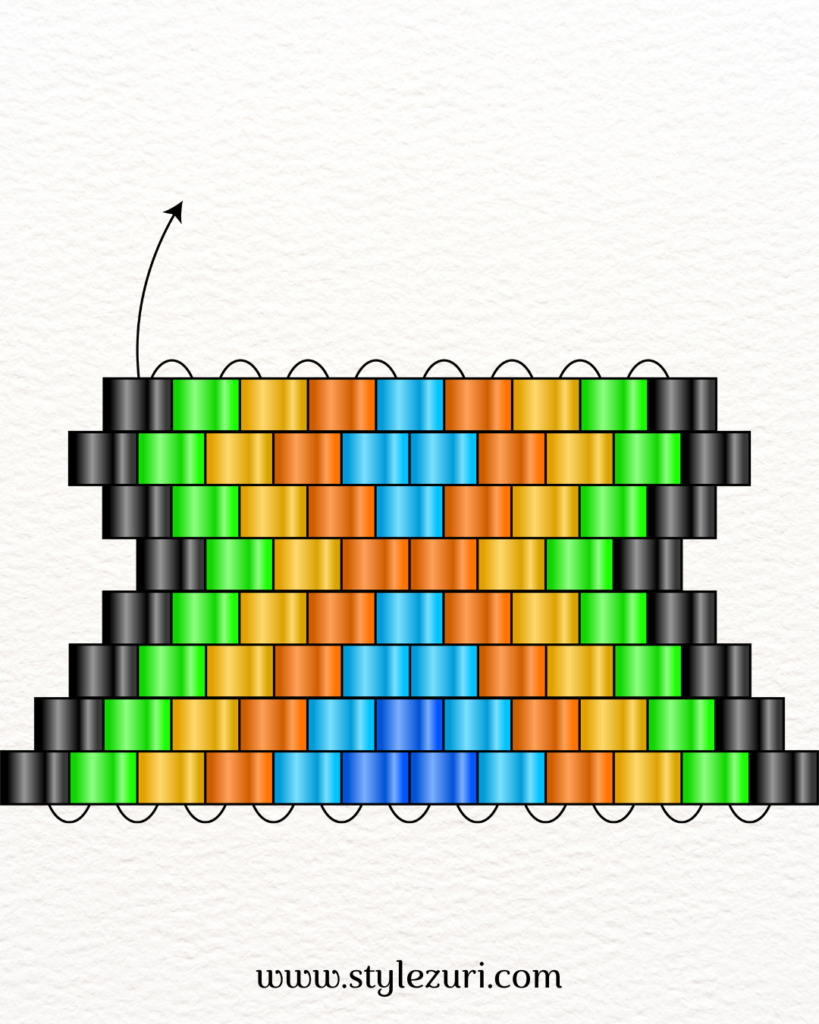
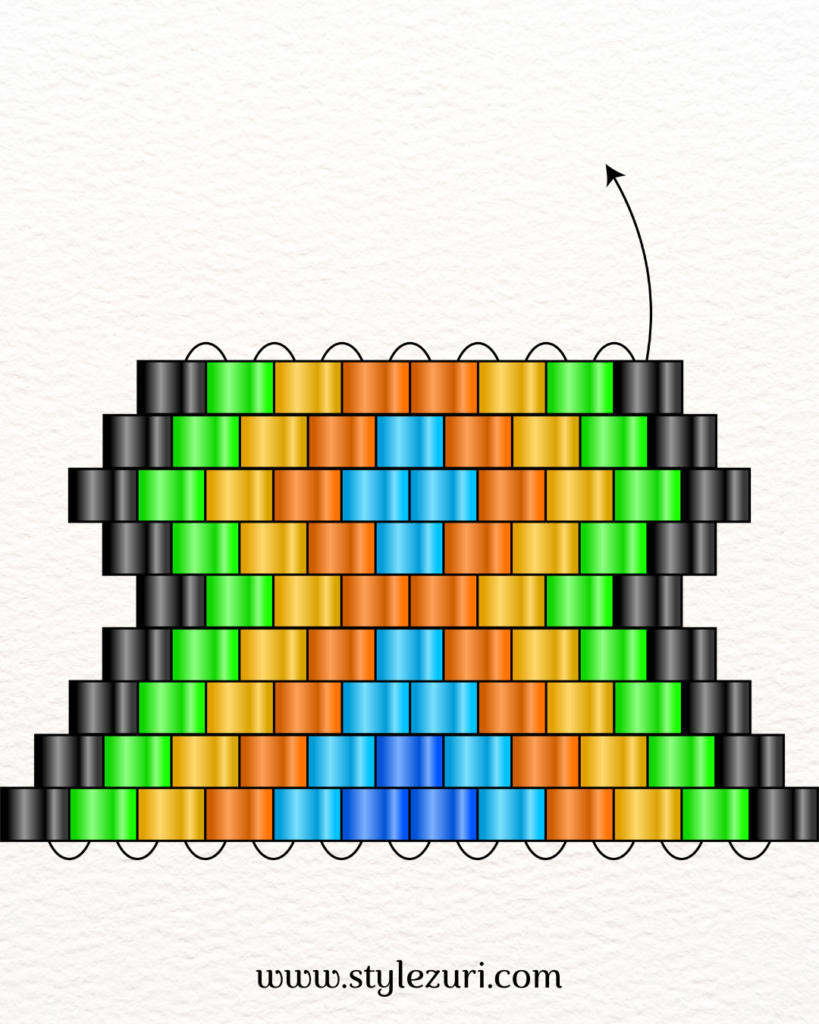
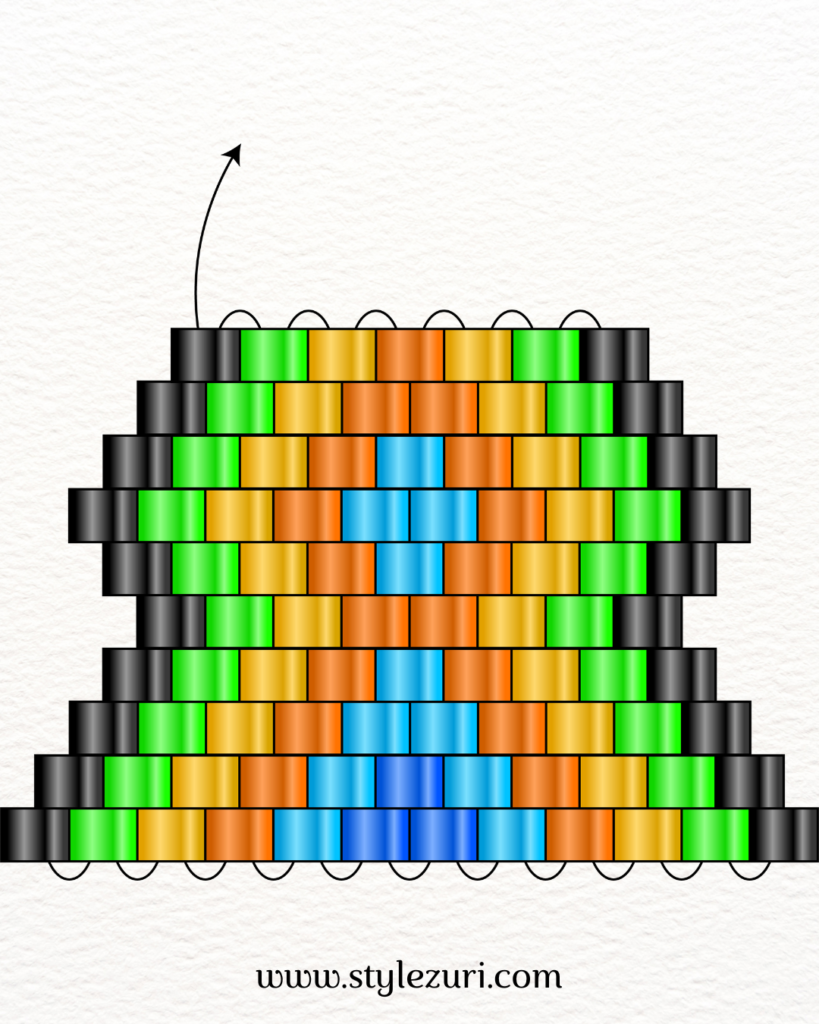
In row 8, switch back to the decrease brick stitch technique and continue using this method through row 11. Follow the same decrease process as before, ensuring that you skip the first loop at the start of each row. Be sure to follow the color pattern provided in the illustration to maintain the design.
Step 9
Step 10
Step 11
Step 12
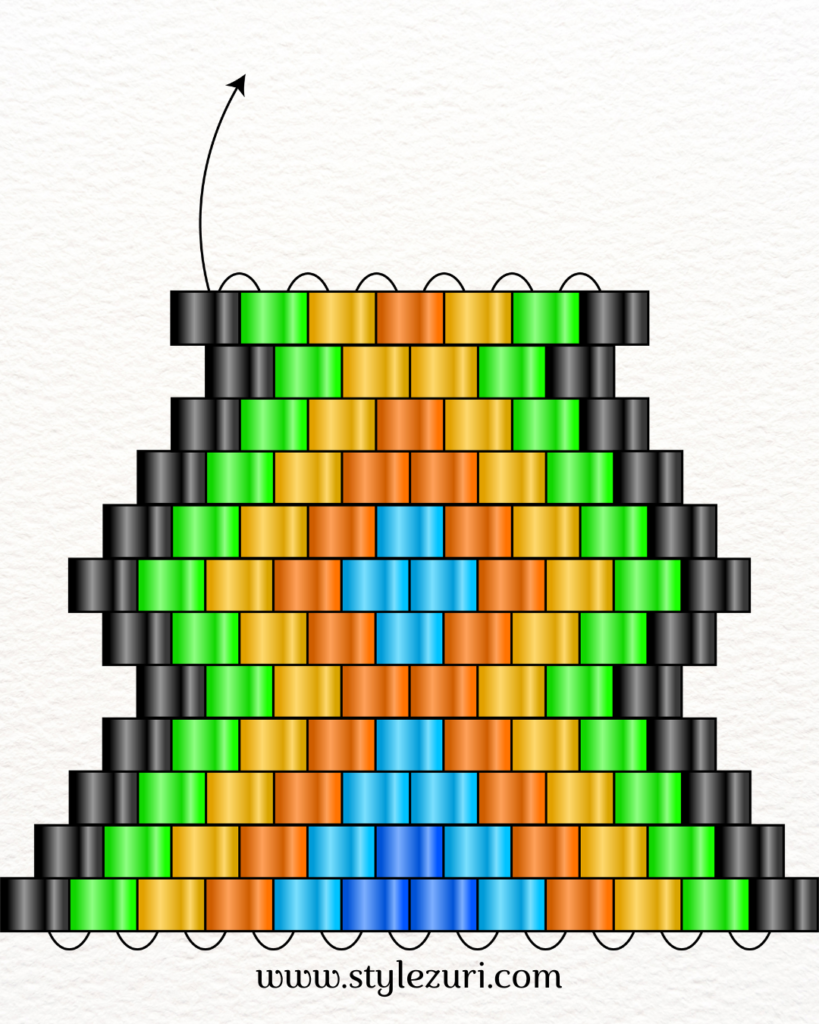
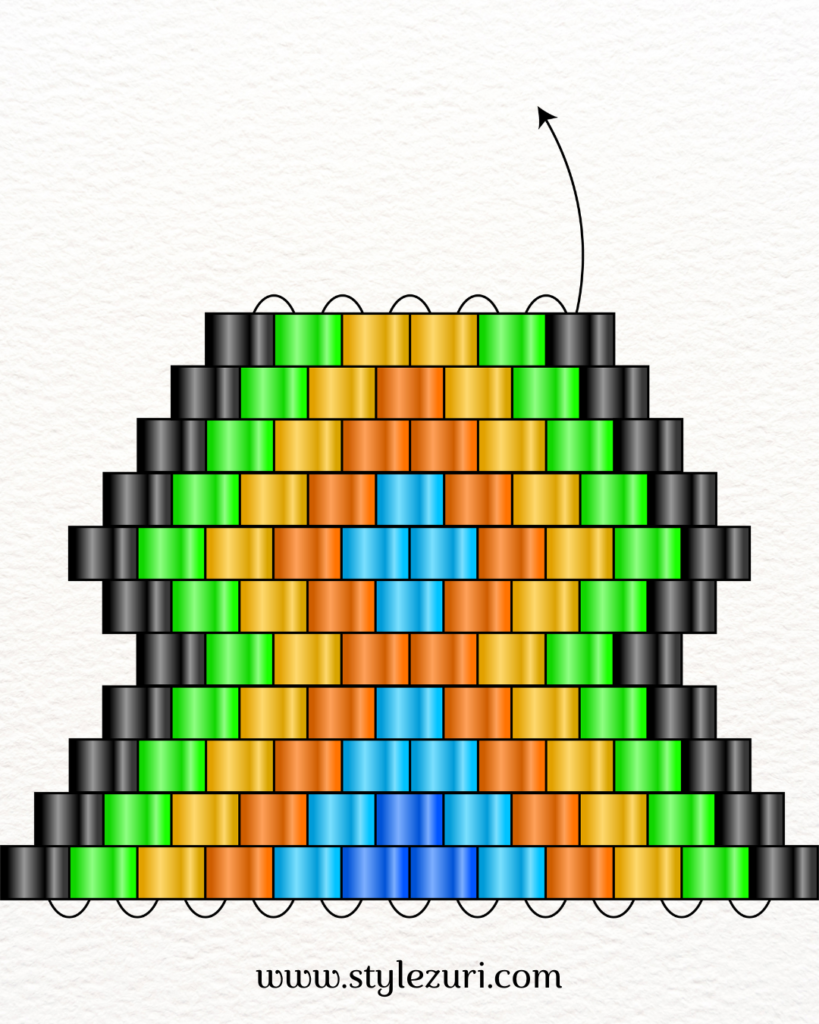
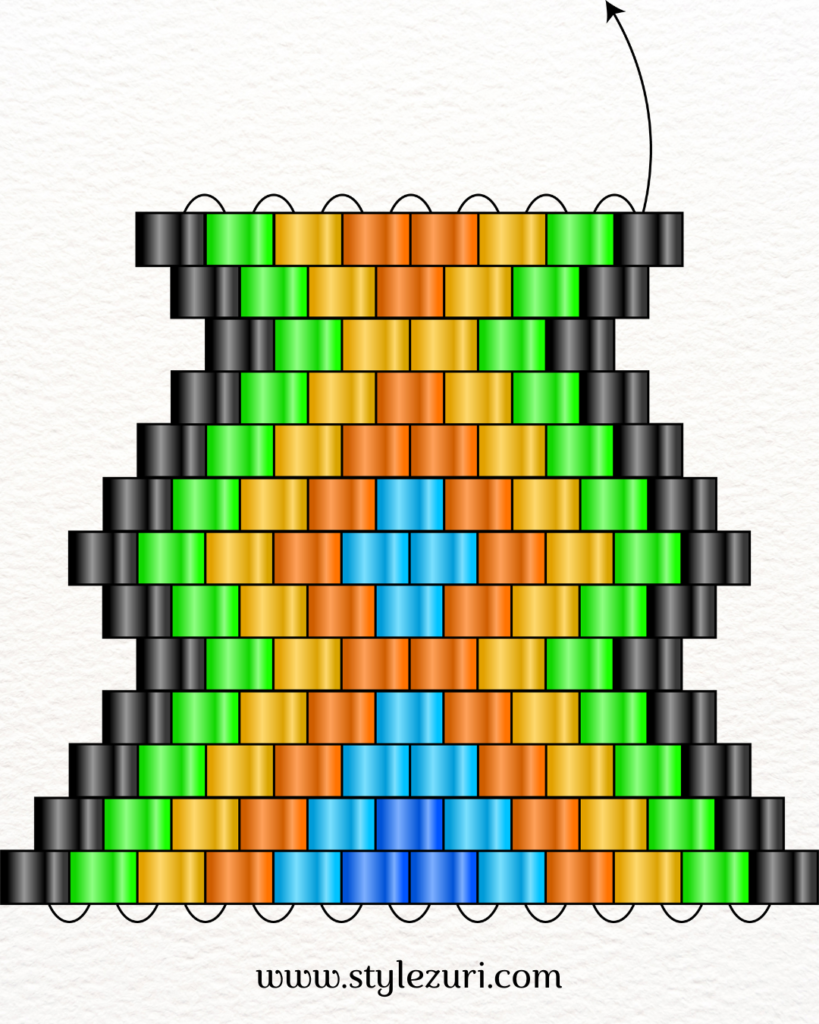
For rows 12 and 13, switch back to the increase brick stitch technique. Start each row by passing the needle through the first loop, and add an extra bead at the end by passing the needle through the last loop again. Continue to follow the color pattern as shown in the illustration for these rows.
Step 13
Step 14
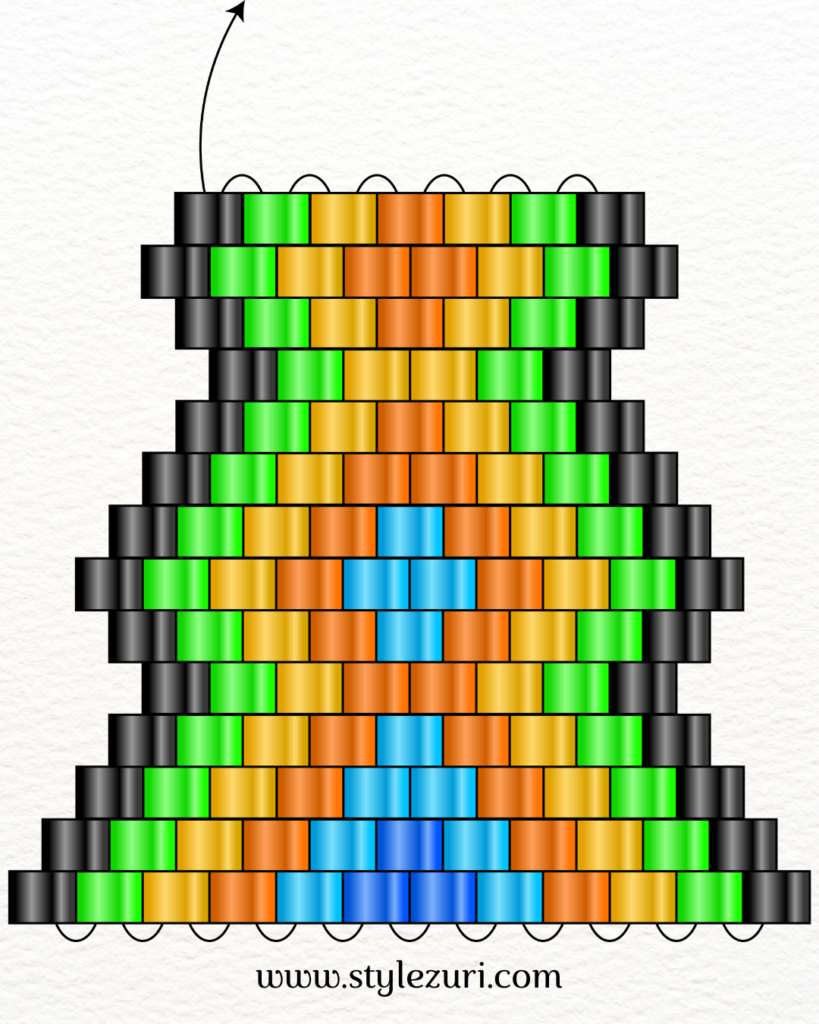
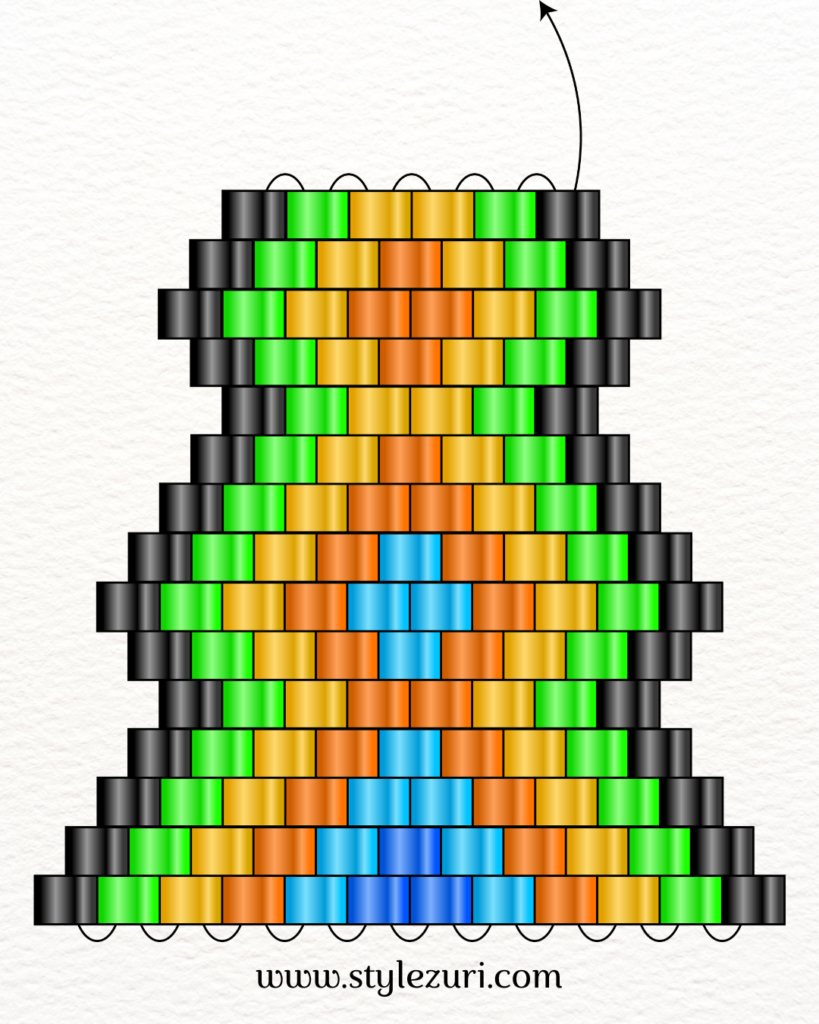
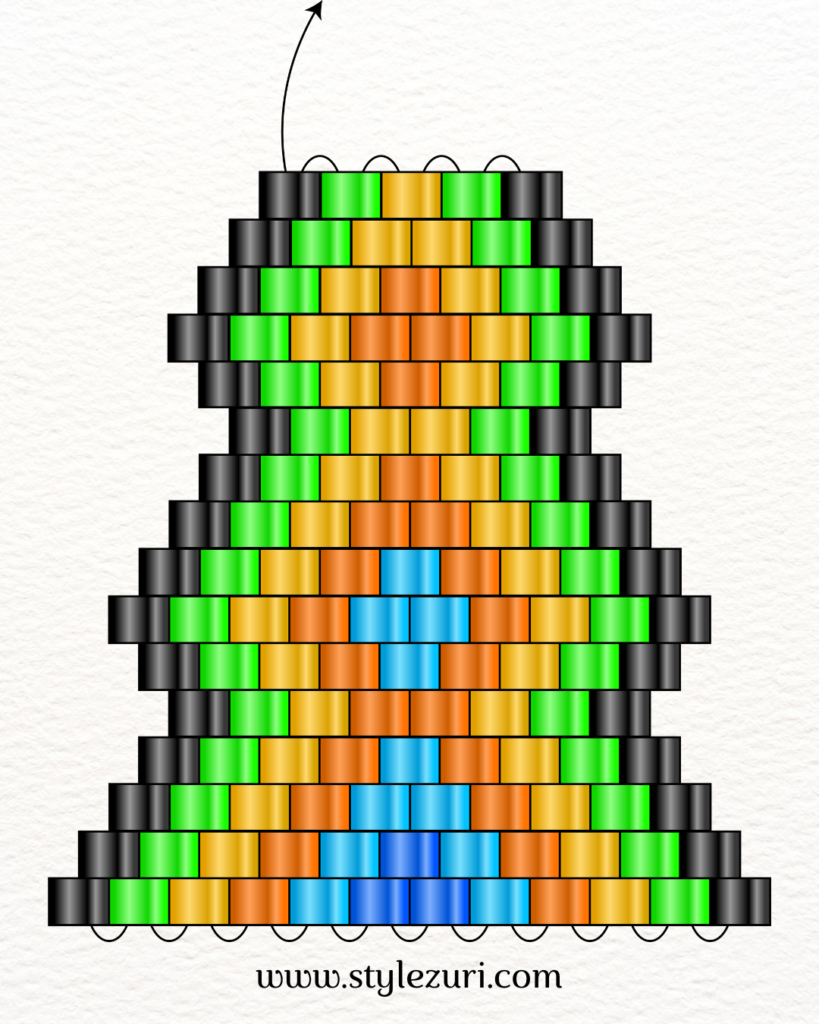
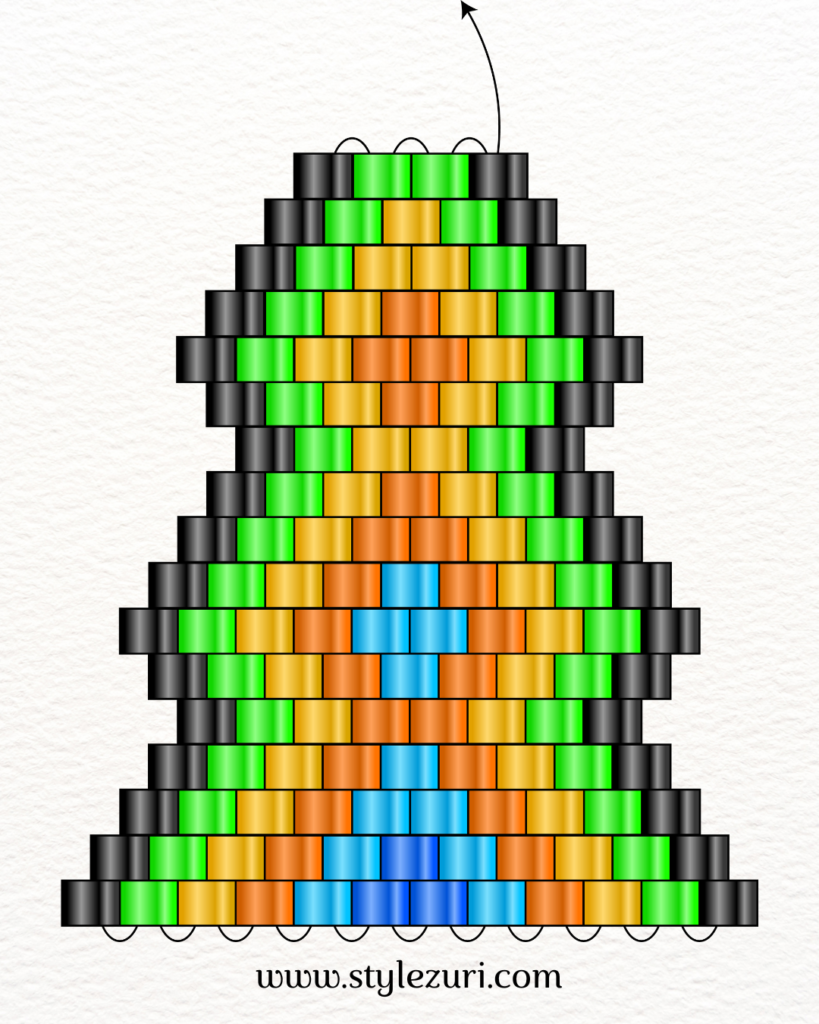
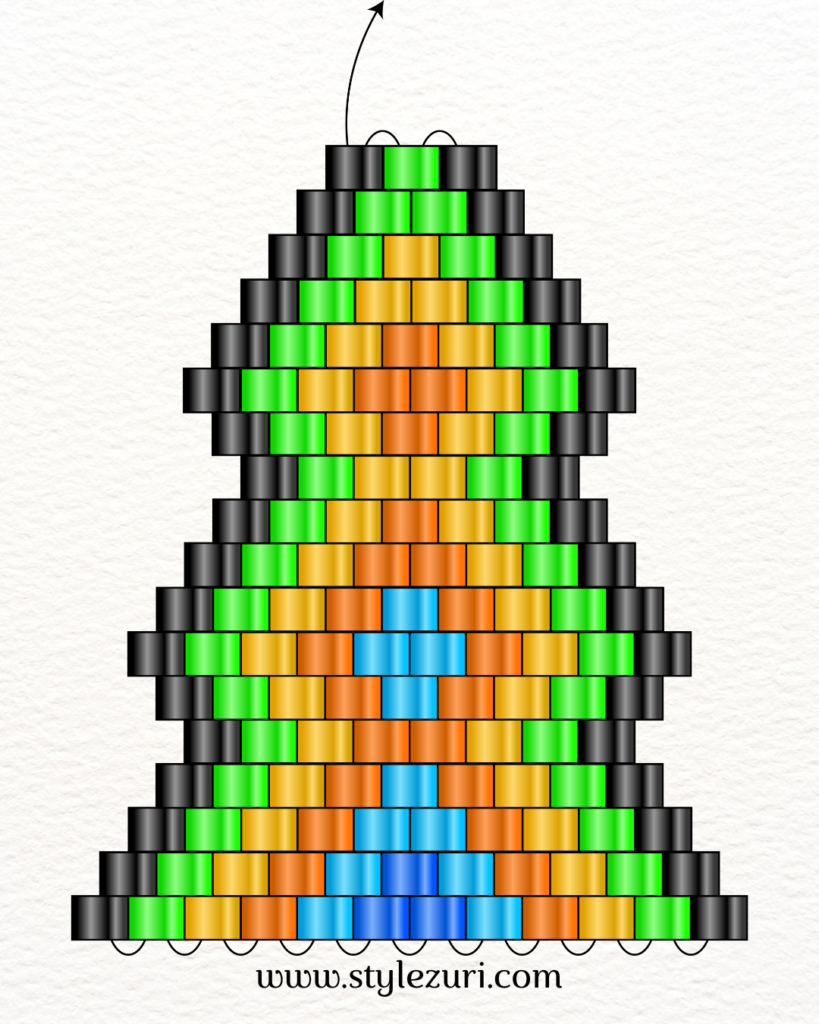
In row 14, switch back to the decrease brick stitch technique and continue decreasing through row 18. Follow the same method of skipping the first loop at the start of each row, and make sure to keep following the color pattern in the illustration to maintain the design.
Step 15
Step 16
Step 17
Step 18
Step 19
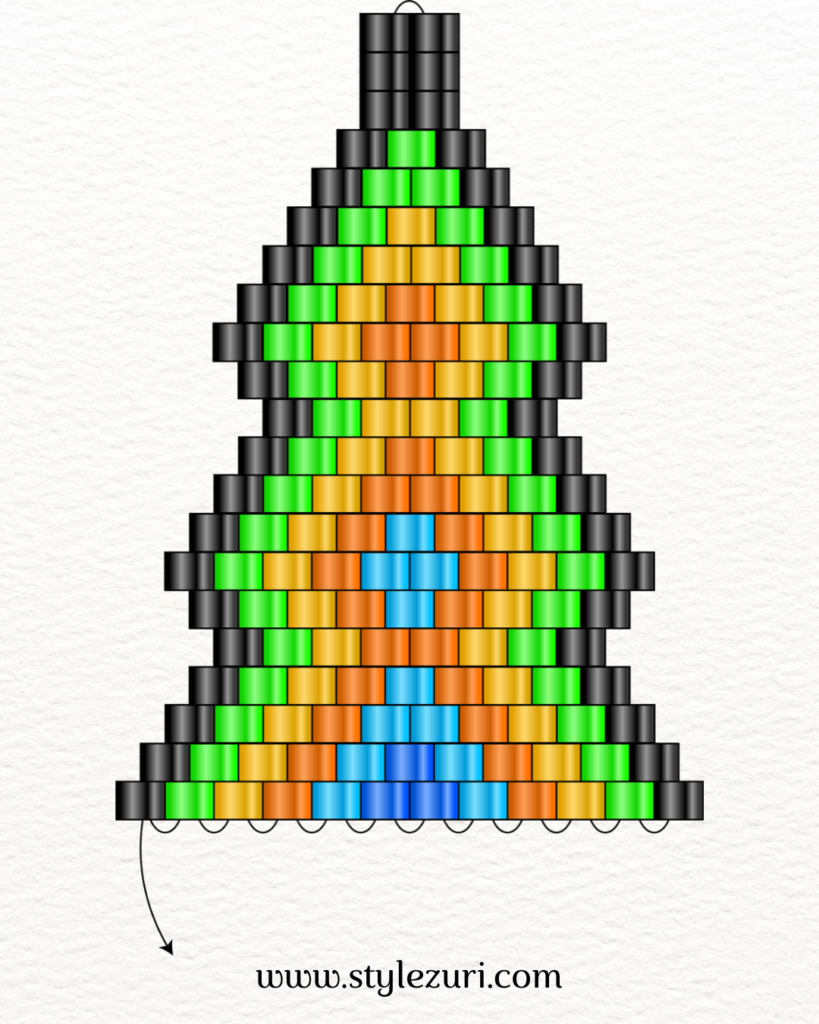
When you reach the topmost row, pick up 4 or 6 beads to form a loop, which will be used for attaching the bands or chain for the bracelet. After creating the loop, pass the needle all the way down to the bottom where you started with the ladder stitch, as shown in the illustration.
Step 20
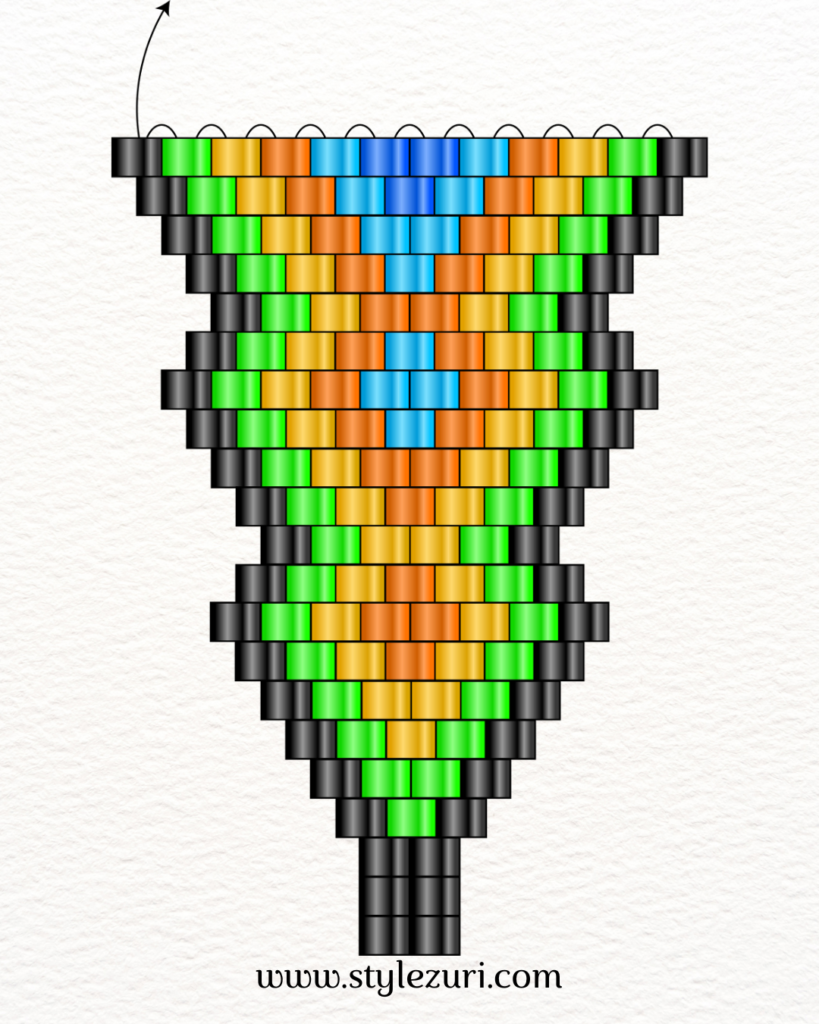
Now, turn your work and treat it as if you’re starting from the 2nd row all over again. Repeat the same techniques we’ve used from row 2 up to the last row. Once you complete this process, you’ll have finished your colorful beaded pattern! Enjoy your beautiful creation!
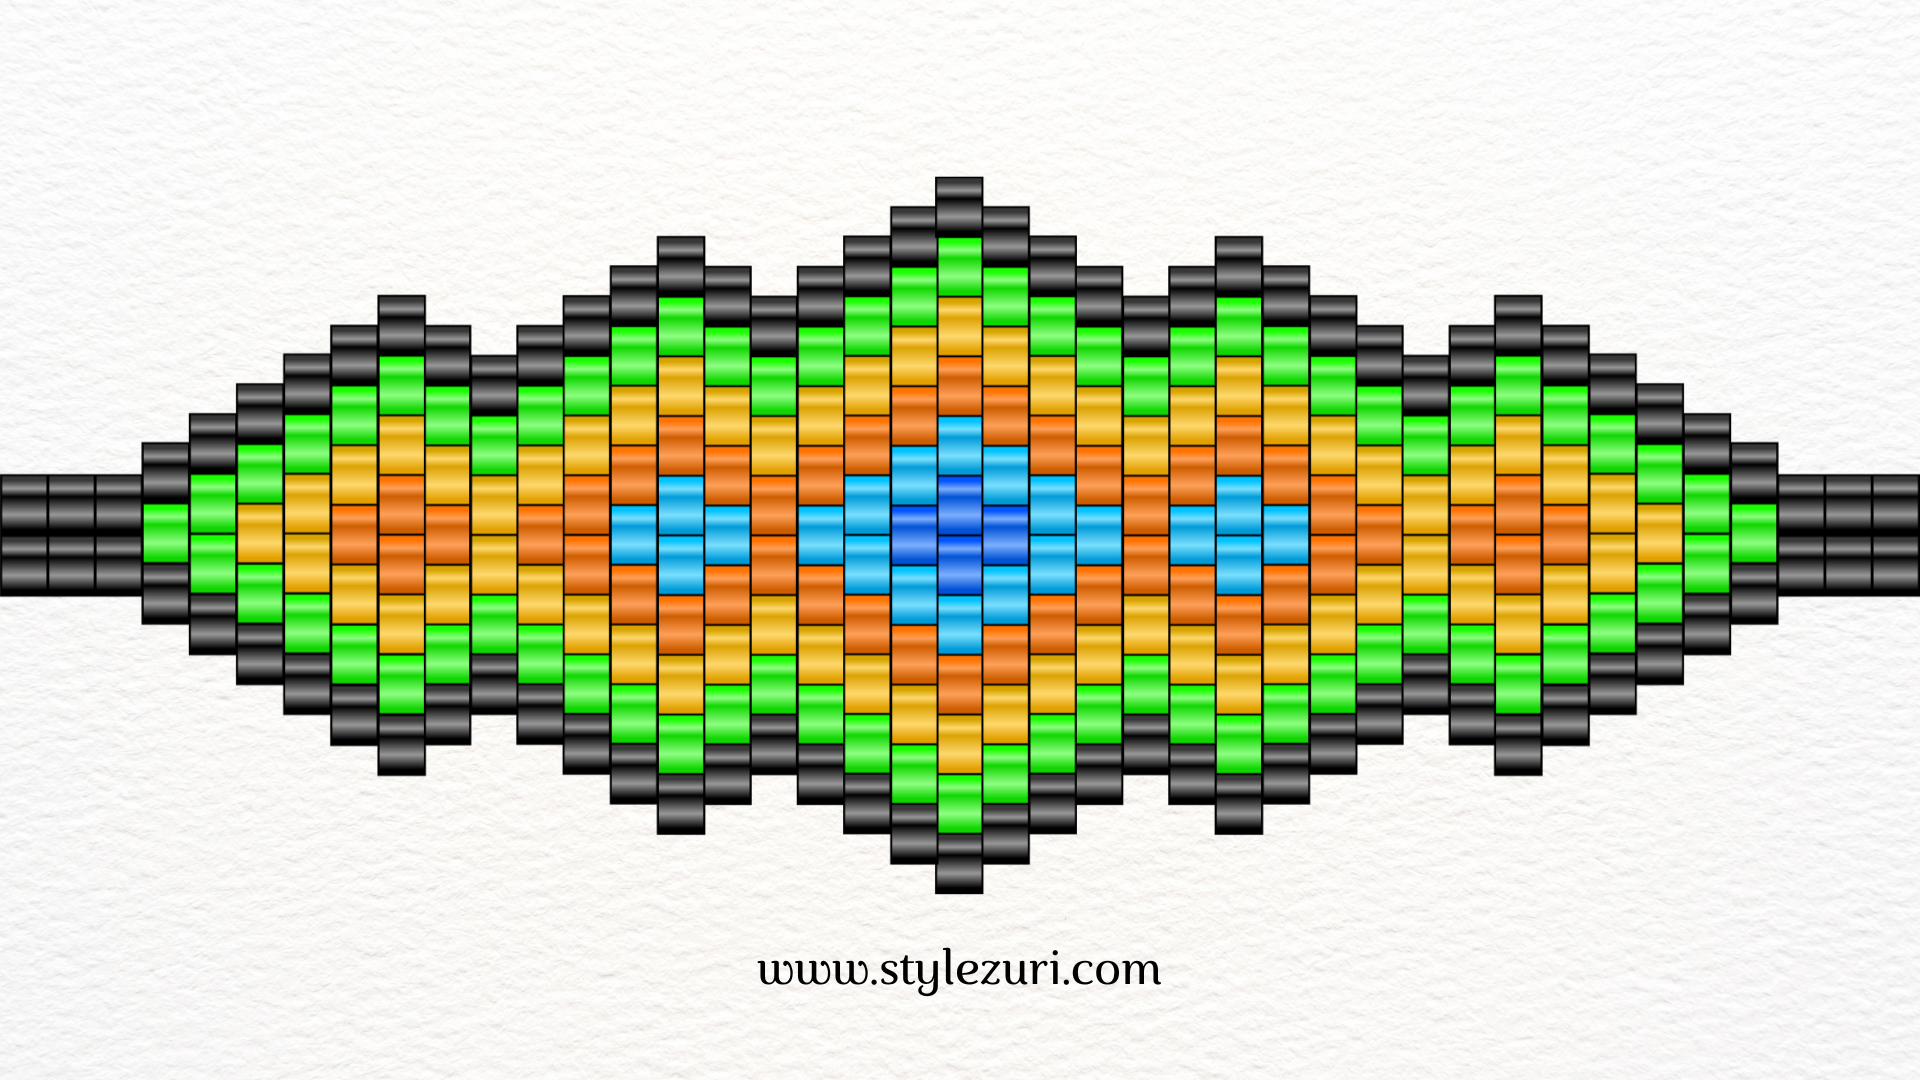
See how easy that was? You can customize and play with the colors however you like to create unique variations of this pattern. Whether you choose bold hues or soft pastels, the possibilities are endless! Now you have a versatile piece that can be worn as a bracelet, necklace, or earrings.
