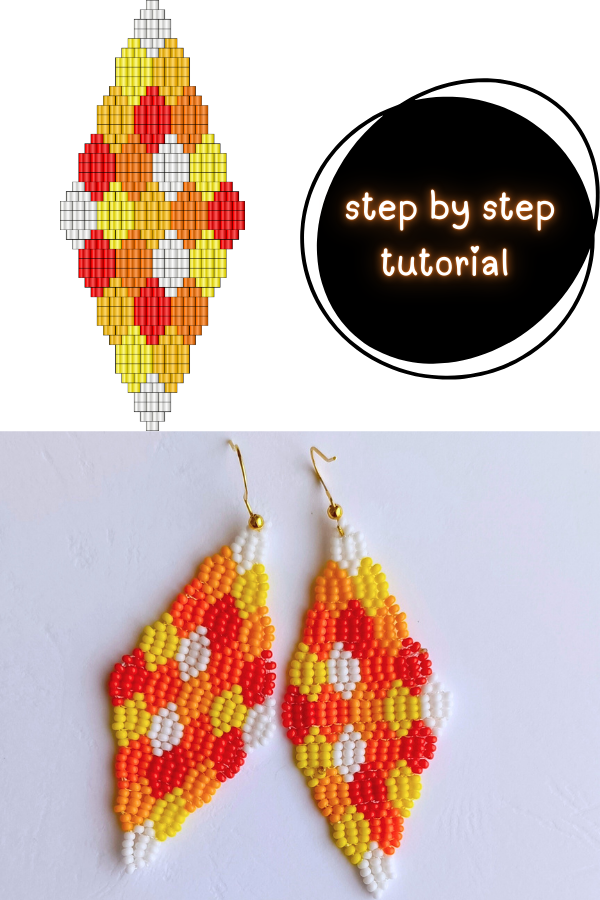
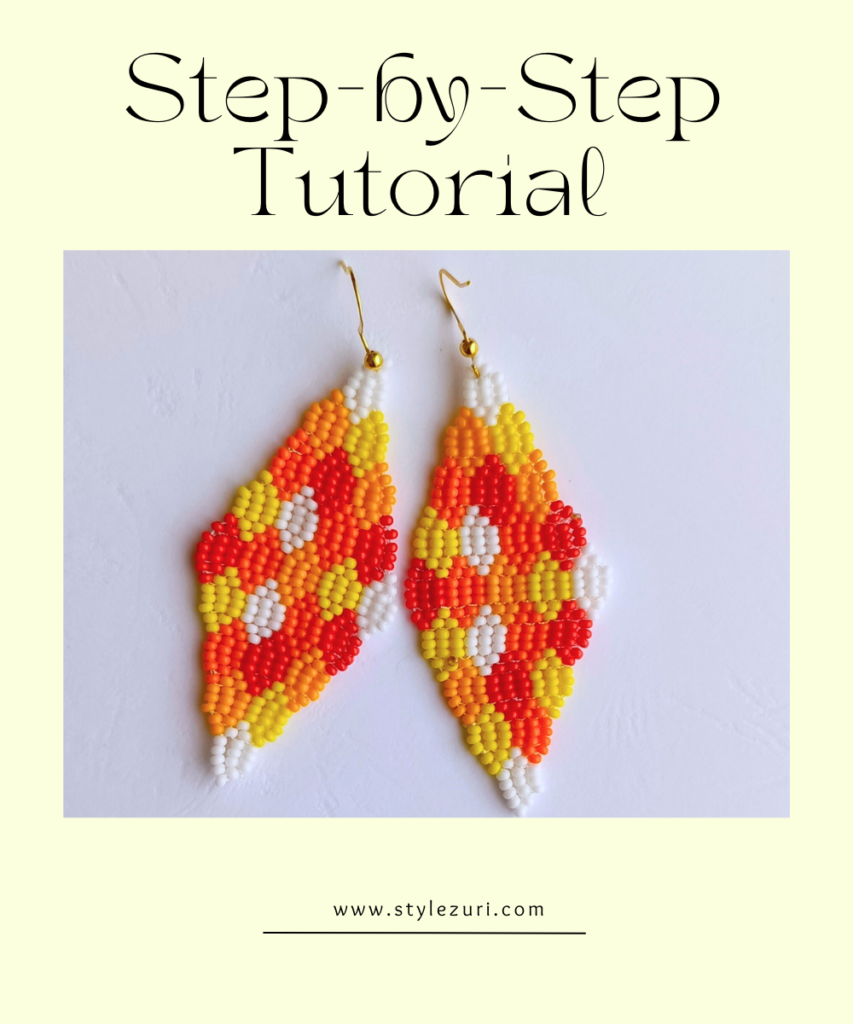
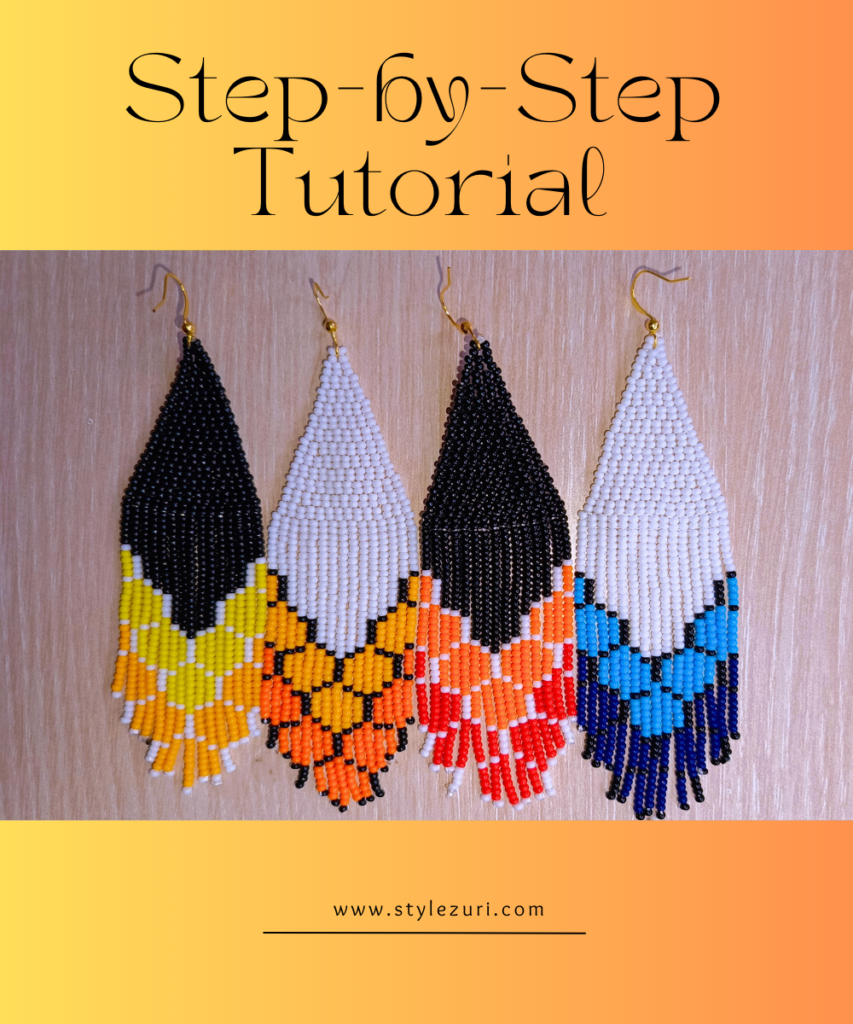
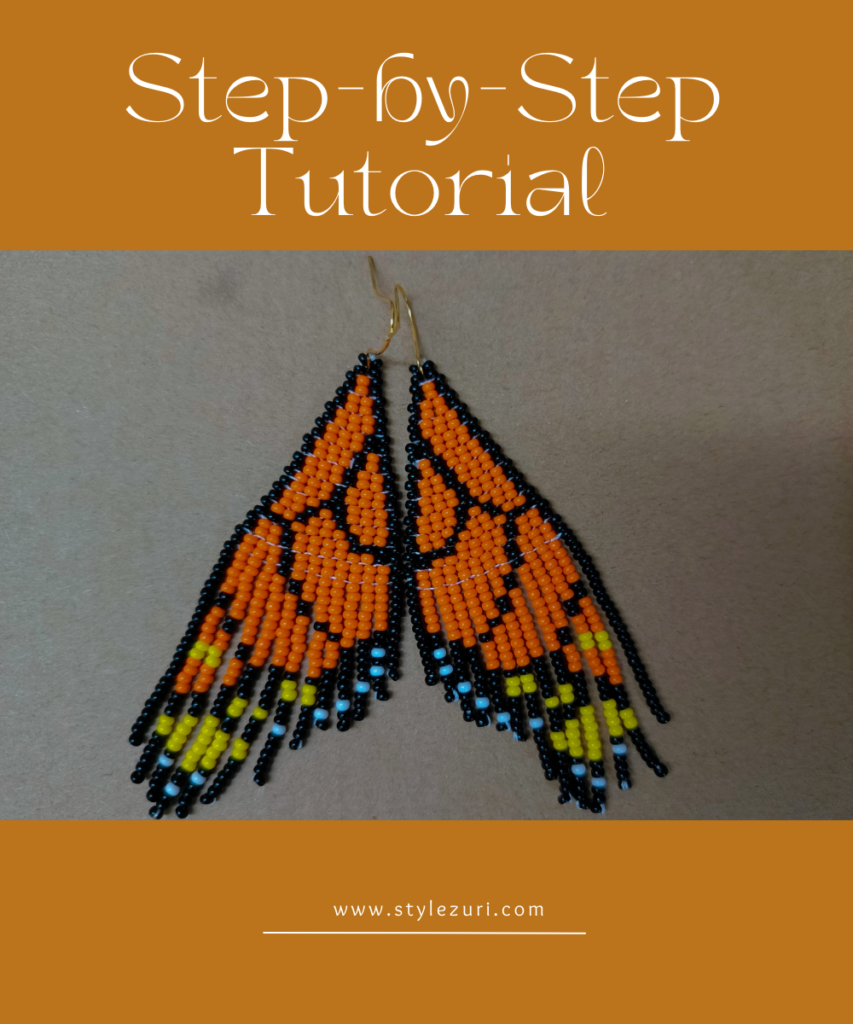
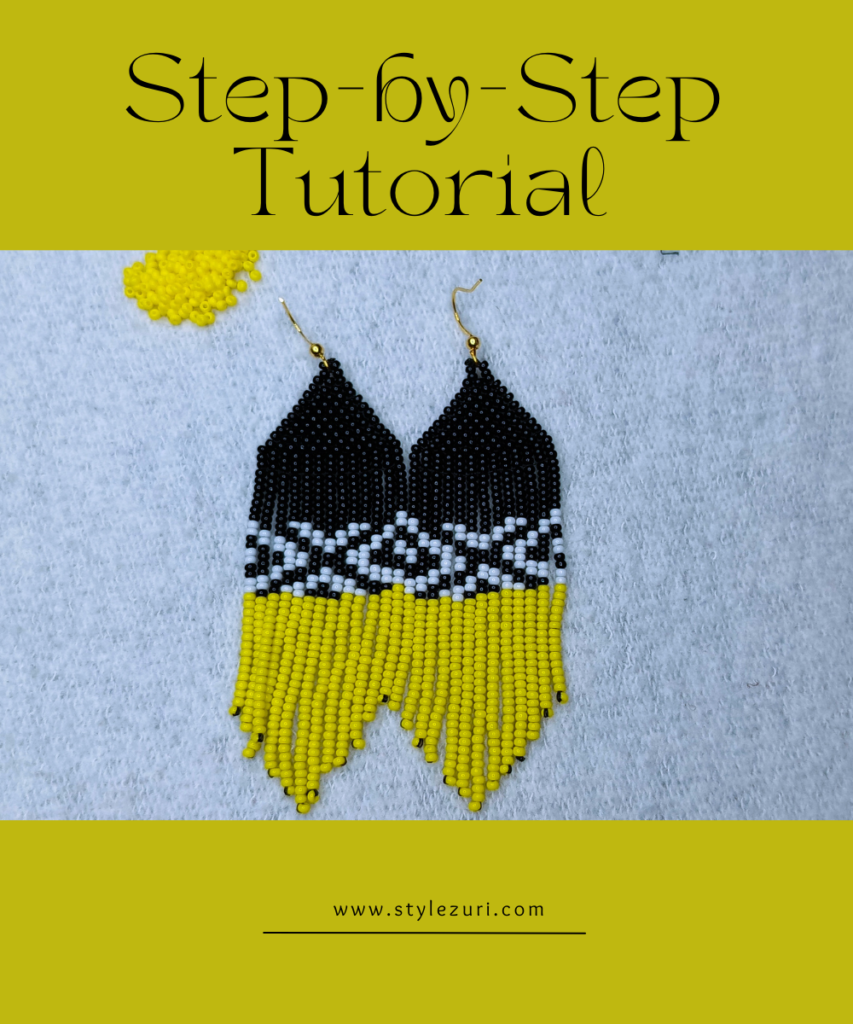
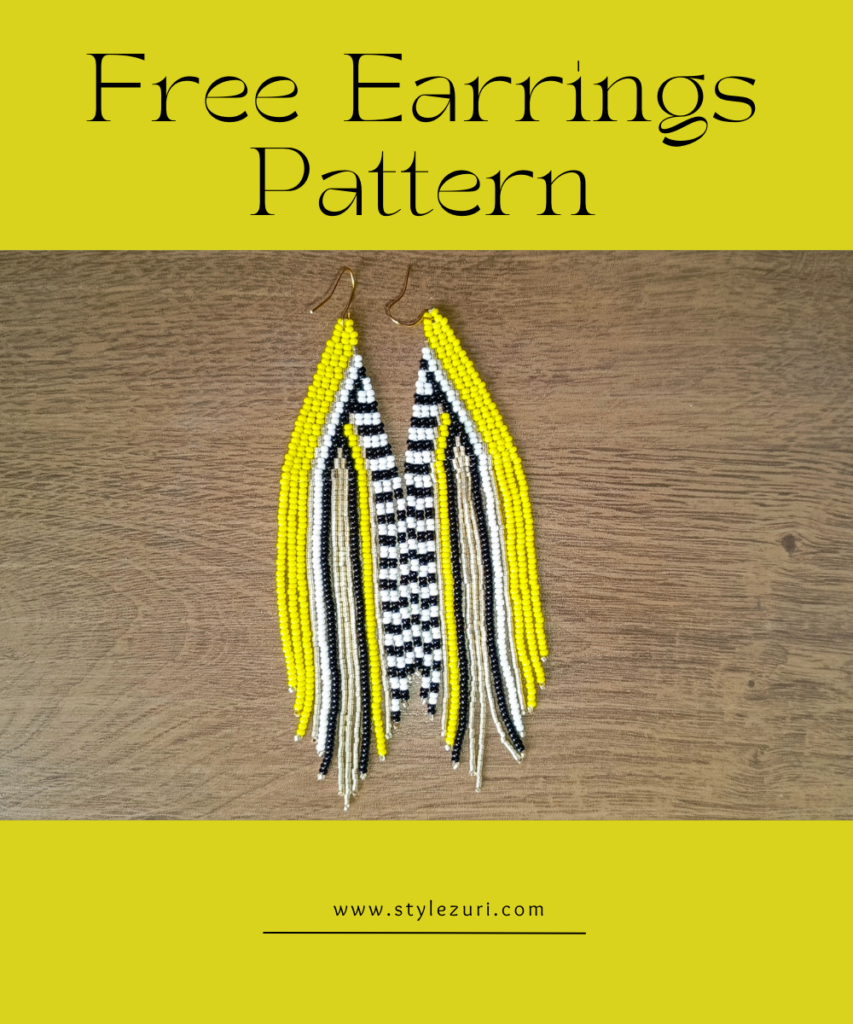
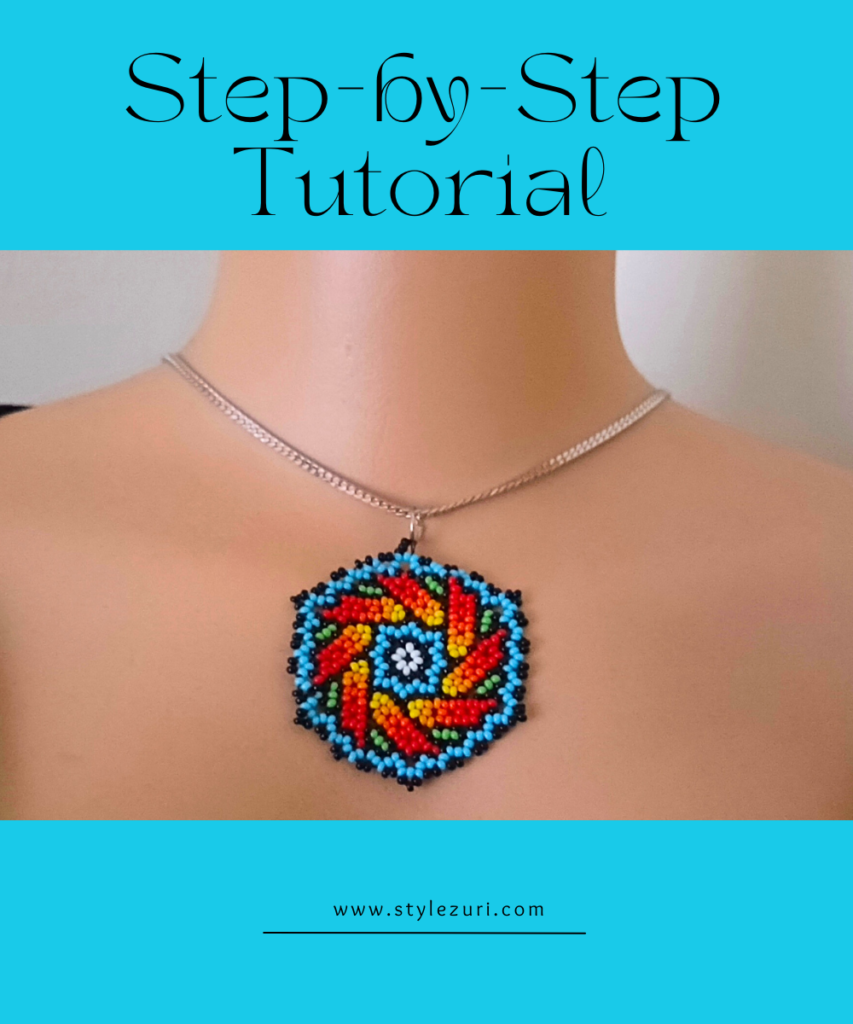
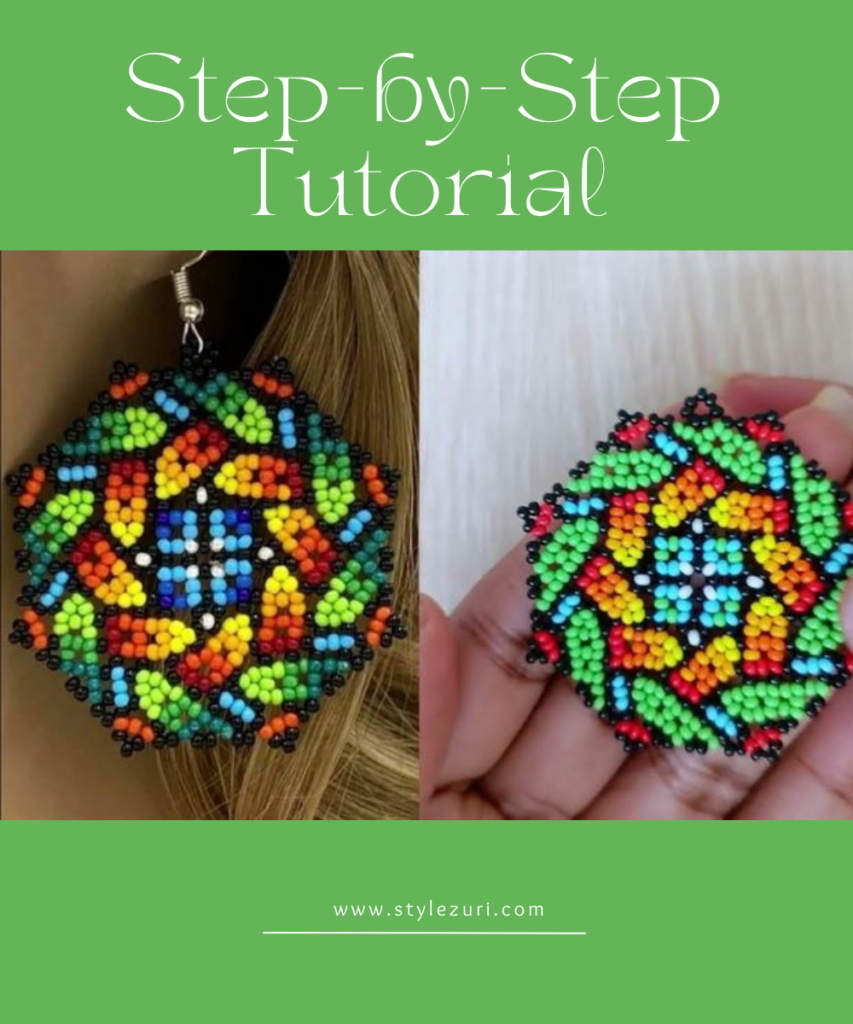
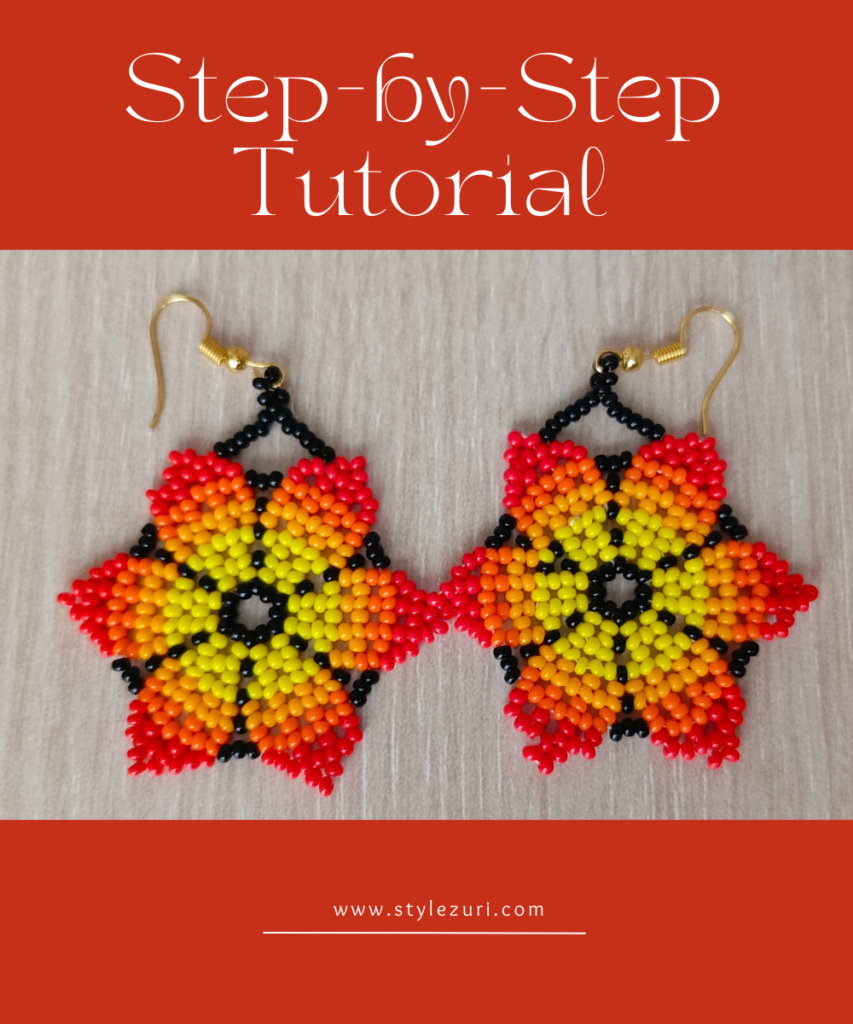
So, brick stitch is one of my favorite techniques for beading, and diamond-shaped beaded earrings are such an easy project! Today, we’re creating a beautiful checkered design that allows you to play with colors as you like. This tutorial is detailed and beginner-friendly because we’ll be working step by step. Just take a look at the endless possibilities!

Materials Used:
- Beading needle
- Beading thread
- Size 10 Czech seed beads
- Earring hooks
Let’s dive into this fun and creative beading adventure!
Step 1
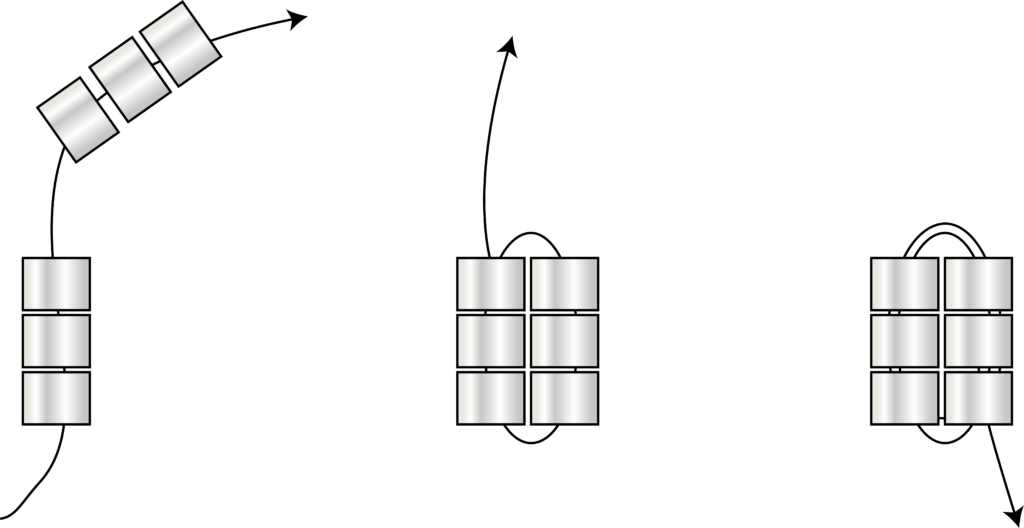
Thread the needle and pick up 6 white beads. Pass the needle through the first 3 beads and then back through the last 3 beads.
Step 2
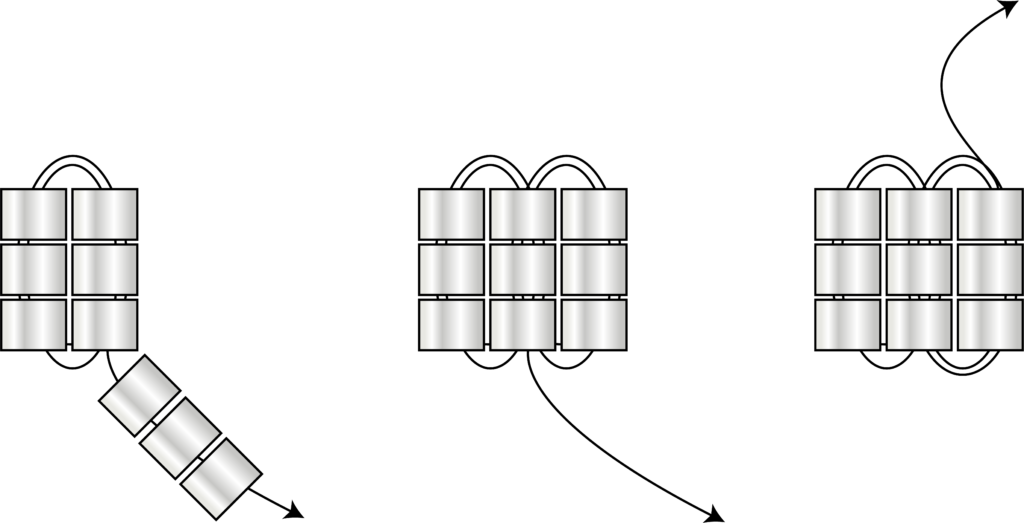
Next, pick up 3 white beads and pass the needle back through the last 3 beads, then back through the 3 beads you just picked.
Step 3
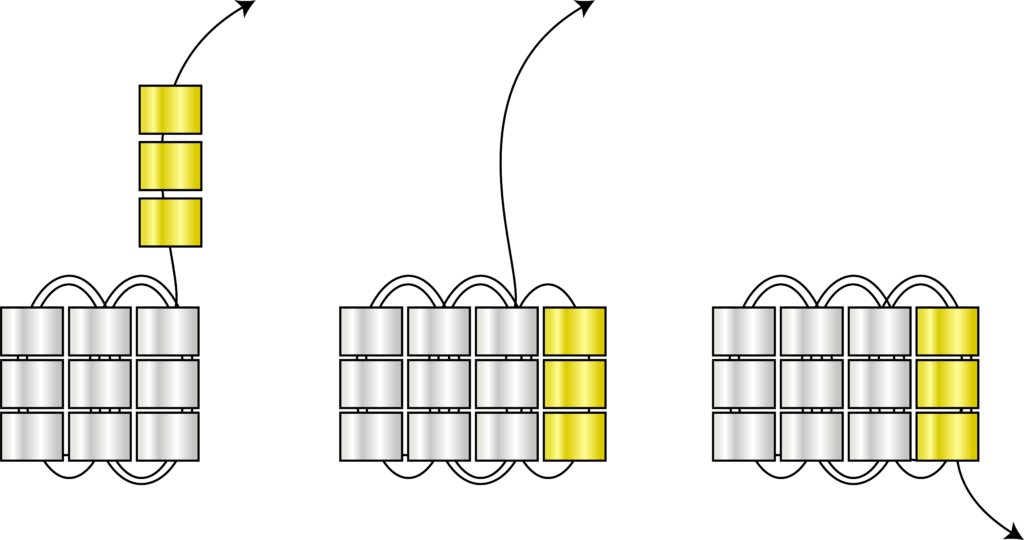
Now, the pattern for this base row consists of sets of 3 triple beads, alternating colors. In this case, yellow is my next color, so the next 3 sets will be yellow. Pick up 3 yellow beads and pass the needle through the last 3 white beads, then back through the 3 yellow beads you just picked.
Step 4
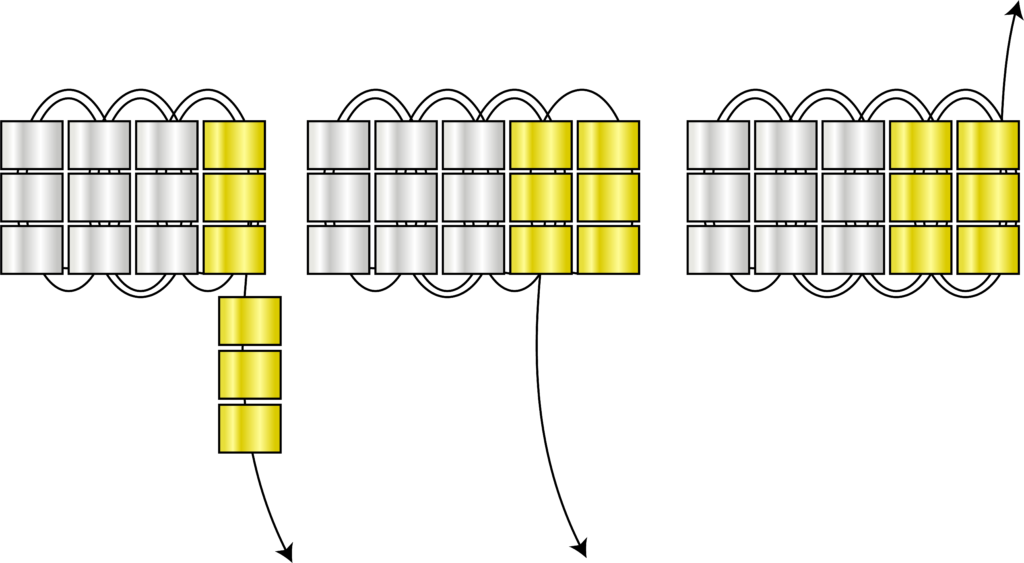
Next, pick up 3 yellow beads and pass the needle through the last 3 yellow beads, then back through the 3 yellow beads that you just picked. This technique is known as a ladder stitch.
Step 5
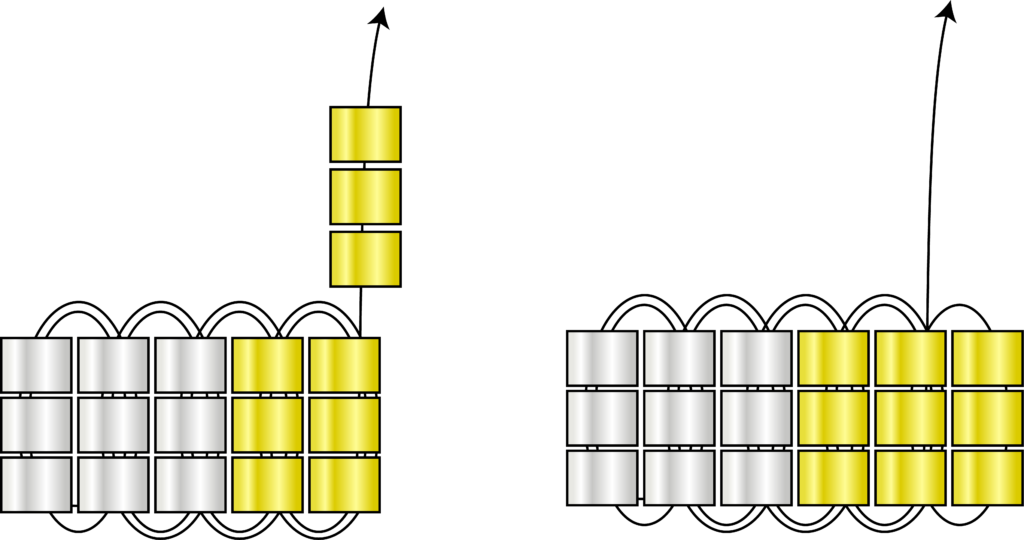
So, pick up the last 3 yellow beads, and we’re done with that color. Now, add the next color and work with that color for the next 3 steps before switching to a different color. Continue this process until you have 15 sets of 3 beads in this first row.
Step 6

Now, check out the color sequence for the base row. Next, to start working on the next row, pick up 2 red beads.
Step 7

Skip the first loop of the stitch formed between the beads in the base row and pass the needle through the 2nd stitch, then back through the last bead.
Step 8

Introduce a new color; in this case, I chose yellow. Pick up 1 yellow bead and pass the needle through the next loop of the stitch, then back through the yellow bead you just picked.
Step 9

The next sequence involves using 2 colors from the base row. Pick up 1 orange bead since orange is the current color below in the base row, and pass the needle through the next loop, then back through the bead you just picked. Next, pick up another orange bead and pass the needle through the next loop, then back through that bead. The color sequence here is 2 beads followed by 1 new color bead.
Step 10

Follow the pattern until you reach the last loop. Remember, it’s 2 color beads according to the beads in your base row, followed by 1 new color bead.
Step 11

For this row, the process is similar to the 2nd row. Start by picking 2 beads: 1 white bead followed by 1 red bead. Skip the 1st loop and pass the needle through the 2nd loop. Next, pick up 1 red bead and pass the needle through the next loop, then back through the red bead. Notice the pattern: we are picking only 1 bead from the base row’s color, followed by 2 color beads from the ones introduced in the 2nd row.
Step 12

Continue this process until you reach the last loop. Remember, it’s 1 color bead from the base row, followed by 2 color beads from the ones we introduced in the 2nd row.
Step 13

For this row, the process is similar to the base row, but this time we are using the brick stitch technique instead of the ladder stitch. Start by picking up 6 yellow beads, then skip the 1st loop of the stitch and pass the needle through the 2nd loop. After that, pass the needle back through the last 3 beads.
Step 14

Pick up 3 yellow beads and pass the needle through the next loop, then back through the beads. Notice the pattern? We’re only working with the color beads introduced in the 2nd row. So, we pick 3 color beads 3 times, then switch to the next color for 3 sets. In this case, our next color is white.
Step 15

So, that’s it for that row. From here, the pattern is similar to what we have done before. Assume this is our 1st row and continue working just like we have been doing from the 2nd row.
Step 16

Just continue with the pattern until you reach the last row, which is the tip. Notice the checkered pattern and how beautiful they are?
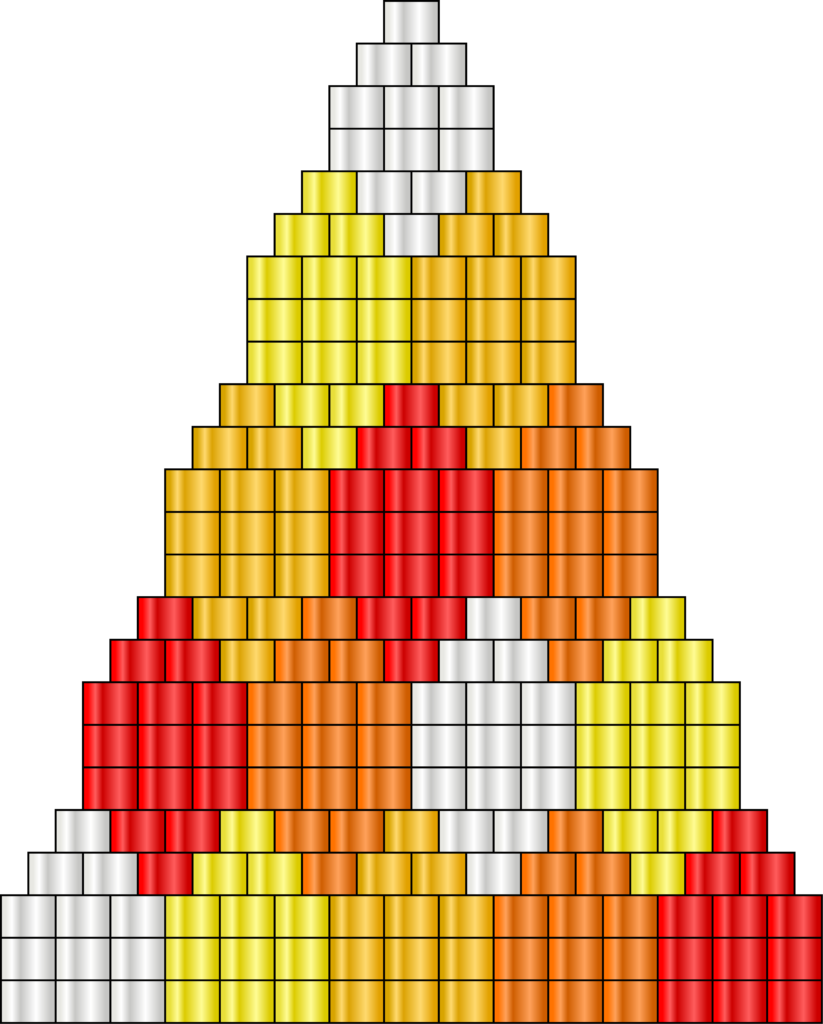
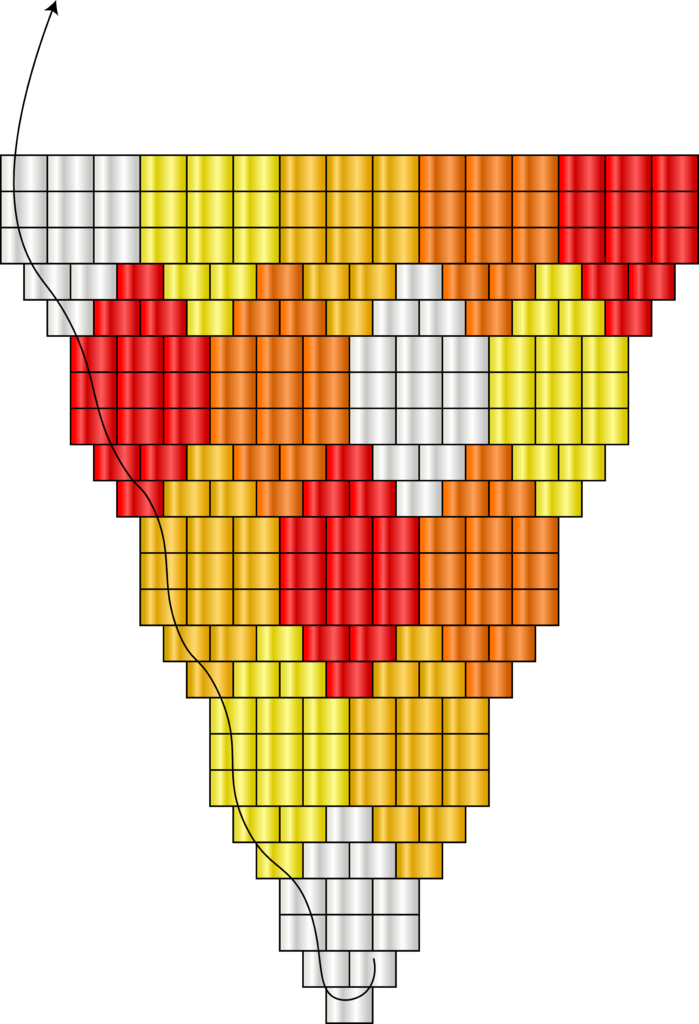
So that’s it; we are done with half of the earrings! From here on, it’s just a matter of threading through until you reach where you started on the base row, which, in this case, is where the white beads are. Then, assume you are starting from the 2nd row and continue doing what we have been doing. You can even play with different colors; it’s not necessary to mirror the exact colors from the first half.
And this is how our earrings have turned out! I absolutely love them. The only thing left is to add the earring hooks, and then you’re ready to look fabulous!
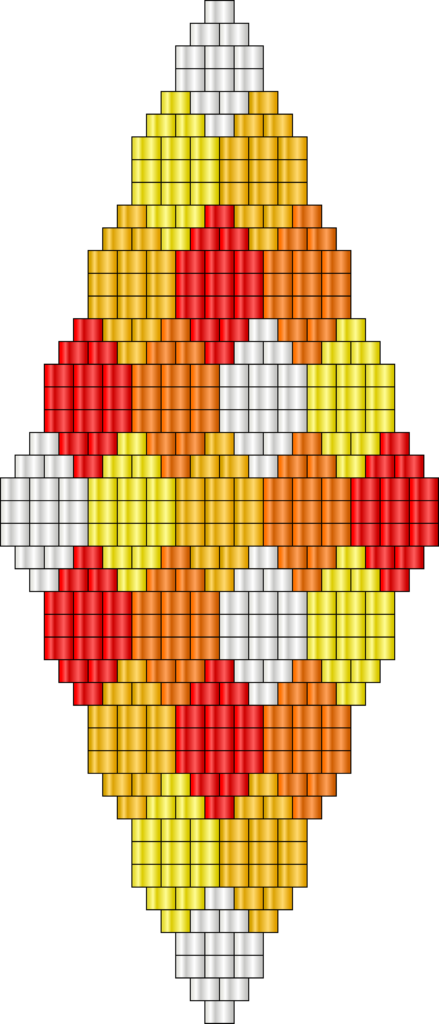
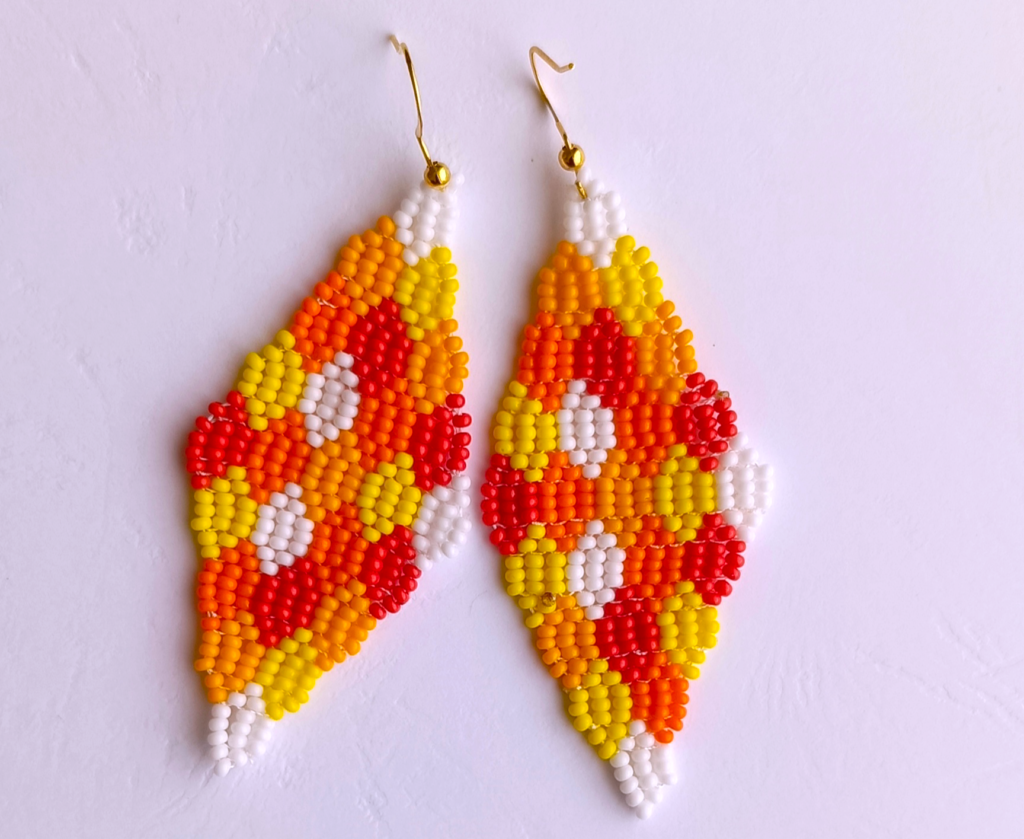
Congratulations on completing your stunning checkered diamond-shaped brick stitch beaded earrings! This project not only showcases your creativity but also enhances your beading skills. Remember, the beauty of beading lies in the endless possibilities of colors and patterns you can explore. Feel free to experiment with different combinations to make each pair uniquely yours. Whether you’re wearing them yourself or gifting them to someone special, these earrings are sure to turn heads. Thank you for following along, and happy beading!
