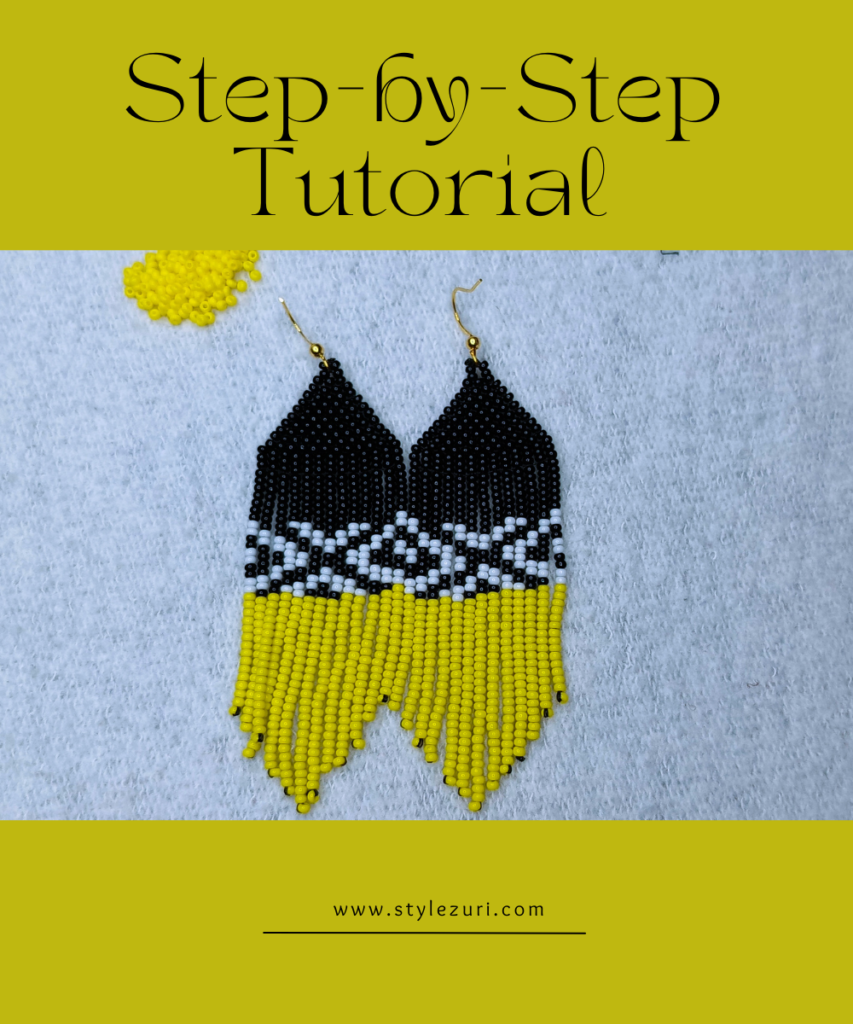
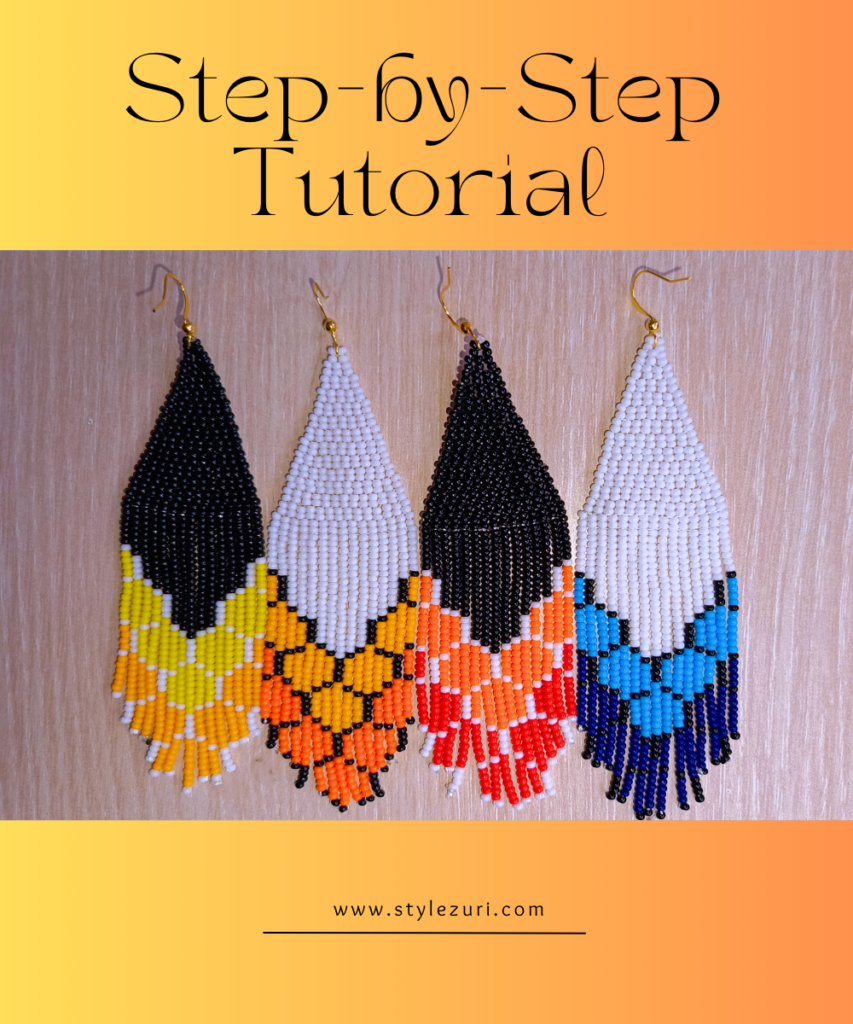
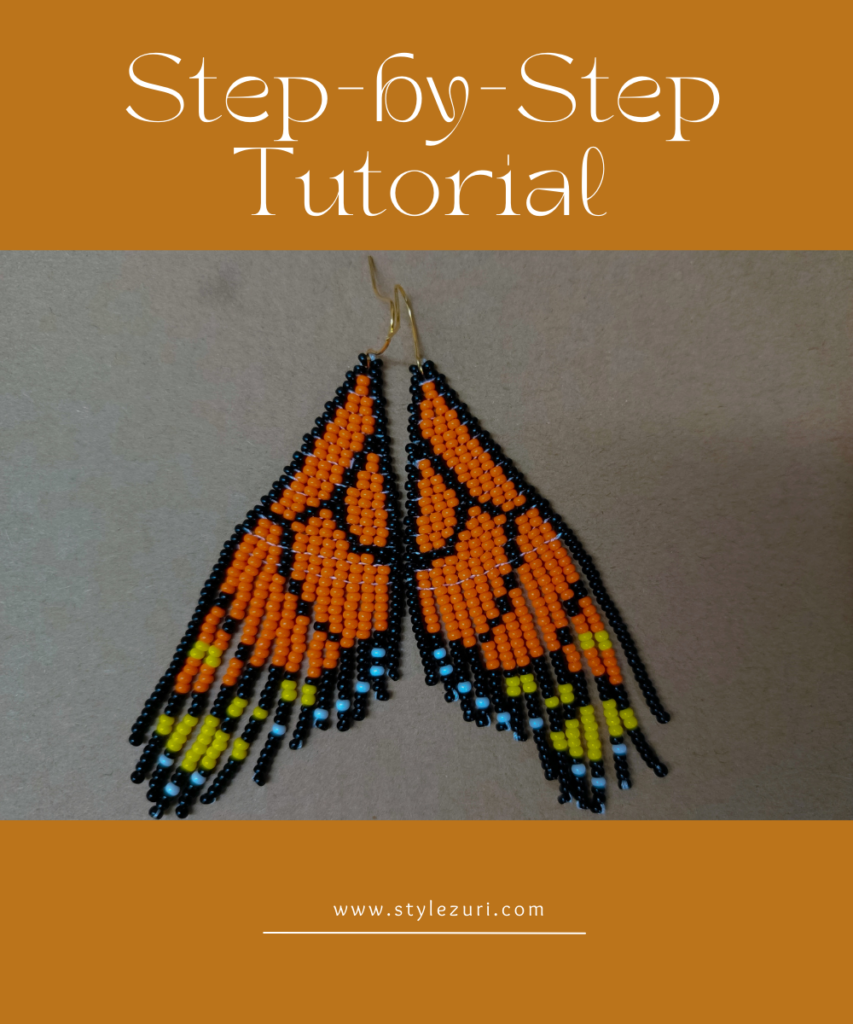
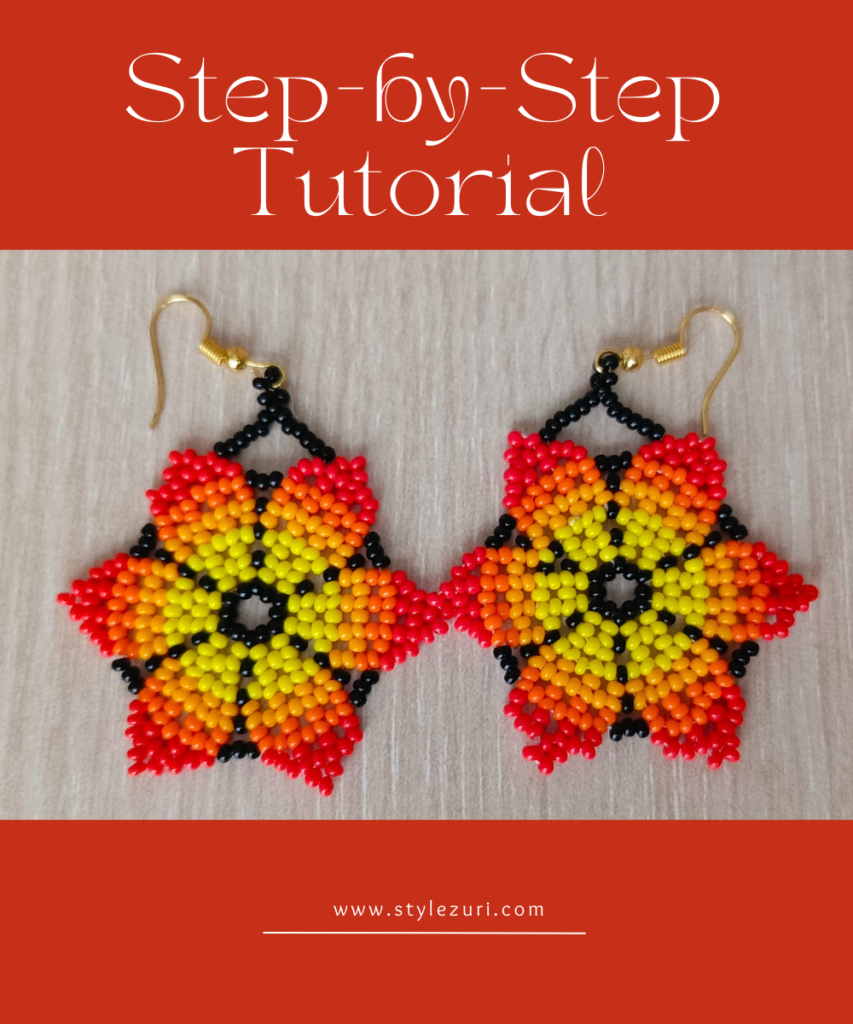
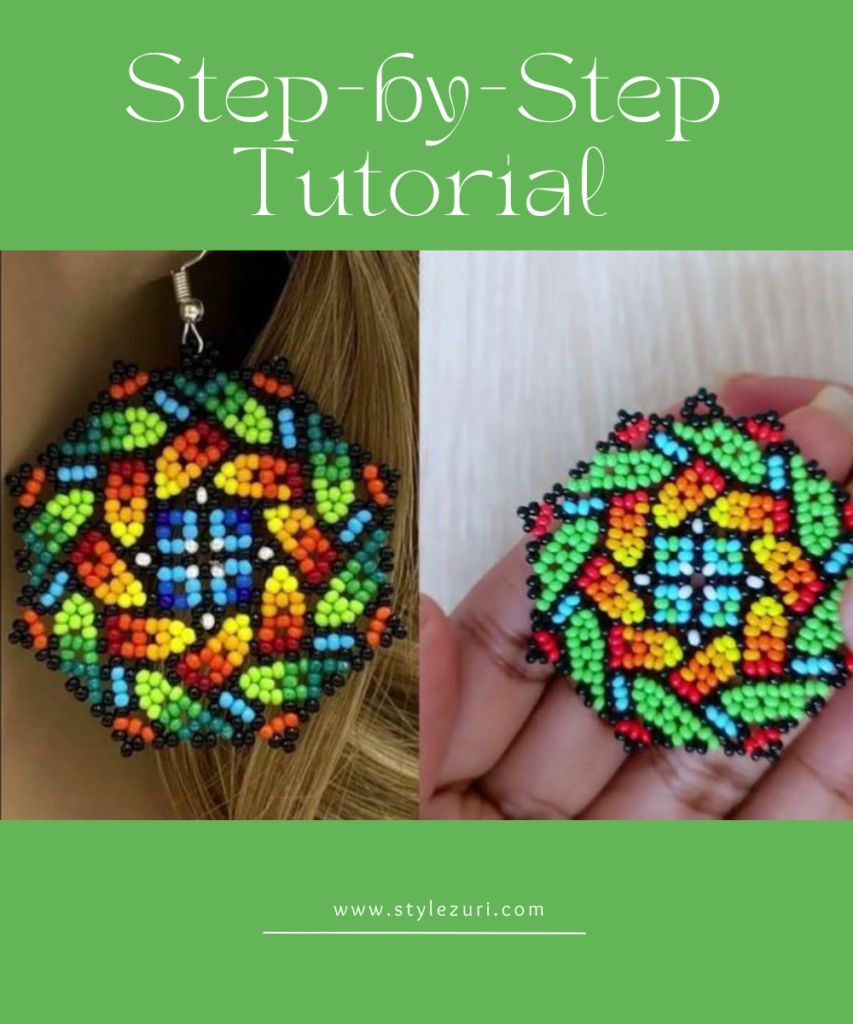
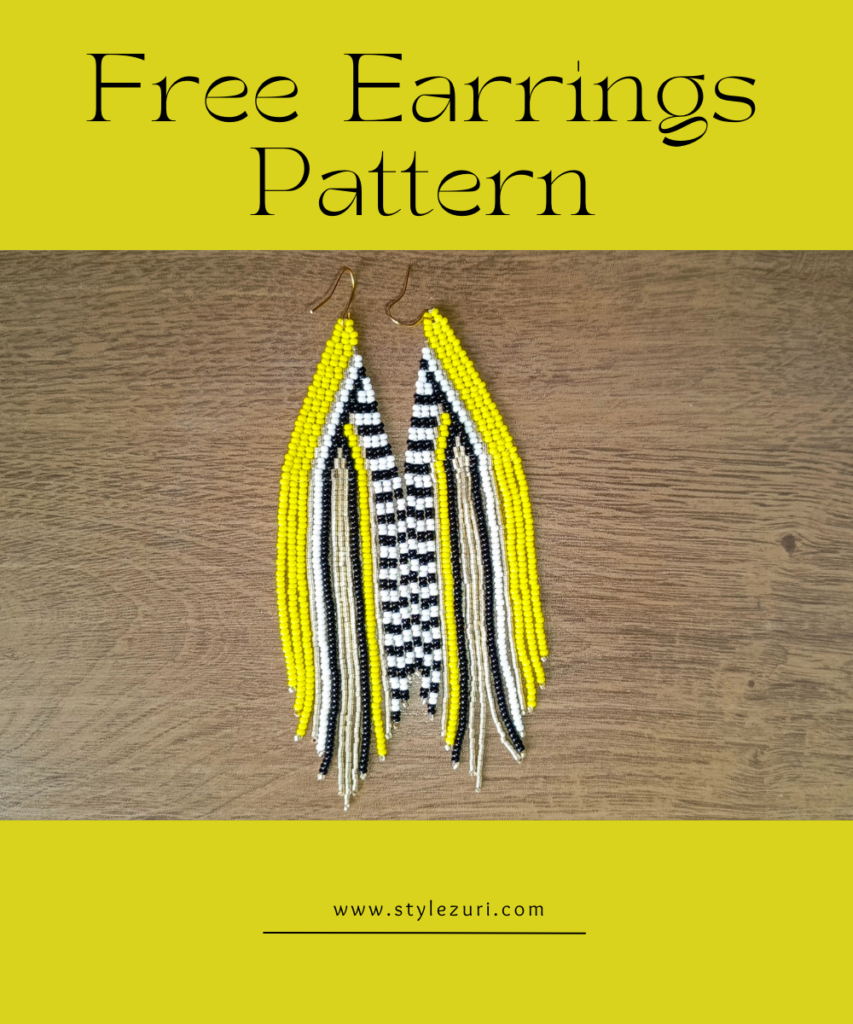
Welcome to my beaded fringe earrings tutorial! I’m so excited to share this beautiful design with you because it’s one of my favorites. In this post, I’ll walk you through every step, ensuring you can create your own pair of stunning fringe earrings. If you prefer a visual guide, there’s a video tutorial at the end of this blog. Just scroll down when you’re ready.
Let’s get started with the materials you’ll need for this project.
*This post contains affiliate links and commission may be earned*
Materials Needed:
To create these gorgeous beaded earrings, you will need:
- Seed beads size 10 in three colors: yellow, black, and white.
- Total beads required: 650
- 288 black beads
- 68 white beads
- 294 yellow beads
- Beading needle
- Thread (any strong, flexible thread for beading will work)
- Earring hooks (you can choose your preferred style)
- Pair of scissors or thread cutter
Now that we have everything ready, let’s start with the top part of the earring, which is super simple. This section only uses black beads.
Step-by-Step Beaded Fringe Earrings Tutorial
Step 1

First, thread your needle. Pick up 6 black beads and slide them down your thread, leaving about a 6-inch tail. Pass the needle back through the first 3 beads, then back through the last 3 beads to reinforce the base of your earring. This is important because the first set of beads will form the foundation of your earring.
Step 2

Now, pick up 3 more black beads. Pass the needle through the last 3 beads from the previous step and back through the 3 new beads you just added.
Step 3

Repeat the process from Step 2: pick up 3 beads, pass the needle through the last 3 beads, and then back through the new beads. Continue this process until you have 13 sets of 3 beads for your first row. This row forms the base of your earring, using a technique called the ladder stitch. Since we are using 3 beads at a time, it’s called a 3-drop ladder stitch.
Step 4


After finishing the first row, we will transition to a brick stitch for the next rows. Start by picking up 2 black beads.
Step 5

Pass the needle through the second loop formed between the beads in the first row. We skip the first loop because we are decreasing the number of beads as we go up the rows, which helps create the triangular shape of the earring.
Step 6

Then, pass the needle back through the last bead.
Step 7

To reinforce the beginning of this row, pass your needle back through the first and last beads again. This step ensures the structure of the earrings is strong and will hold up over time.
Step 8

Now, we are ready to pick up 1 black bead.

Pass the needle through the next loop formed by the beads in the previous row and back through the bead you just added. This continues the brick stitch pattern.
Step 9

Repeat this process across the row. When you get to the end of the row, pick up 2 beads to start the next row, and remember to skip the first loop to maintain the triangular shape. You will follow this brick stitch technique until you reach the final row. Once you get to the last row (which should have only a few beads), pick up 4 black beads instead of 2. This is to create a loop where you will attach the earring hook. Pass the needle back through the beads to secure the loop, reinforcing it a few times to ensure it’s strong enough to support the weight of the earring.
Recap of the Top Section

Congratulations! You’ve completed the top part of the earring, which consists of 12 rows. The first row is a ladder stitch, and the rest are brick stitches. The top loop was created in the final row to attach the earring hook.
Making the Fringe
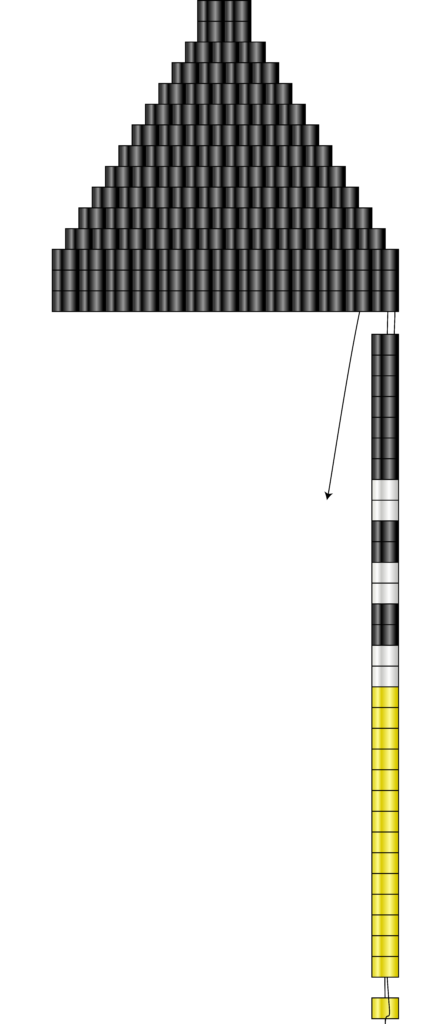
Now, let’s move on to the fun part: the fringe! The fringe adds that elegant, dramatic look to your earrings. Start by picking up the number of beads needed for the length of your fringe. Pick up your beads, and when you have the desired number, pass the needle back through all of them except the last bead. Skipping the last bead will prevent the beads from slipping off.
Once you’ve passed the needle through the beads and skipped the last one, pass the needle through the first 3 beads of the base row and back through the next set of 3 beads. This ensures the fringe is securely attached to the base of the earring.
Now, you can start working on the second fringe. The process is the same—just follow the pattern carefully, and don’t pull the thread too tightly. You want the fringe to have some movement so it can sway freely when worn.
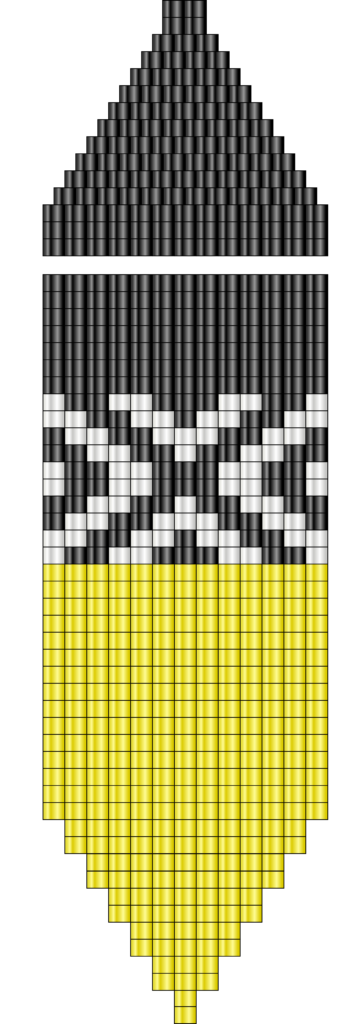
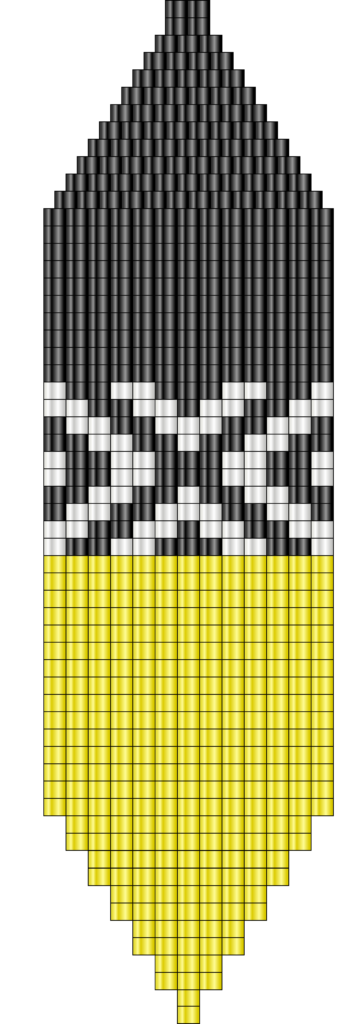
Fringe 1: 7 black beads, 2 white beads, 2 black beads, 2 white beads, 2 black beads, 2 white beads, 15 yellow beads.
Fringe 2: 8 black beads, 2 white beads, 4 black beads, 2 white beads, 1 black bead, 17 yellow beads.
Fringe 3: 9 black beads, 2 white beads, 2 black beads, 2 white beads, 2 black beads, 19 yellow beads.
Fringe 4: 7 black beads, 1 white bead, 2 black beads, 4 white beads, 2 black beads, 1 white bead, 21 yellow beads.
Fringe 5: 7 black beads, 2 white beads, 2 black beads, 2 white beads, 2 black beads, 2 white beads, 23 yellow beads.
Fringe 6: 8 black beads, 2 white beads, 4 black beads, 2 white beads, 1 black bead, 25 yellow beads.
Fringe 7: 9 black beads, 2 white beads, 2 black beads, 2 white beads, 2 black beads, 27 yellow beads.
Fringe 8: 8 black beads, 2 white beads, 4 black beads, 2 white beads, 1 black bead, 25 yellow beads.
Fringe 9: 7 black beads, 2 white beads, 2 black beads, 2 white beads, 2 black beads, 2 white beads, 23 yellow beads.
Fringe 10: 7 black beads, 1 white bead, 2 black beads, 4 white beads, 2 black beads, 1 white bead, 21 yellow beads.
Fringe 11: 9 black beads, 2 white beads, 2 black beads, 2 white beads, 2 black beads, 19 yellow beads.
Fringe 12: 8 black beads, 2 white beads, 4 black beads, 2 white beads, 1 black bead, 17 yellow beads.
Fringe 13: 7 black beads, 2 white beads, 2 black beads, 2 white beads, 2 black beads, 2 white beads, 15 yellow beads.
After completing the fringe attach the earring hook to the loop you created at the top of the earring, making sure it’s secure.
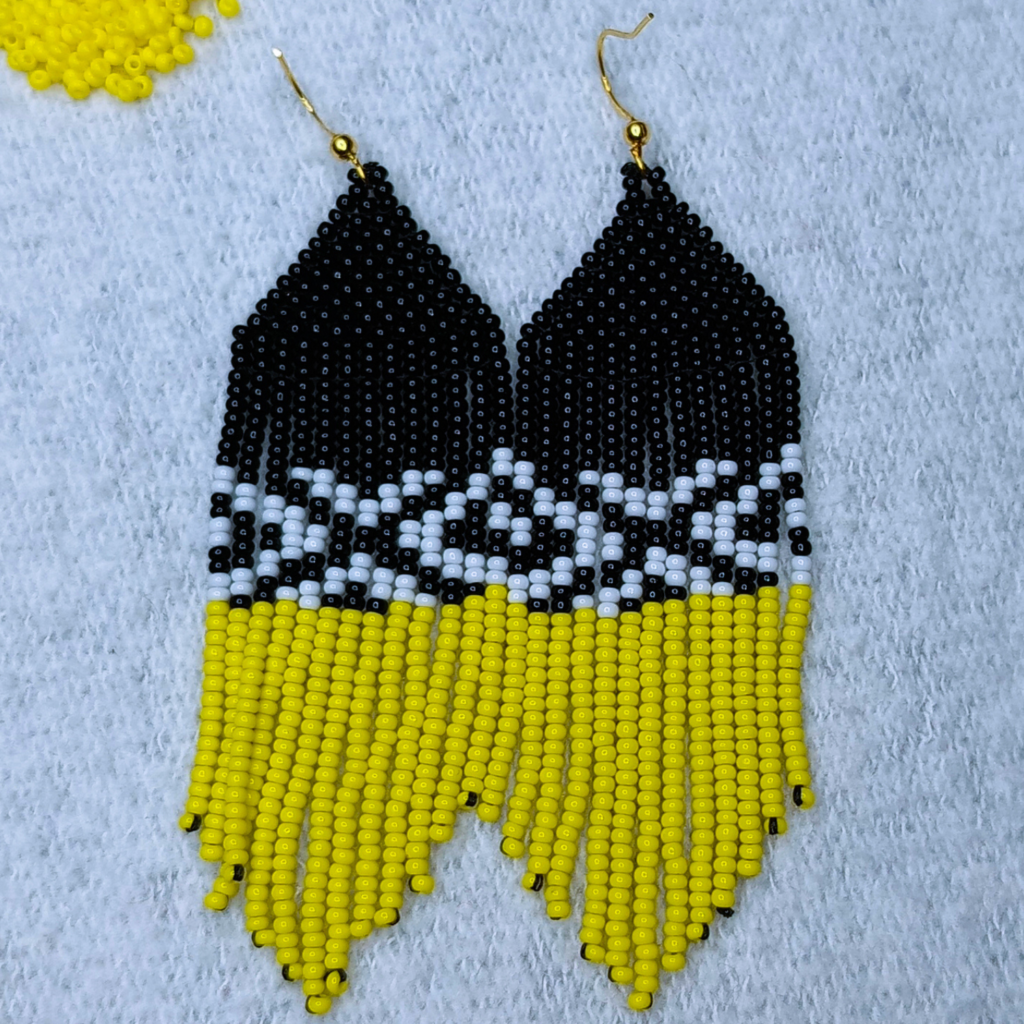
And that’s it! You’ve made your own stunning pair of beaded fringe earrings. These earrings are perfect for adding a touch of handmade elegance to any outfit. Plus, since you made them yourself, you can customize the colors and fringe length to suit your personal style!
Watch the Video Tutorial
If you prefer following along with a visual guide, be sure to check out the video tutorial below, where I walk through every step of this process in real time. It’s a great way to see the techniques in action and make sure you’re on track.
Thank you so much for following along with this tutorial. I hope you love your new earrings as much as I do! If you have any questions, feel free to leave a comment below. Happy beading!


